6.
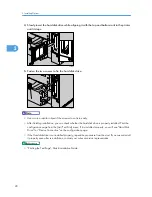
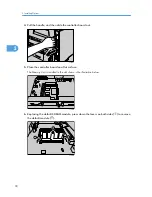
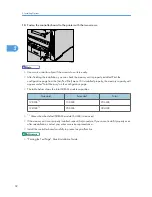
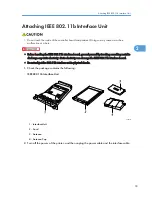
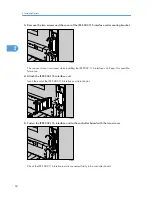
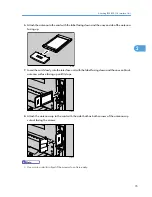
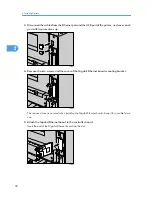
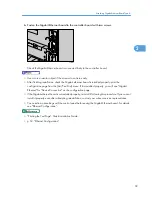
Fasten the Gigabit Ethernet board to the controller board with two screws.
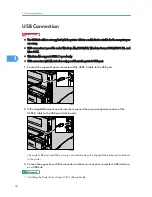
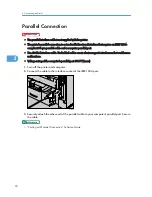
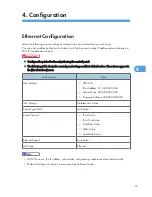
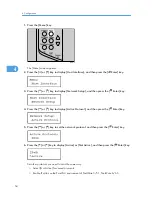
AUB239S
Check the Gigabit Ethernet board is connected firmly to the controller board.
• Use a coin or similar object if the screws do not turn easily.
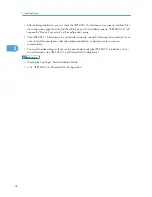
• After finishing installation, check the Gigabit ethernet board is installed properly: print the
configuration page from the [List/Test Print] menu. If it is installed properly, you will see "Gigabit
Ethernet" for "Device Connection" on the configuration page.
• If the Gigabit ethernet board is not installed properly, reinstall it following this procedure. If you cannot
install it properly even after attempting reinstallation, contact your sales or service representative.
• You need to make settings with the control panel before using the Gigabit Ethernet board. For details,
see "Ethernet Configuration".
• "Printing the Test Page", Quick Installation Guide.
• p.53 "Ethernet Configuration"
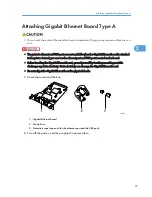
Attaching Gigabit Ethernet Board Type A
39
2
Содержание LP131n
Страница 6: ...Options 192 INDEX 197 4 ...
Страница 18: ...1 Guide to the Printer 16 1 ...
Страница 48: ...2 Installing Options 46 2 ...
Страница 53: ... p 37 Attaching Gigabit Ethernet Board Type A USB Connection 51 3 ...
Страница 76: ...4 Configuration 74 4 ...
Страница 130: ...6 Replacing Consumables and Maintenance Kit 128 6 ...
Страница 140: ...7 Cleaning the Printer 138 7 ...
Страница 198: ...11 Appendix 196 11 ...
Страница 201: ...MEMO 199 ...
Страница 202: ...MEMO 200 GB GB EN USA G176 ...
Страница 203: ...Copyright 2006 ...
Страница 204: ...Hardware Guide Model No MLP31n MLP36n P7031n P7035n LP131n LP136n Aficio SP 4100N Aficio SP 4110N G176 8602 EN USA ...

