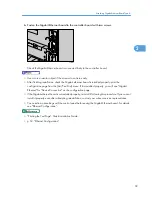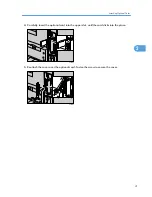
6.
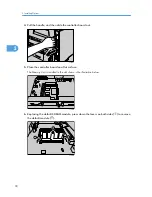
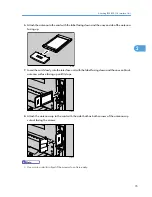
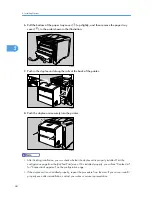
Pull the bottom of the paper tray cover ( ) up slightly, and then remove the paper tray
cover ( ), in the order shown in the illustration.
AUB244S
7.
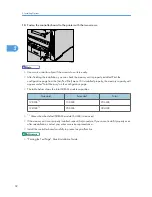
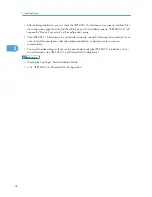
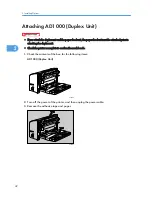
Push in the duplex unit along the rails at the back of the printer.
AUB226S
8.
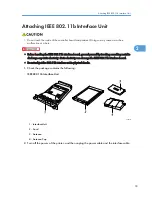
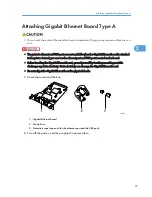
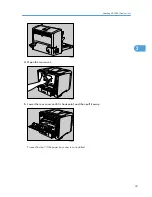
Push the duplex unit securely into the printer.
AUB227S
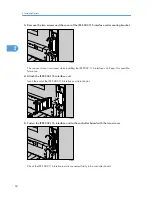
• After finishing installation, you can check whether the duplex unit is properly installed: Print the
configuration page from the [List/Test Print] menu. If it is installed properly, you will see "Duplex Unit"
for "Connection Equipment" on the configuration page.
• If the duplex unit is not installed properly, repeat the procedure from the start. If you cannot install it
properly even after reinstallation, contact your sales or service representative.
2. Installing Options
44
2
Содержание LP131n
Страница 6: ...Options 192 INDEX 197 4 ...
Страница 18: ...1 Guide to the Printer 16 1 ...
Страница 48: ...2 Installing Options 46 2 ...
Страница 53: ... p 37 Attaching Gigabit Ethernet Board Type A USB Connection 51 3 ...
Страница 76: ...4 Configuration 74 4 ...
Страница 130: ...6 Replacing Consumables and Maintenance Kit 128 6 ...
Страница 140: ...7 Cleaning the Printer 138 7 ...
Страница 198: ...11 Appendix 196 11 ...
Страница 201: ...MEMO 199 ...
Страница 202: ...MEMO 200 GB GB EN USA G176 ...
Страница 203: ...Copyright 2006 ...
Страница 204: ...Hardware Guide Model No MLP31n MLP36n P7031n P7035n LP131n LP136n Aficio SP 4100N Aficio SP 4110N G176 8602 EN USA ...

