Once you have connected the cable, you can put the DELTA CEP A in the correct position
and screw it on with the enclosed screws and washers. Please use the plastic washers to
prevent damaging the varnish.
If everything is set up properly, you can turn on the power. At the same time a few of the
Delta LEDs should light up and flash. If this is not the case, stop the power immediately and
look for the error. But as a rule, the DELTA CEP A will now work and we can concentrate
on the operation.
2.
Overview
Before taking a closer look at the capabilities of the synthesizer, let's take a look at the
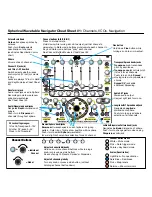
interface of the DELTA CEP A Synthesizer from left to right.
Interpolator
Sitting on the left side are the eight + six LEDs, six buttons, and the large knob. This section
has several functions. You can recall and save presets, take snapshots, morph through
them, set the system tempo, as well as adjust various device settings. The eight LEDs not
only display occupied snapshots, but above all serve to visualize parameter settings.
MIDI2CV
This is a well-equipped MIDI to CV interface that allows you to convert MIDI signals into
control voltages for additional modules. To control the DELTA CEP A via MIDI, you do not
need to use any of the interface's outputs - the modulation sources and targets in the
DELTA CEP A sections are already prewired.
LFO 1
The LFO has 5 waveforms, MIDI and clock synchronization, and an invertible modulation
depth control.
SWARM OSC
von
11
63
Содержание DELTA CEP A
Страница 1: ...Owner s Manual DELTA CEP A...


