232
1!&
&)
,
+
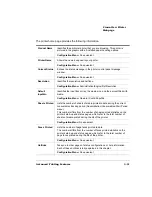
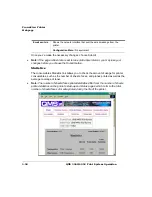
This hotlink provides media source information.
2
+$1+
Memory configuration affects the number of jobs that can be accepted by the printer,
the number of options available simultaneously, the number of downloadable fonts
and emulations that can be stored, and overall printer performance.
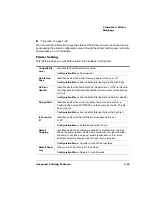
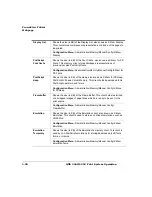
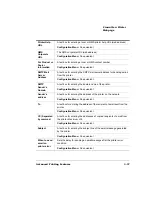
Upper
Identifies the size and type of media currently installed in the upper tray.
Configuration Menus: Operator Control/Inputbin/Upper
Optional
Identifies the size and type of media currently installed in the optional
lower input feeder.
Configuration Menu: Operator Control/Custom Bin/Optional, Operator
Control/Media/For Optional Bin
Disk(s)
Identifies how many hard disks are attached to the printer and what their
addresses are.
Configuration Menu: No equivalent
Emulations
Identifies the installed emulations.
Configuration Menu: No equivalent
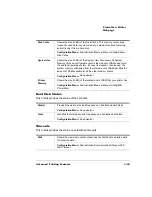
Host Input
Spool
Shows the size (in KB) of the Host Input field, also known as K Mem for
Spool. This memory client stores incoming data from all the interfaces
until the emulation can process the print job.
Configuration Menu: Administration/Memory/Manual Config/K Mem for
Spool
Содержание 3260
Страница 1: ......
Страница 8: ......
Страница 9: ...Introduction on page 1 2 About This Manual on page 1 2...
Страница 12: ......
Страница 39: ...2 Lift up the handles to unlock the transfer roller 3 Remove the transfer roller...
Страница 46: ...1 Pull out the tray 6 2 Open the lower left door of the high capacity input feeder...
Страница 48: ......
Страница 87: ...2 3 2 1...
Страница 90: ......
Страница 106: ...4 5 8 1 Open the duplexer 2 Open the upper left door 3 Open the lower left door...
Страница 108: ...4 c Open the door below the multipurpose tray to check for jammed media d Pull out any jammed media...
Страница 111: ...4 4 5 8 1 Pull on the latch to open the duplexer 2 Open the cover inside of the duplexer...
Страница 114: ...4 3 Reinsert the enve lope feeder...
Страница 152: ......
Страница 153: ...Sources of Support on page A 2 QMS World wide Offices on page A 4...
Страница 172: ...3 Pull the HCOS away from the printer 4 Push the locking bar away from the HCOS to free it from the printer...
Страница 173: ...5 Unplug the power cable connected to the right side of the printer 6 Move the HCOS away from the printer...
Страница 184: ......
Страница 194: ......

