232
1!&
&)
.
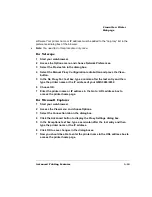
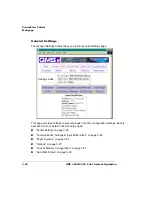
software. Your printer name or IP address must be added to the “no proxy” list in the
preferences dialog box of the browser.
»
Note:
You need to do this procedure only once.
,
1
Start your web-browser.
2
Access the Options menu and choose Network Preferences.
3
Select the Proxies tab in the dialog box.
4
Select the Manual Proxy Configuration radio button and press the View...
button.
5
In the No Proxy For: text box, type a comma after the last entry and then
type the printer name or the IP address of your QMS 3260/4032.
6
Choose OK.
7
Enter the printer name or IP address in the Go to: URL address box to
access the printer home page.
,$1 8"
1
Start your web-browser.
2
Access the View menu and choose Options.
3
Select the Connection tab on the dialog box.
4
Click the Advanced button to display the Proxy Settings dialog box.
5
In the Exceptions text box, type a semicolon after the last entry and then
type the printer name or the IP address.
6
Click OK to save changes in the dialog boxes.
7
Now you should be able to enter the printer name in the URL address box to
access the printer home page.
Содержание 3260
Страница 1: ......
Страница 8: ......
Страница 9: ...Introduction on page 1 2 About This Manual on page 1 2...
Страница 12: ......
Страница 39: ...2 Lift up the handles to unlock the transfer roller 3 Remove the transfer roller...
Страница 46: ...1 Pull out the tray 6 2 Open the lower left door of the high capacity input feeder...
Страница 48: ......
Страница 87: ...2 3 2 1...
Страница 90: ......
Страница 106: ...4 5 8 1 Open the duplexer 2 Open the upper left door 3 Open the lower left door...
Страница 108: ...4 c Open the door below the multipurpose tray to check for jammed media d Pull out any jammed media...
Страница 111: ...4 4 5 8 1 Pull on the latch to open the duplexer 2 Open the cover inside of the duplexer...
Страница 114: ...4 3 Reinsert the enve lope feeder...
Страница 152: ......
Страница 153: ...Sources of Support on page A 2 QMS World wide Offices on page A 4...
Страница 172: ...3 Pull the HCOS away from the printer 4 Push the locking bar away from the HCOS to free it from the printer...
Страница 173: ...5 Unplug the power cable connected to the right side of the printer 6 Move the HCOS away from the printer...
Страница 184: ......
Страница 194: ......


