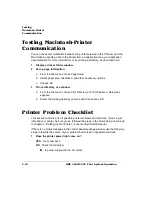
!$
"!$#&!$
*,
1
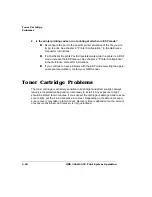
Check that you are using the correct type media.
See appendix B, “Technical Specifications,” in the
Reference
for media specifica-
tions.
2
Check that there is enough toner in the printer whether or not the
TONER
LOW
message is on.
Remove the toner cartridge and gently rock it from side to side to redistribute the
toner. Then reinsert the cartridge and try printing again. The toner can settle, and
this procedure redistributes the toner.
3
If, after rocking the toner cartridge, the print quality does not improve and/or
the
x
TONER LOW
message remains on, replace the toner cartridge.
4
Place a service call to your QMS vendor.
!$
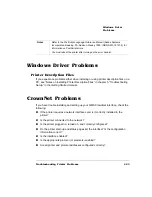
The following list includes several image defects with possible solutions. Try the solu-
tions in the sequence given. If the solutions listed don’t solve the problem, place a ser-
vice call to your QMS vendor. See the next section in this chapter, “Placing a Service
Call.”
9"
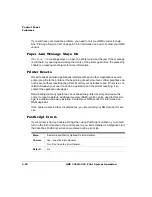
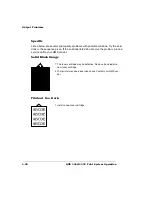
Print quality problems are those related to the appearance of the pages you print.
Print quality problems include white lines on the page, and other print distortions.
If you have problems with the quality of your printed pages, try the following:
If the
TONER LOW
message is on and the printer continues to print, try distributing
the toner to improve print quality. If the print quality does not improve, replace the
toner cartridge.
Remove the toner cartridge and rock it several times from side to side. The toner
can settle, and this procedure redistributes the toner. Reinsert the cartridge and
try printing again.
Place a service call to your QMS vendor.
Содержание 3260
Страница 1: ......
Страница 8: ......
Страница 9: ...Introduction on page 1 2 About This Manual on page 1 2...
Страница 12: ......
Страница 39: ...2 Lift up the handles to unlock the transfer roller 3 Remove the transfer roller...
Страница 46: ...1 Pull out the tray 6 2 Open the lower left door of the high capacity input feeder...
Страница 48: ......
Страница 87: ...2 3 2 1...
Страница 90: ......
Страница 106: ...4 5 8 1 Open the duplexer 2 Open the upper left door 3 Open the lower left door...
Страница 108: ...4 c Open the door below the multipurpose tray to check for jammed media d Pull out any jammed media...
Страница 111: ...4 4 5 8 1 Pull on the latch to open the duplexer 2 Open the cover inside of the duplexer...
Страница 114: ...4 3 Reinsert the enve lope feeder...
Страница 152: ......
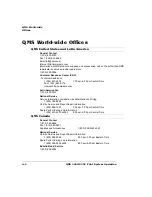
Страница 153: ...Sources of Support on page A 2 QMS World wide Offices on page A 4...
Страница 172: ...3 Pull the HCOS away from the printer 4 Push the locking bar away from the HCOS to free it from the printer...
Страница 173: ...5 Unplug the power cable connected to the right side of the printer 6 Move the HCOS away from the printer...
Страница 184: ......
Страница 194: ......

