2 – Using SANbox Manager
Starting SANbox Manager
59048-01 A
2-7
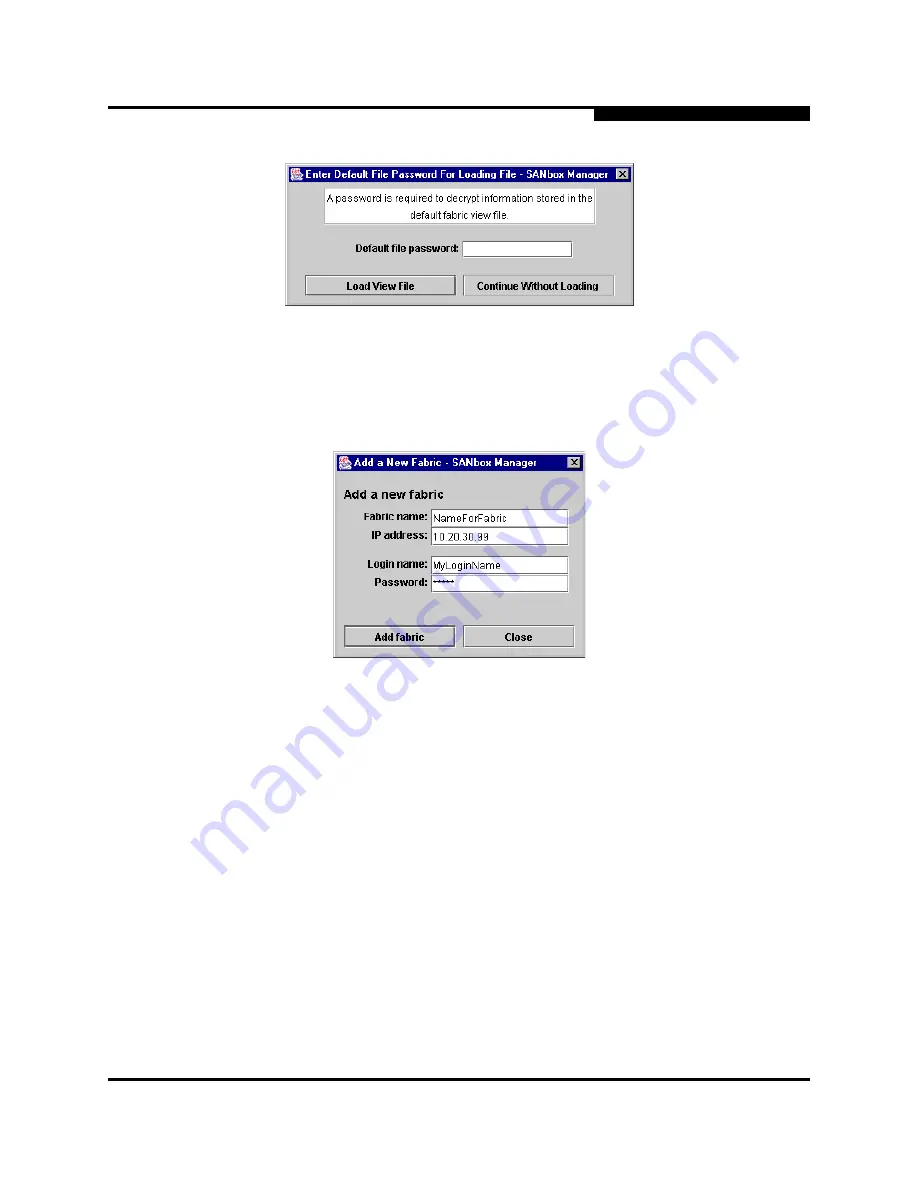
Figure 2-2 Load Default Fabric View File Window
To start using the SANbox Manager application, do the following to add a fabric:
1.
Open the Fabric menu and select Add Fabric to open the Add a New Fabric
window as shown in
Figure 2-3
.
Figure 2-3 Add a New Fabric Window
2.
Enter a fabric name and the IP address of the switch through which to
manage the fabric.
3.
Enter an account name and a password. The factory account name is
“admin” and the factory password is “password”. If security is turned off
(default), you are not required to enter an account name or password. This
account name is for the switch and is stored in the switch firmware. Refer to
the
”User Command” on page A-72
for more information.
4.
Choose the Add Fabric button.
Note:
A switch supports a combined maximum of 15 logins. This
includes SANbox Manager inband and out-of-band logins,
Application Programming Interface (API) inband and out-of-band
logins, and Telnet logins. Of this 15, there can be a combined
maximum of 10 SANbox Manager and API logins. Additional
logins will be refused.
Содержание SANbox2 SANbox2-64
Страница 1: ...S i m p l i f y 59048 01 A Page i SANbox2 64 Switch Management User s Guide...
Страница 36: ...2 Using SANbox Manager Using the Faceplate Display 2 24 59048 01 A Notes...
Страница 62: ...3 Managing Fabrics Zoning a Fabric 3 26 59048 01 A Notes...
Страница 84: ...4 Managing Switches Restoring the Factory Default Configuration 4 22 59048 01 A Notes...
Страница 104: ...6 Managing Ports Testing Ports 6 16 59048 01 A Notes...
Страница 188: ...A Command Line Interface Zoning Command A 84 59048 01 A Notes...
Страница 214: ...C Messages Trap Configuration Dialog C 22 59048 01 A Notes...
Страница 218: ...D Glossary D 4 59048 01 A Notes...


