66
67
Pattern
STEP 1
. Click the
Pattern
button in the
Function
list.
STEP 2
. Click the
Begin
button
STEP 3
. Modify the zoom focus and
iris settings using the
PTZ Control
Panel
(
Picture 5-6
)
STEP 4
. Click the
End
button to save
the changes
STEP 5
. Enter the desired number for
this pattern into the field.
PICTURE 5-10
PAN/TILT/ZOOM
Preset
Patrol No.
Begin
0
1
End
Function
Preset
Tour
Pattern
Border
PAN/TILT/ZOOM
Preset
Patrol No.
Left
0
1
Right
Function
Preset
Tour
Pattern
Border
PICTURE 5-11
PICTURE 5-12
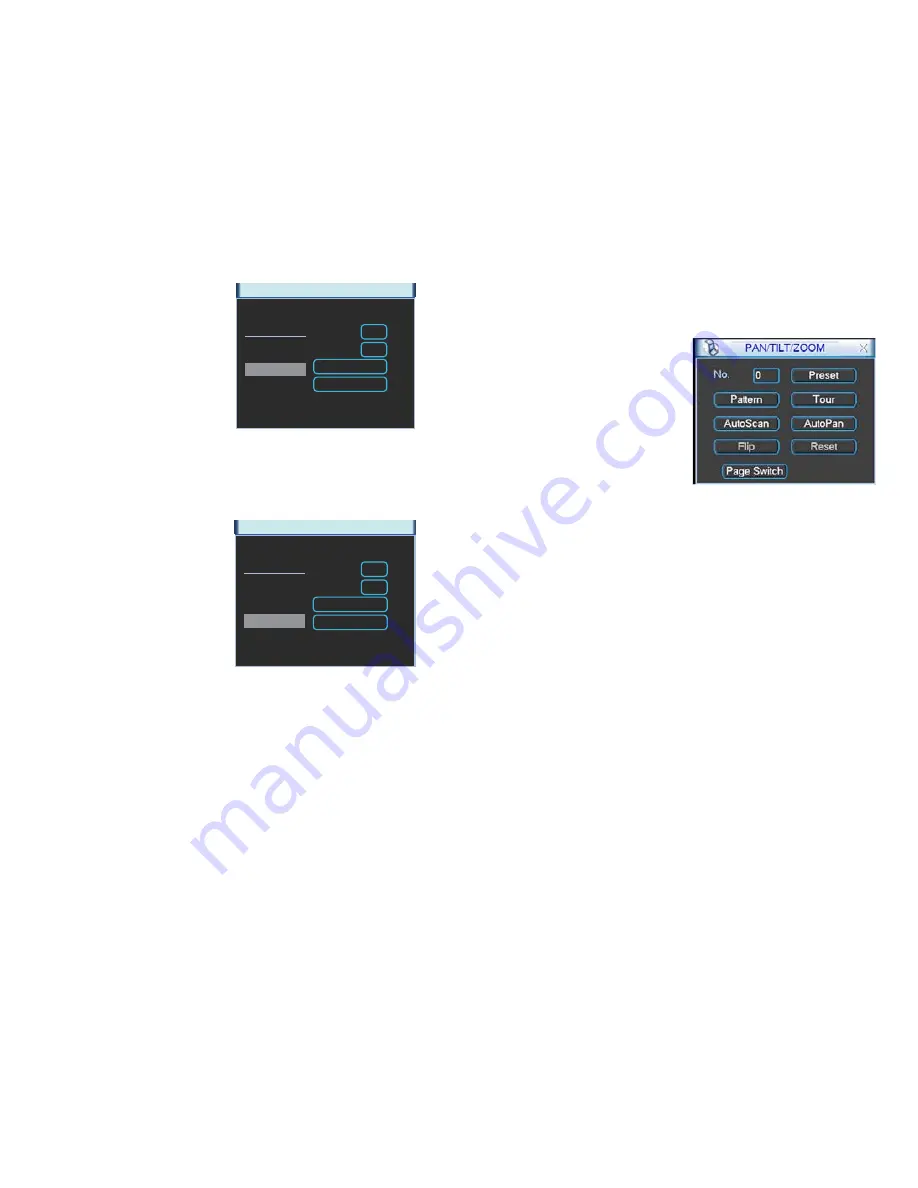
RUNNING PTZ FUNCTIONS
Clicking on the
Page Switch
button in the
PTZ Control Panel
(
Picture 5-6
) will switch to a
new window (
Picture 5-12
) which allows you to activate the functions created above as well
as the Auto Pan and Flip functions.
Enter the number of the function you wish to
activate and select the function button to run
that function.
In addition, there are other functions that can
be engaged in this window.
AutoPan
- This will cause the camera to
automatically rotate.
Flip
- Most PTZ cameras have a mechanical
stop which will prevent the camera
from rotating a full 360°. If the camera
is tracking someone or some thing
and it reaches this stop, pressing Flip
will bring the camera around the other
direction to continue tracking. Some
PTZ cameras have “E-flip” which will
do this automatically.
Page Switch
- returns you to the
PTZ
Control Panel
(
Picture 5-6
)
Reset
- This ends the currently running
function.
Border
(Auto Scan)
STEP 1
. Click the
Border
button in the
Function list
STEP 2
. Select either the
Left
or
Right
button to indicate which edge you are
defining
STEP 3
. Use the direction arrows in the
PTZ Control Panel
(
Picture 5-6
) to
move the camera to the limit desired.
STEP 4
. Repeat for the other border.
In the
PTZ Control Panel
(
Picture 5-6
), clicking the
PTZ Trace
button will begin the auto
scan. The button will convert to a
Stop
button which can be used to end the scan.


