52
53
SCHEDULE
This is covered in
Section 3.6 Schedule
RS232
The RS232 port on the back of the NVR is used during the manufacturing process as a way to
configure the system. It has no user functions.
ALARM
Connecting and operating external alarms with your system will be covered in
Chapter 6
Alarms
.
NETWORK
Accessing the NVR from within a Local Area Network, over the Internet or via a Smartphone
along with setting up e-mail notifications and other online features will be covered in full in the
Remote Monitoring Guide
included on the CD that came with your NVR or available for
download from
www.Q-See.com.
EVENTS
Please see
Section 3.7
for instructions on using the features in this window.
PTZ
Please see
Chapter 5
for instructions on connecting and operating a PTZ camera.
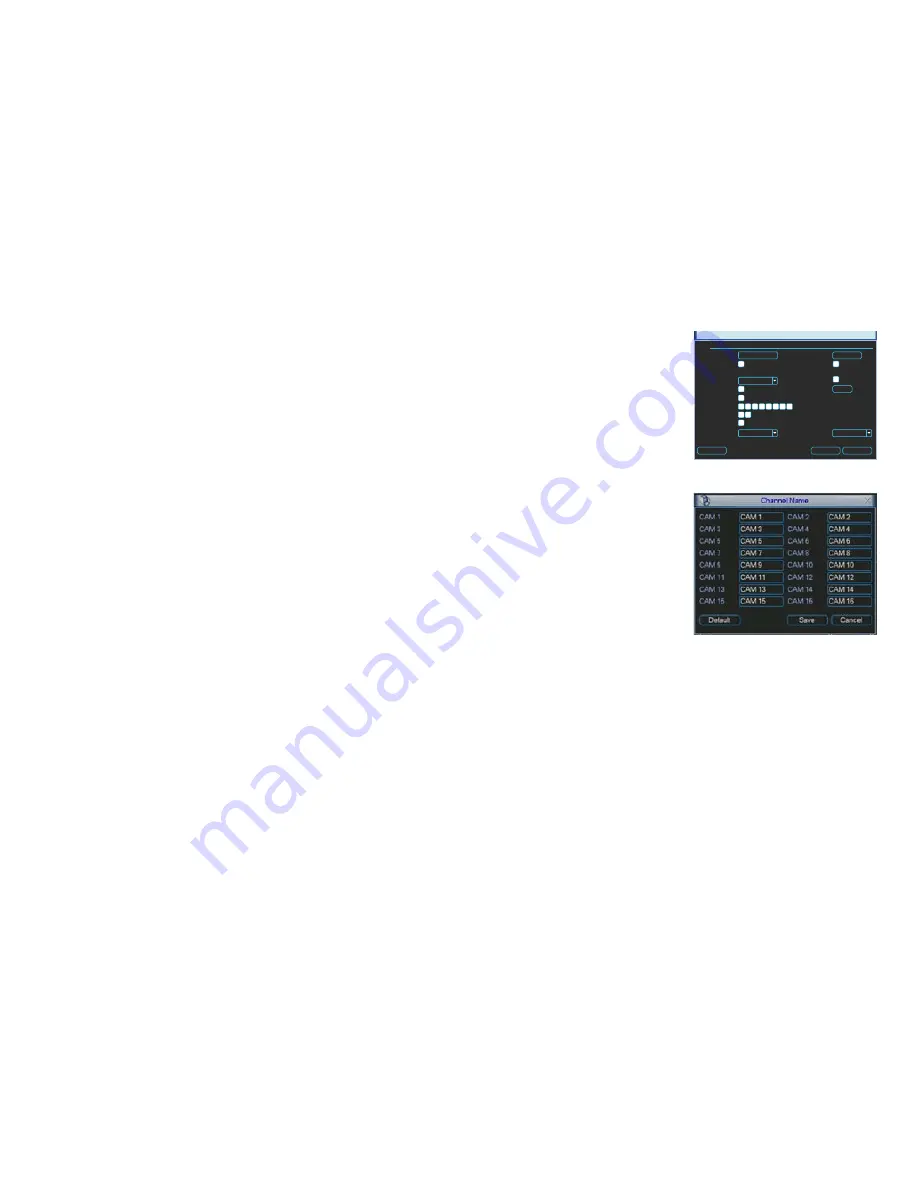
PICTURE 4-23
PICTURE 4-24
DISPLAY
Resolution
Enable Tour
All
View 1
View 4
View 8
Motion Tour Type
Transparency
Time Display
Image Enhance
Interval
Alarm Tour Type
sec.
Channel Name
Channel Display
GUI
255
1024x768
View 1
View 1
Modify
5
Copy
Save
Cancel
1 2
1 2 3 4 5 6 7 8
1
DISPLAY
This window contains the settings that control the Graphical User Interface (GUI) as well as
how you view the NVR.
Transparency
– You can choose to make
the menu screens more transparent
or opaque with 128 being the most
transparent and 255 being completely
opaque.
Channel Name
– You can name each
channel - up to 25 characters. An
example is naming the channels
based on where they’re located.
Time Display
and
Channel Display
– These
buttons enable their respective
displays on the video during
playback.
Resolution
– There are four pre-set options;
1920x1080, 1280x1024 (default),
1280x720 and 1024x768. The
NVR will need to reboot in order for
changes you make to take place.
Image Enhance
– Enabling this feature will allow the NVR to adjust the on-screen video
image for clarity and color balance. It will not affect the recorded video.
Enable Tour
– Selecting this box will cause the screen to cycle through displaying channels
selected in the following fields.
Interval
– This is the time – from 5 to 120 seconds – that the NVR will display each channel or
group of channels before moving to the next group in the tour.
View
– You may select which channels and groups of channels will be displayed during a tour.
Channels selected in
View 1
will appear in sequence, followed by pages of multiple
channel views if those are selected. Enabling
All
will activate all available display
modes for the tour.
Motion Tour Type
– If a motion detection event occurs, and the Tour button is selected in the
Detect window (
See Section 3.7
) the NVR will switch a single-screen view tour or an
eight-screen view tour displaying the channels that were selected in that menu.
Alarm Tour Type
- As with Motion Tour, above, but activates when an external alarm is
triggered (see
Chapter 6 Alarms
for instructions on operating alarms connected to
your system.


