46
47
IMPORTANT!
The overwrite features should be enabled before you begin
recording or the NVR may not delete files created before that point. If this
occurs, reformatting the hard drive will fix the situation.
NTP
– This stands for Network Time Protocol which is allows an NVR that is connected to
the Internet to automatically maintain accurate time - including adjustments due to
Daylight Savings Time - in the same way that a computer does.
WARNING!
Overwritten files can not be recovered. Important files should be
backed up onto another device to prevent loss.
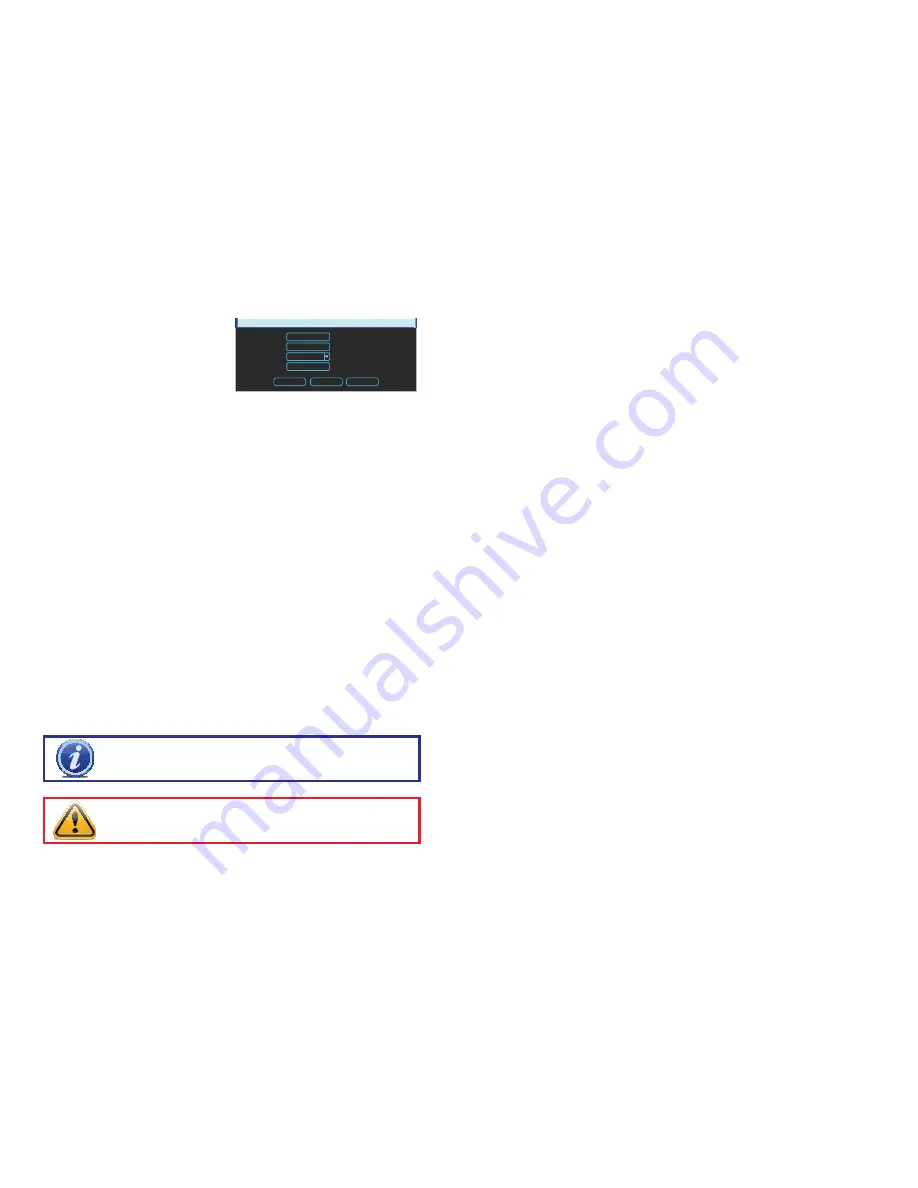
Server IP - The default server used to
obtain accurate time is the Windows
server, but you can manually enter in
another.
Port - This is the port that the NVR
will use to contact the server.
PICTURE 4-15
NTP
Server IP
Port
Time Zone
Update Period
OK
Cancel
Synchronize
Hours
time.windows.com
123
GMT-8:00
24
Time Zone - You will need to set your time zone. For North America these are:
Eastern Time Zone = GMT-5 Central Time Zone = GMT-6
Mountain Time Zone = GMT-7
Pacific Time Zone = GMT-8
Alaskan Time Zone = GMT-9
Hawaii Time Zone = GMT-10
Update Period - This is the frequency at which the NVR will check the time with the
server.
Synchronize - Clicking this will cause the NVR to update the time immediately.
Device Settings
Language
– The system currently supports English, Spanish or French. The system will need
to be restarted for the language change to take effect.
Video Standard
– By default, this NVR operates using the NTSC standard common to North
America. Video output can be switched to PAL for areas where that is used.
Device No.
– If you are controlling more than one NVR with a single remote, this allows you to
give each NVR a separate numerical ID.
Device ID
– If you are monitoring more than one NVR remotely, giving each an identifying
name will assist in keeping track of which system is being monitored.
HDD Full
– Depending on the number of cameras recording, the size of your hard drive, how
many cameras are recording and how often, image quality and other factors, your
NVR’s hard drive can be completely full of recordings in one to four weeks. When it is
full, the NVR will stop recording unless you set it to overwrite older files.
Pack Duration
– Rather than creating 24-hour long files when a channel is set to record all
the time, this allows you to set the maximum record length between one to two hours
(measured in minutes).
Realtime Play
– This sets the duration of the video clip that will play when the
Realtime Play
icon (See Section 3.2) is activated in
Live View
.
Other Settings
Setup Wizard
– You should deselect this box after you’ve set up your NVR, otherwise the
Startup Wizard will launch each time your system is restarted.
Navigation
– This is enabled by default and allows you to open the Navigator Bar by left-
clicking on the
Live View
screen.
Auto Logout
– This sets how long the NVR will go before automatically logging a user out of
the system due to inactivity.
IPC Time Synch
– Each IP camera has its own internal clock. These can be set using the
included
PSS
software (see the
PSS User Manual
included on the
Manuals and
Software
disk) or you can allow the NVR to set the time by enabling this feature.


