34
Installation & Basic Configuration
Basic Configuration
Once you have a valid IP Address assigned to your AP-2500 and you can communicate with it over an Ethernet
network, use your web browser to configure the AP-2500. This section describes how to perform some basic functions
and configure some of the AP’s basic settings to get you started.
•
Logging into the Web Interface
•
Set System Name, Location and Contact Information
•
Set the Access Point’s IP Address
•
Configure Network Names for the Wireless Interfaces
•
Configure the Ethernet Interface
•
Set WEP Encryption for each Wireless Interface (optional)
•
Set and Change Passwords
•
Configure the Date and Time
•
Reboot the AP
NOTE:
After configuring the basic settings, reboot the Access Point so your changes will take effect.
Logging into the Web Interface
Follow these steps to access the Access Point’s Web interface:
1. Open a Web browser on a network computer on the same Ethernet network as the AP.
•
The Web browser interface supports the following Web browser
— Microsoft Internet Explorer 5.5 or later
— Netscape 6 or later
NOTE:
For security reasons, the AP-2500 can only be configured over its Ethernet port. You cannot configure the AP
using a wireless client.
2. If necessary, disable the browser’s Internet proxy settings. For Internet Explorer users, follow these steps:
•
Select
Tools > Internet Options...
.
•
Click the
Connections
tab.
•
Click
LAN Settings...
.
•
If necessary, remove the check mark from the
Use a proxy server
box.
•
Click
OK
twice to save your changes and return to Internet Explorer.
3. Enter the Access Point’s IP address in the browser’s
Address
field and press
Enter
.
•
This is either the dynamic IP address assigned by a network DHCP server or the static IP address you
manually configured. See
Initialization (ScanTool)
for information on how to determine the unit’s IP address
and manually configure a new IP address, if necessary.
•
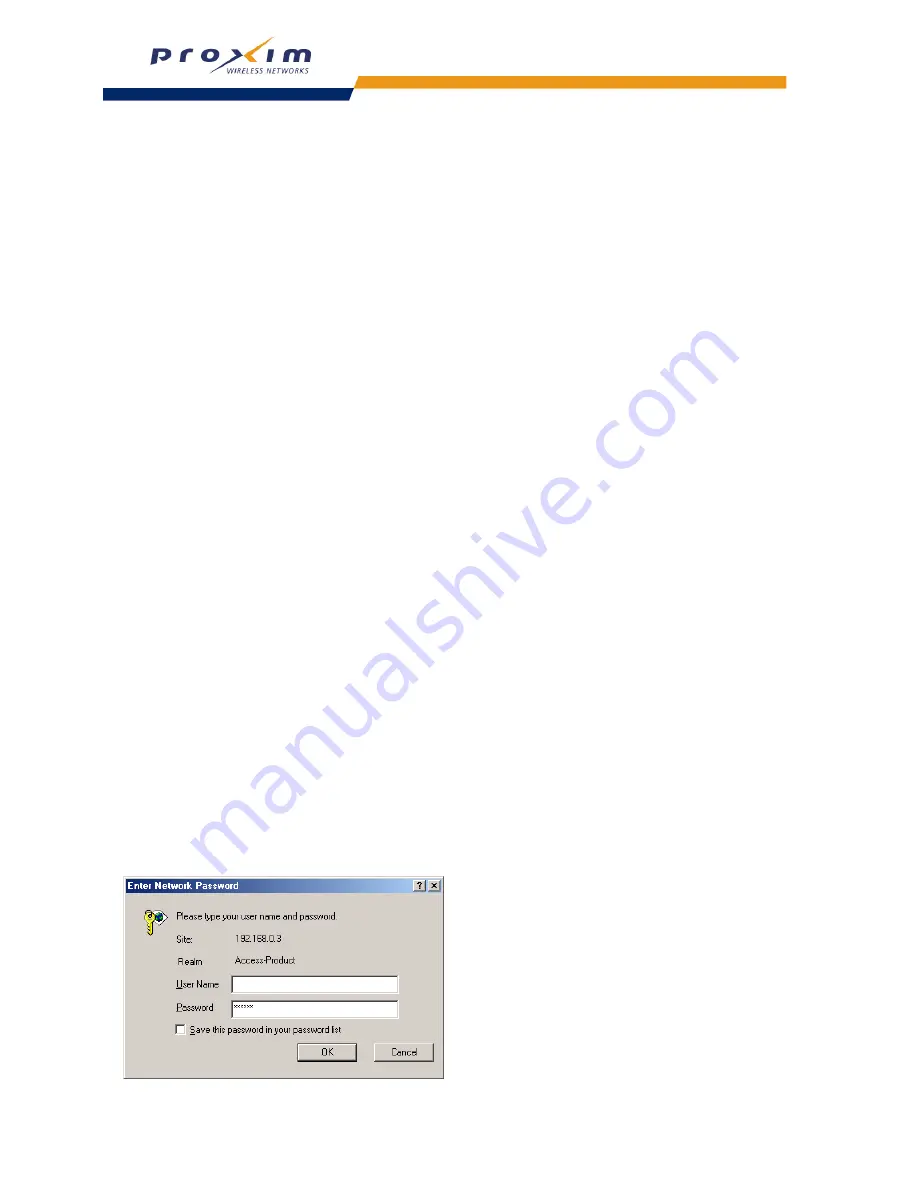
Result: The
Enter Network Password
screen appears.
4. Enter the HTTP password in the
Password
field. Leave the
User Name
field blank. For new units, the default
HTTP password is “public”.
•
Result: The
System Configuration
screen appears.
Figure 2-17 Enter Network Password


