Windows NT 3.51 Host Setup
115
6.
Select
LPR Port
from the list that displays, and click
OK
to
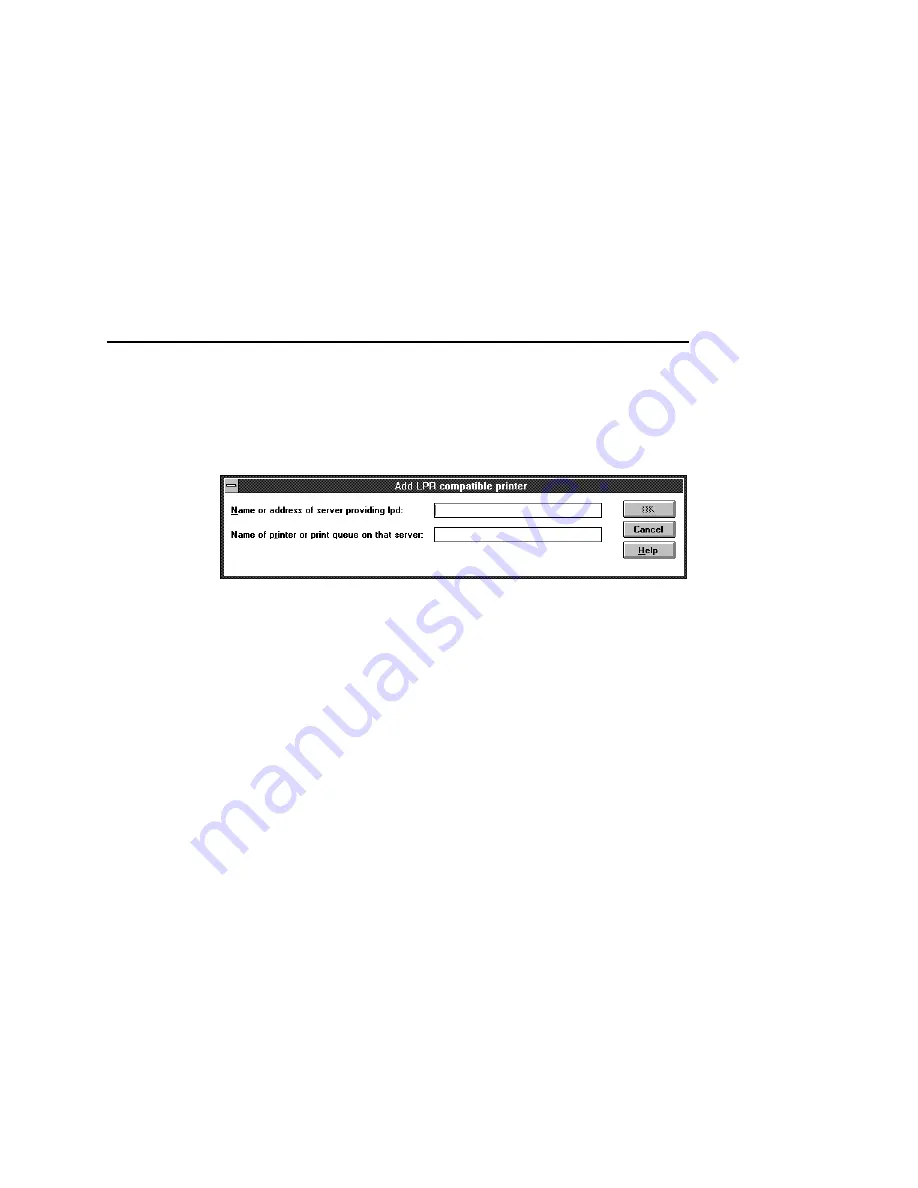
bring up a dialogue box similar to the one in Figure 23.
Figure 23. Add LPR Compatible Printer Dialogue Box
7.
Type in the IP address or host name of the NIC in the first field.
8.
Type in the name of a predefined destination/queue on the NIC
in the second field.
NOTE:
This name must be a name of an existing destination/
queue on the NIC, and it must be lowercase by default.
You will probably use
d1prn
.
9.
Click
OK
when you have specified these two fields.
You now have a new network printer which relies on the standard
TCP/IP print protocol, LPD, to print remotely to a printer with the
NIC.
Содержание Network Interface Card
Страница 1: ......
Страница 3: ...Network Interface Card User s Manual...
Страница 6: ......
Страница 32: ...Chapter 1 Printronix Customer Support Center 32...
Страница 83: ......
Страница 86: ......
Страница 96: ...Chapter 4...
Страница 102: ......
Страница 108: ...Chapter 4 Windows Host Configuration 108 12 Click Next 13 Click Finish The Add Printer Wizard window appears...
Страница 144: ......
Страница 202: ...Chapter 7 Troubleshooting 10 100Base T 202...
Страница 210: ...Chapter 8 OS 2 Workstation Configuration 210...
Страница 228: ...Chapter 9 Handling z OS Connectivity Problems 228...
Страница 292: ...Chapter 12 Configuration Screens 292...
Страница 300: ...Chapter 13 Font Identifier FONT Help 300...
Страница 356: ...Chapter 16 Periodic Ping 356...
Страница 362: ...362...
Страница 376: ...Index 376...
Страница 377: ......


