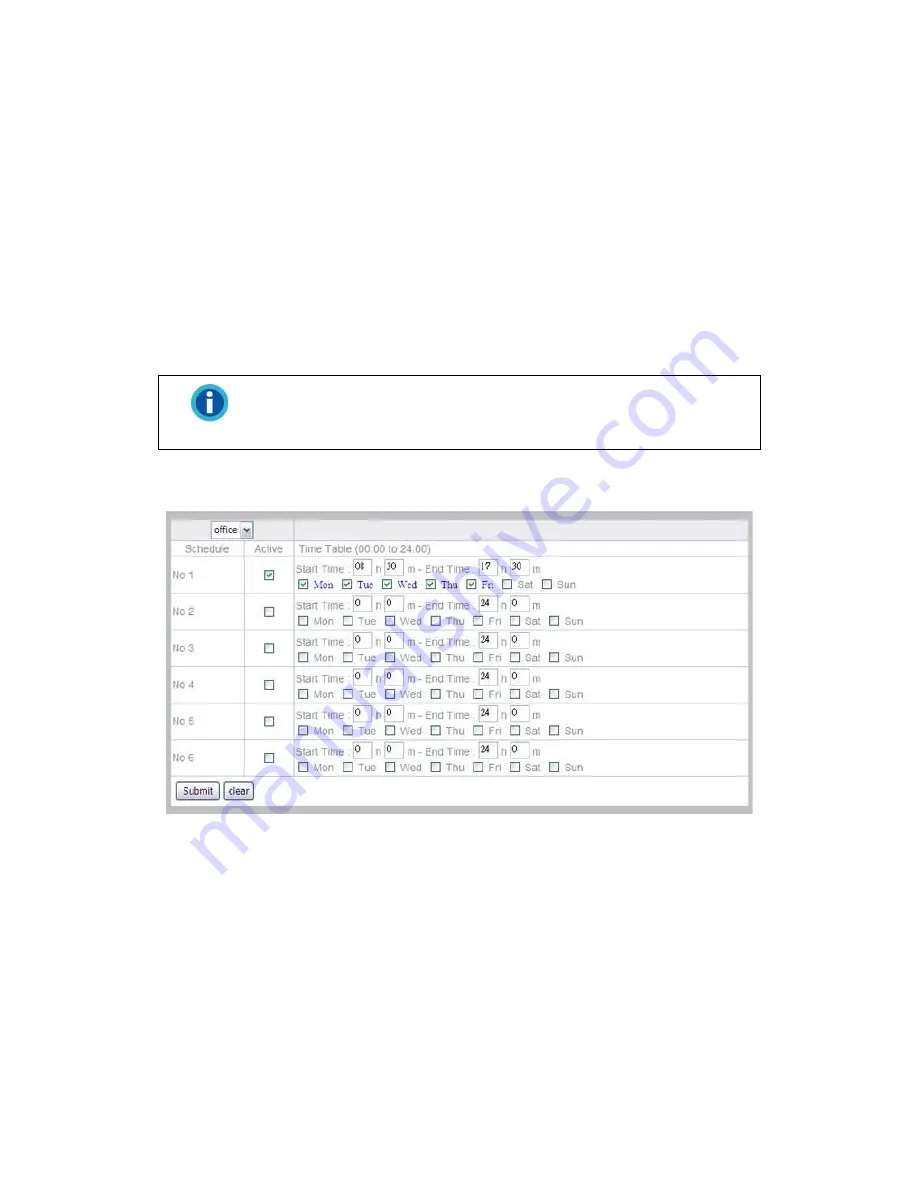
Go to the “Advanced” page and click the menu “Schedule Settings”
“Record
Schedule” to configure schedule settings.
To pre-set the record schedule for each individual camera:
1. Select the camera from the drop-down list.
2. Select the “Start Time” and “End Time” for the NVR to record during one day.
Select the day (or days) of the week. For example, you can enable the
recording from 6 pm to 12 pm for every day of the week.
3. Select a preset record schedule setting and click the checkbox of “Active” to
activate the record schedule.
4. You may set up to 6 settings from “No 1” to “No 6”.
5. Click the “Submit” button to save the settings for the camera.
Information
For security reasons, you may schedule the recording 24 hours a day
and 7 days a week.
Event Schedule
Go to the “Advanced” page and click the menu “Schedule Settings” > “Event
Schedule” to configure schedule settings.
To pre-set the event schedule for each individual camera:
1. Select the camera from the drop-down list.
2. Select the “Start Time” and “End Time” for the NVR to record the configured
events during one day. Select the day (or days) of the week. For example,
you can enable the event settings from 6 pm to 12 pm for every day of the
week.
3. Select a preset event schedule setting and click the checkbox of “Active” to
activate the event schedule.
4. You may set up to 6 settings from “No 1” to “No 6”.
51


