To take a snapshot
1. Click the “Snapshot” button
to capture the image shown in the current
viewer.
2. A note will pop out telling you the saving folder and filename of the snapshot. You
may go to the folder and find the snapshot picture. For Windows 7 users, you
may browse your disk drives to select a desired saving folder in the dialog that
opens.
To enable Audio function
The “Audio” button
is available only when the connected IP Camera is built with
related functions.
Go to the “Advanced” page and click the menu “IPCam”
“Video
Settings”, if the “Enable Audio” option is checked, you may click on the “Audio” button
to enable or disable the audio function.
Record View
Select “Record View” from the drop-down list to display the page of Record View.
To select a normal record to play:
1.
Select a desired Channel to configure settings.
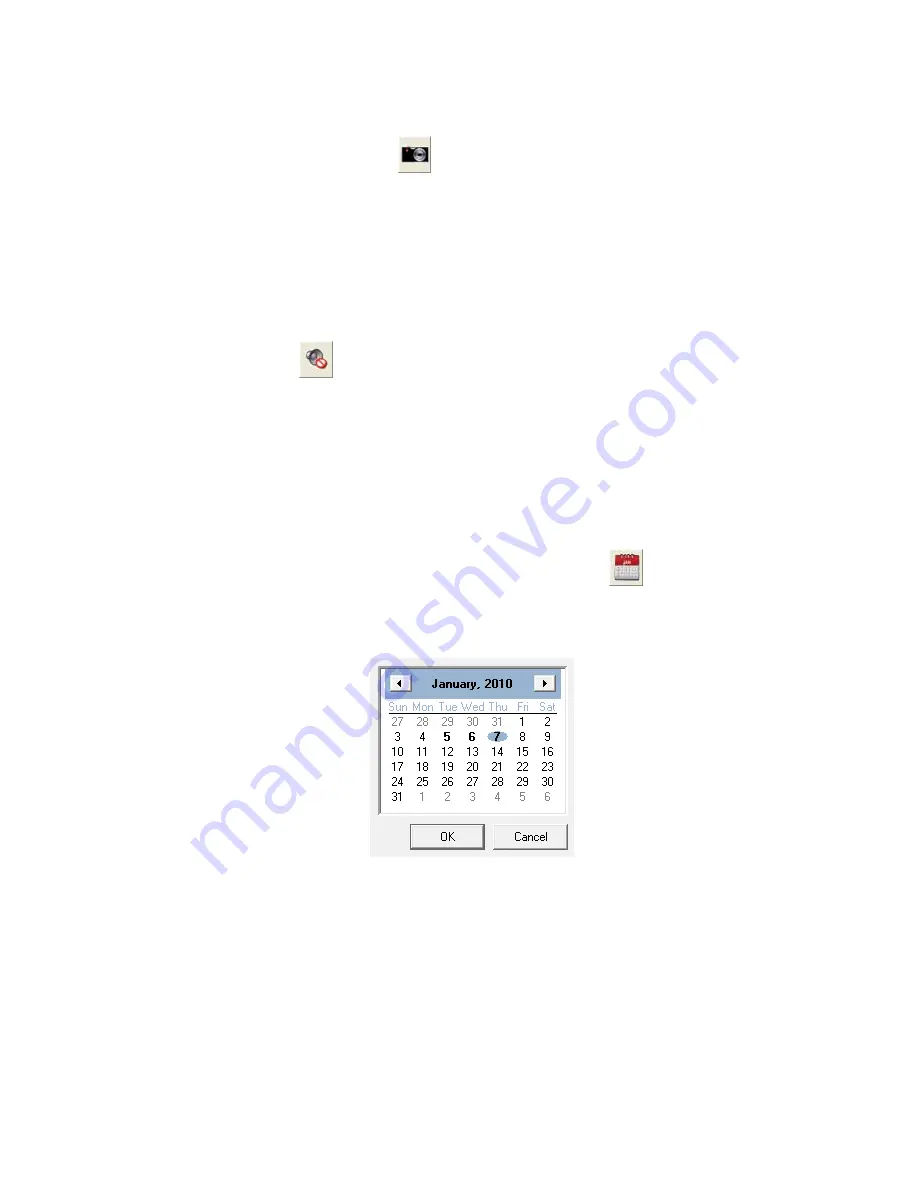
Click the
button to select
a date from the popup window.
2. Click on the date you want to review in the calendar. The dates with video
records are displayed in bold fonts.
Click “OK” to confirm the selection.
3. Tick the checkbox to select the time period from the list on the left.
4. Click “Select All” to select all records, and click “Unselect All” to unselect all
records.
Click “PLAY” and the window will play the recorded video one by one.
26


