The system and the other setup
12
130
en
Remote Control Mode Setup
• Default setting:
1
This sets this receiver’s remote control mode to prevent
erroneous operation when multiple units of the receiver
are being used.
1
1
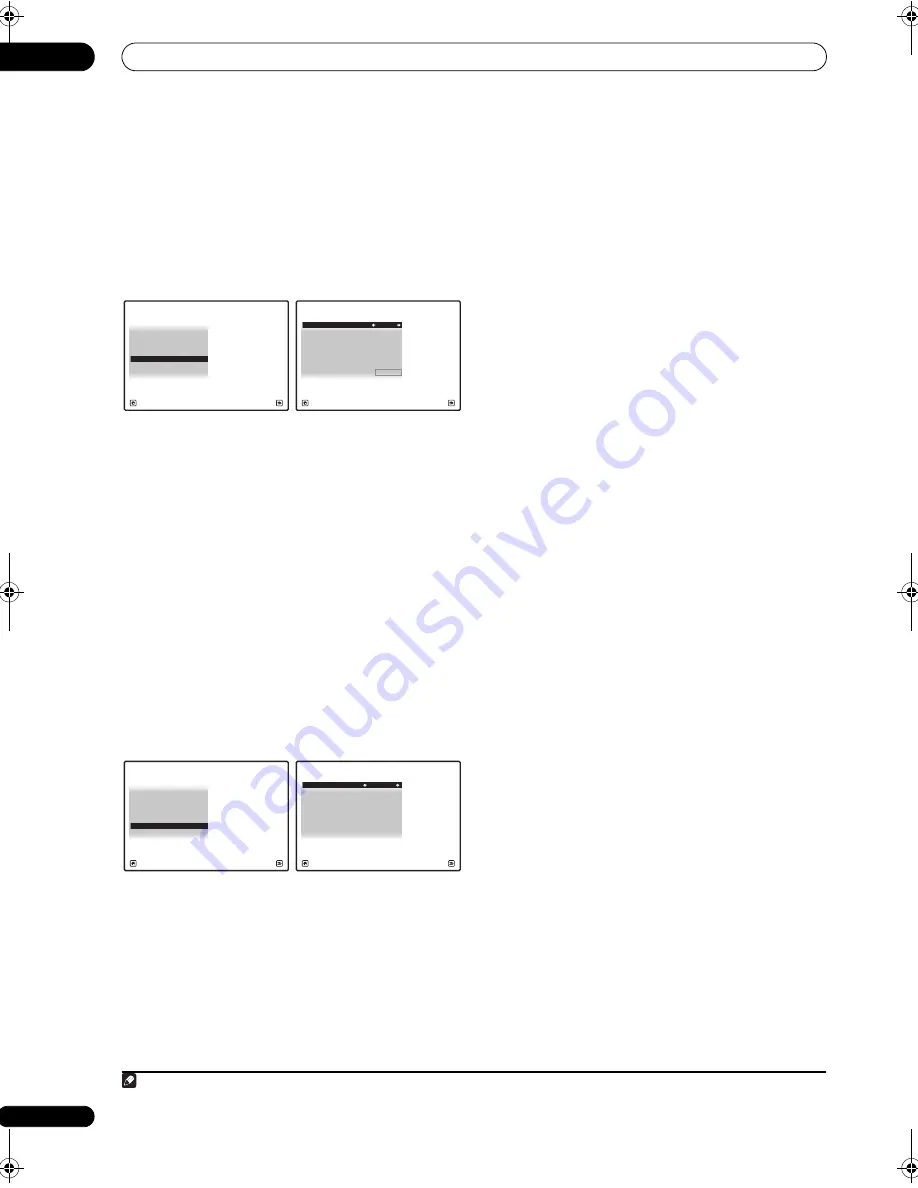
Select ‘Remote Control Mode Setup’ from the
Other Setup menu.
2
Select the Remote Control Mode setting you want.
3
Select “OK” to change the remote control mode.
4
Follow the instructions on the screen to change the
remote control’s setting.
See
Operating multiple receivers
(
SC-27:
page 96,
SC-25:
page 103).
5
When you’re finished, press RETURN.
You will return to the
Other Setup
menu.
Flicker Reduction Setup
• Default setting:
4
The GUI screen’s resolution can be increased. If you feel
the GUI screen is hard to see, try changing this setting.
Note that the resolution in this setting only affects the
GUI screen; it has no influence on the video output.
1
Select ‘Flicker Reduction Setup’ from the Other
Setup menu.
2
Select the Flicker Reduction setting you want.
3
When you’re finished, press RETURN.
You will return to the
Other Setup
menu.
Note
1 If you change this receiver’s setting, also change the setting on the remote control.
4d.Other Setup
A/V RECEIVER
Exit
Return
3. ZONE Audio Setup
4. Power ON Level Setup
5. Volume Limit Setup
6. Remote Control Mode Setup
7. Flicker Reduction Setup
2. Multi Ch In Setup
1. KURO LINK Setup
4d6.Remote Control Mode Setup
A/V RECEIVER
Exit
Cancel
Remote Control Mode : 1
OK
4d.Other Setup
A/V RECEIVER
Exit
Return
3. ZONE Audio Setup
4. Power ON Level Setup
5. Volume Limit Setup
6. Remote Control Mode Setup
7. Flicker Reduction Setup
2. Multi Ch In Setup
1. KURO LINK Setup
4d7.Flicker Reduction Setup
A/V RECEIVER
Exit
Finish
Flicker Reduction :
4
SC-27_25.book Page 130 Monday, April 6, 2009 7:15 PM


