3 Touch
c
or
d
to select the display to
open/close automatically or manually.
Touch
c
to select
MANUAL
, and you have to
press
OPEN/CLOSE
to open/close the display.
Touch
d
to select
AUTO
, and the display auto-
matically opens/closes when power to this
unit is turned on.
Setting the clock
Use these instructions to set the clock.
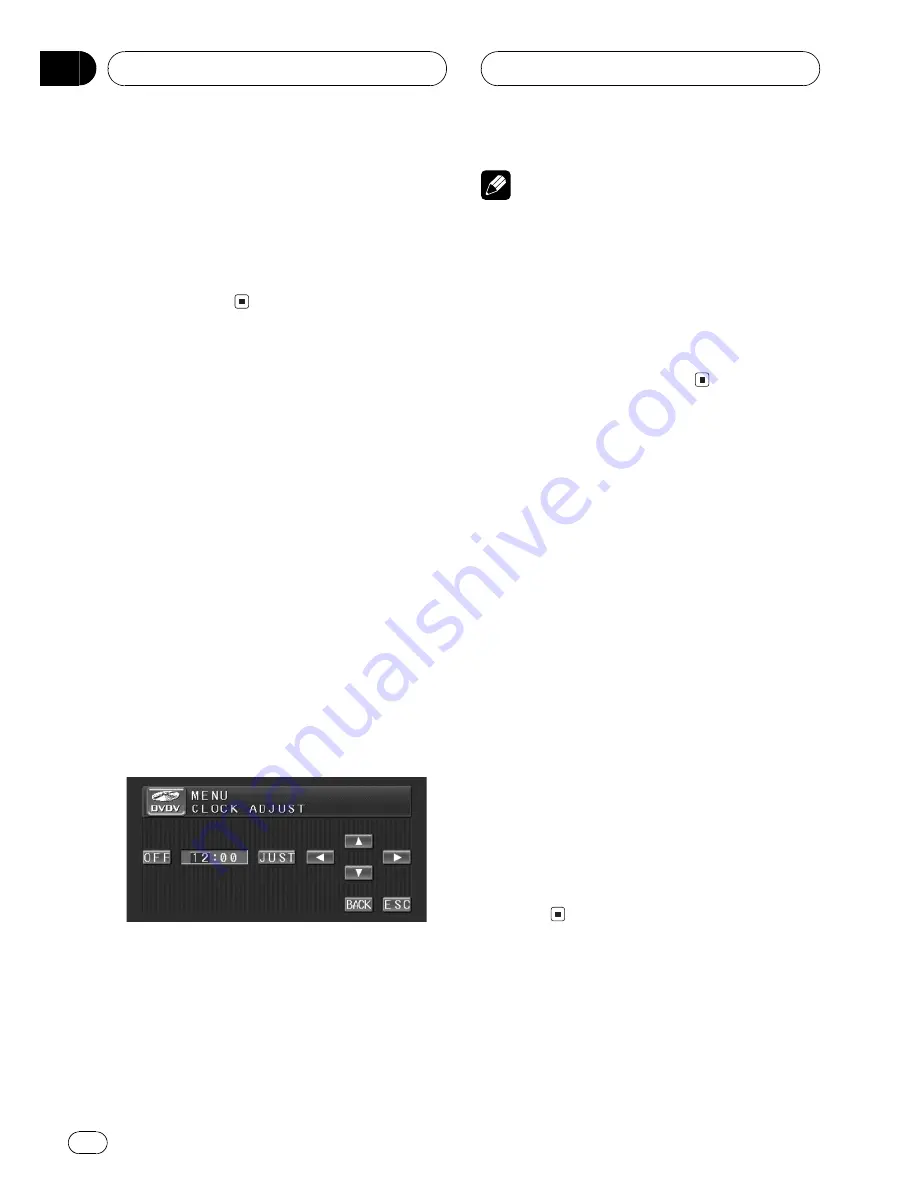
1 Touch CLOCK ADJUST on the setup
menu.
2 Touch OFF to turn the clock display on.
ON
will appear in the display instead of
OFF
.
Clock display is now on.
#
To turn the clock display off, touch
ON
.
3 Touch
c
or
d
to select the segment of
the clock display you wish to set.
Each time you touch
c
or
d
it will select one
segment of the clock display:
Hour
Minute
As you select segments of the clock display
the segment selected will be highlighted.
4 Touch
a
or
b
to set the clock.
Each time you touch
a
it increases the se-
lected hour or minute. Each time you touch
b
it decreases the selected hour or minute.
Notes
!
You can match the clock to a time signal by
touching
JUST
.
If the minute is
00
29
, the minutes are
rounded down. (e.g.,
10:18
becomes
10:00
.)
If the minute is
30
59
, the minutes are
rounded up. (e.g.,
10:36
becomes
11:00
.)
!
Even when the sources are off, the clock dis-
play appears on the display.
Selecting video on rear display
You can set the rear display to automatically
switch to the AVG-VDP1 image with the front
display. Alternatively, you can set it to remain
showing the selected video source and not
change with the front display.
!
You can operate this function only when a
Pioneer Vehicle Dynamics Processor (AVG-
VDP1) is connected to this unit.
!
When selecting
SOURCE
and the selected
source is an audio source, nothing is dis-
played on rear display.
%
Touch R.DISP on the setup menu to dis-
play video of the selected source on rear
display.
Touch
R.DISP
until the desired video setting
appears in the display.
!
SOURCE
Display the video of the selected
source on rear display
!
V.D.P.
Display the AVG-VDP1 on rear dis-
play
Other Functions
En
90
Section
18


