49
USB Devices
Removing USB Devices
CAUTION
●
Do not remove a USB device while your computer is in the standby or hibernation
mode.
●
Save important data and close each application.
1
Windows 2000
Select
on the taskbar and select the USB device, then select
[Stop].
Follow the on-screen instructions.
(When
is not displayed or when the USB device has been removed after the
computer is turned off, this step is not necessary.)
Windows XP
Select
on the taskbar and select the USB device, then select
[Stop].
Follow the on-screen instructions.
(When
is not displayed or when the USB device has been removed after the
computer is turned off, this step is not necessary.)
2
Remove the USB device.
USB Floppy Disk Drive
Note the following when using a USB floppy disk drive (CF-VFDU03).
●
Do not power off your computer or press the floppy disk drive eject button while
the floppy disk drive being accessed.
Doing so may damage the data on the floppy disk and render the floppy disk useless.
●
Use care when handling floppy disks.
To protect the data on your floppy disks or to prevent a floppy disk from becoming stuck
in your computer, avoid the following:
• Sliding the shutter on the floppy disk manually.
• Exposing the disk to a magnetic field.
• Storing the disk in locations prone to high temperatures, low pitched noise,
dampness, or dust.
• Applying more than one label on the disk.
●
Confirm the contents of a floppy disk before formatting it.
Confirm that no important data is on the floppy disk, because all data on the floppy disk
will be erased.
●
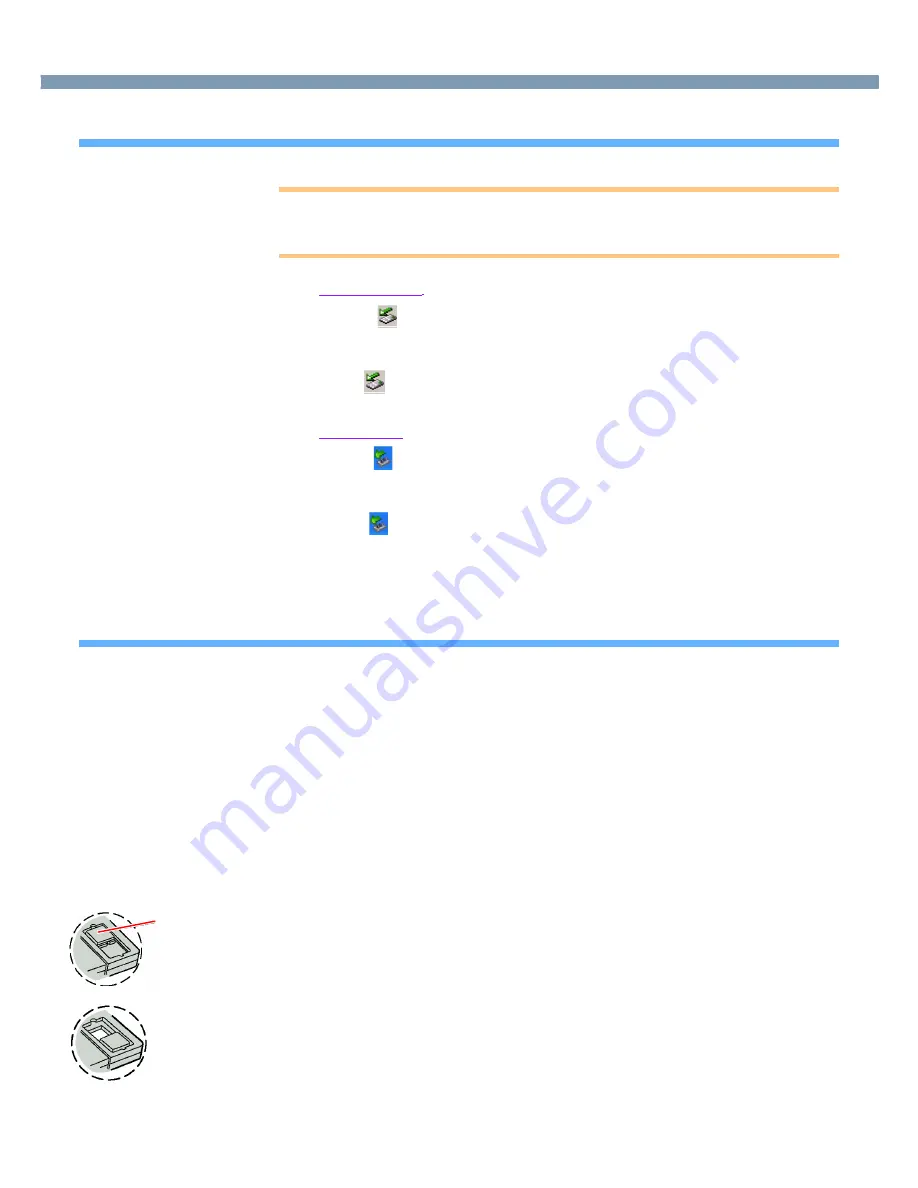
Use the write-protect tab (A).
This is a must for preserving important data. This prevents your data from being erased
or overwritten.
●
The USB floppy disk drive cannot be used at the same time as other floppy disk
drives.
●
Do not directly open application files (e.g., Microsoft Word, Microsoft Excel)
which are stored on the floppy disk.
First copy the files to the hard disk, then open the copied files from the hard disk.
Write Enable
Write Disable
A


