– 111 –
Chapter 5 Playback — Thumbnail operations
Status of clip metadata
[USER CLIP NAME] to be recorded
When no clip metadata has been loaded, or when setting disables recording of loaded clip
metadata
Same as [GLOBAL CLIP ID]
r
[TYPE2]
Status of clip metadata
[USER CLIP NAME] to be recorded
When clip metadata has been loaded
Uploaded data
+
[COUNT] value*
When no clip metadata has been loaded, or when setting disables recording of loaded clip
metadata
Same as [CLIP NAME]
* The [COUNT] value is indicated as a four-digit number.
The [COUNT] value is incremented each time a new clip is generated, if the clip metadata has been loaded and [TYPE2] has been selected as the recording
method.
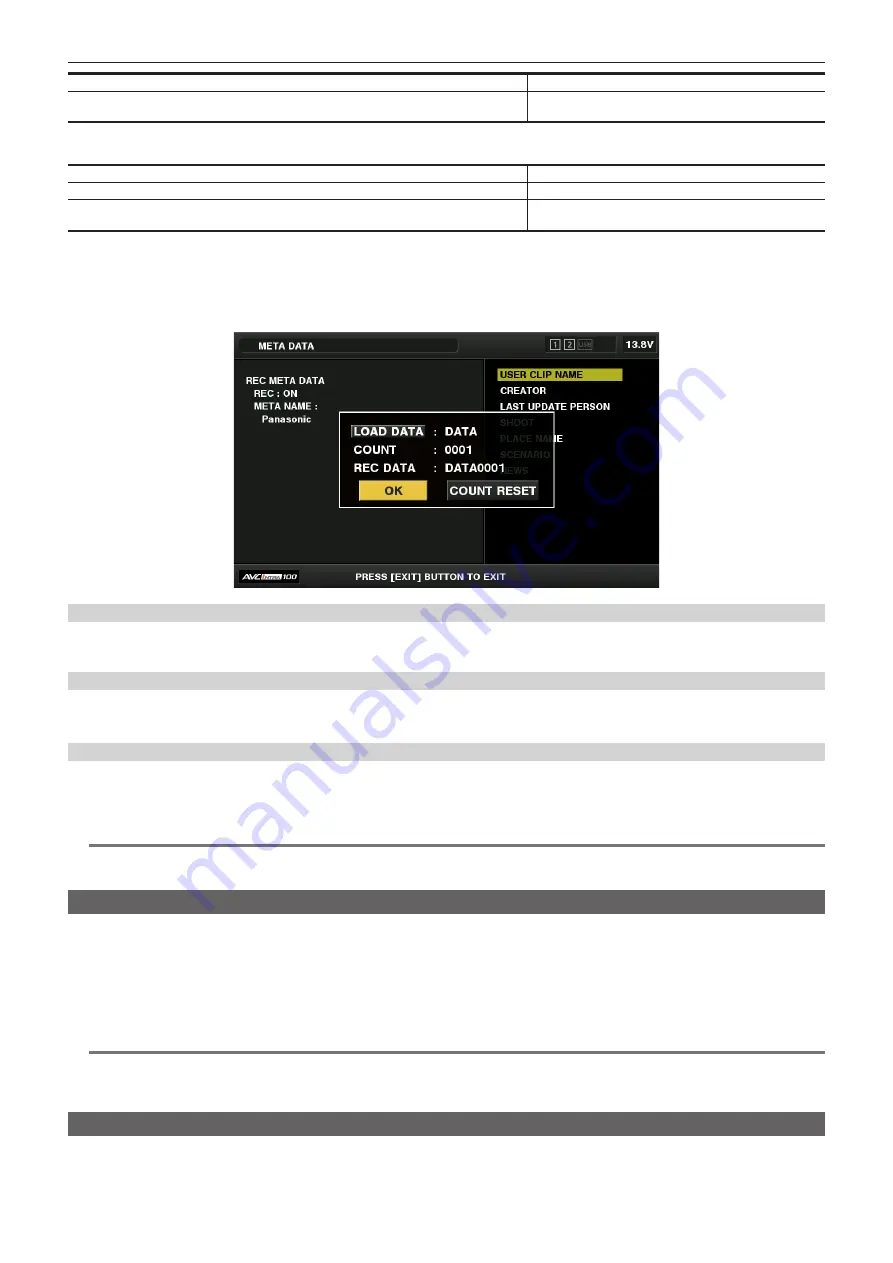
The [COUNT] value can be reset using the following method.
When you select [PROPERTY] in the main menu
→
[RECORDING SETUP]
→
[REC META DATA] and then select [USER CLIP NAME], the following screen is
displayed. Move the cursor over [COUNT RESET], and press the <SET> button to reset the [COUNT] value to 1.
Selecting the [CARD SERIAL] recording
When [ON] is selected in the main menu
→
[RECORDING SETUP]
→
[REC META DATA]
→
[CARD SERIAL], the function that records the serial
number of the P2 card as metadata (text memo without offset) is enabled.
Initializing the metadata setting
Select [INITIALIZE] in the main menu
→
[RECORDING SETUP]
→
[REC META DATA]. Select [YES] when the confirmation screen is displayed.
The settings in the main menu
→
[RECORDING SETUP]
→
[REC META DATA] and later items, including loaded metadata, are initialized.
Setting metadata display language
When [NTSC (J)] is selected for the region of use, the language used to display metadata can be set.
Select [LANGUAGE] in the main menu
→
[RECORDING SETUP]
→
[REC META DATA], select the display language, and press the <SET> button.
For a language, select either [ENGLISH] or [JAPANESE].
@
@
NOTE
t
Characters that cannot be displayed in English are not displayed properly but are displayed as “
*
”.
t
Only alphanumeric characters can be entered.
Formatting a P2 card
1
Select [FORMAT] in the main menu
→
[CLIP].
f
Select the slot number where the P2 card to be formatted is inserted, and press the <SET> button.
f
Select [EXIT] when you do not wish to format the card.
2
Use the cursor buttons to select [YES].
The selected P2 card is formatted.
@
@
NOTE
t
Data deleted as a result of formatting cannot be restored. Always check the data before formatting.
t
If the CPS password has been set, the confirmation message whether to select the encrypted format [CPS(ENCRYPT)] or normal format [NORMAL] is
displayed when selecting a slot. When the encrypted format is selected, the microP2 memory card is encrypted.
Formatting SD memory cards
SD memory cards can also be formatted in the thumbnail screen. With an SD memory card inserted into the camera, perform the following operation.
1
Select [FORMAT] in the main menu
→
[CLIP].
Содержание AJ-PX800G
Страница 9: ...Before using the camera read this chapter Chapter 1 Overview ...
Страница 153: ...Details displayed on the viewfinder are described Chapter 8 Display ...
Страница 177: ...This chapter describes how to use the camera by connecting to network Chapter 10 Network Connection ...
Страница 210: ...This chapter describes the specifications of this product Chapter 13 Specification ...


