25
DP20
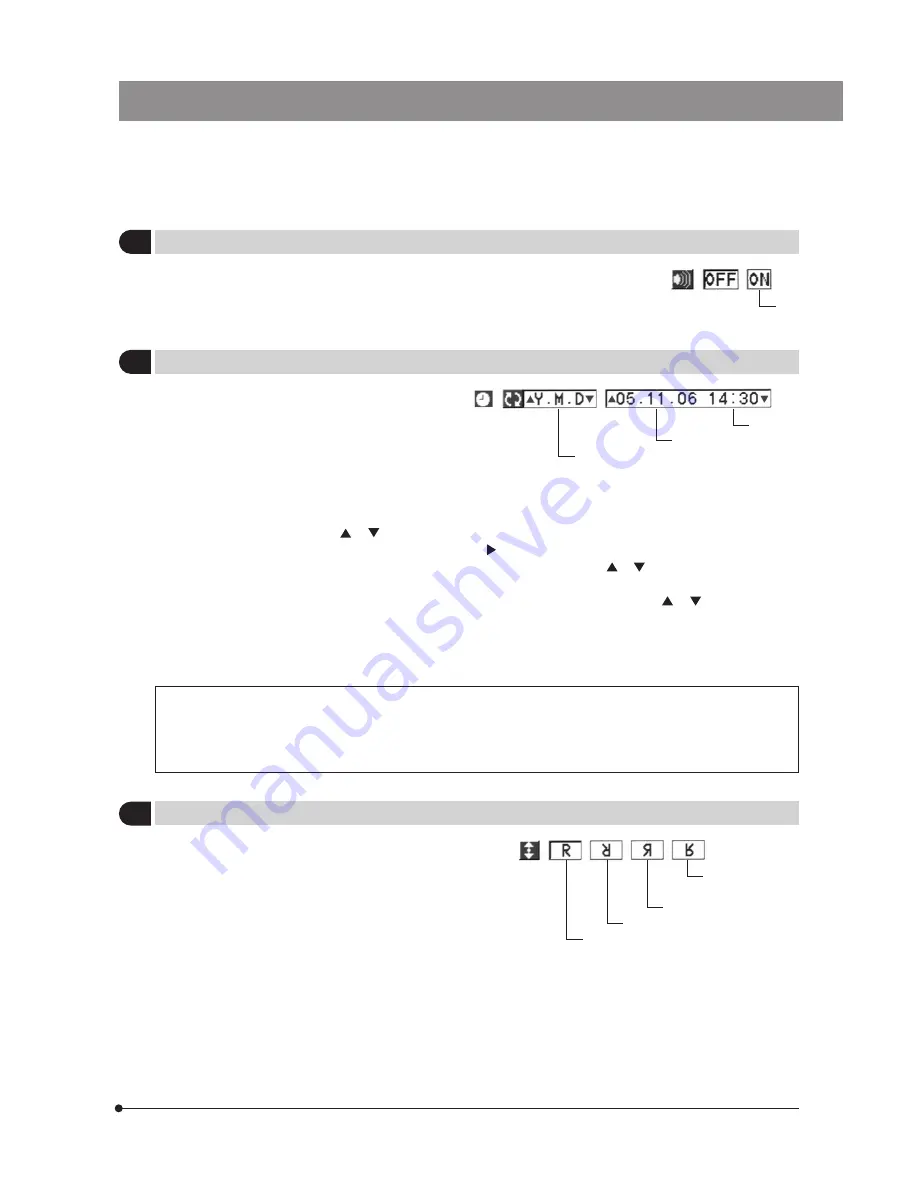
}The date and time can be set in the camera system.
The recording date and time are recorded together with the recorded pictures.
· Press either cross-cursor button or to select the order of the figures of year, month and day.
· When the order of figures has been set, press cursor button to move the cursor on the date position. When the figure
of “year” in the date position is displayed in green, press either cross-cursor button or to set the desired figure, and
press the SET/OK button to establish it.
· When the figure of “month” starts to be displayed in green, press either cross-cursor button or to set the desired
figure, and press the SET/OK button to establish it.
· Set the figure of “day” in the same way as above, and also press the SET/OK button to establish it.
· When the date is set, the cursor moves to the time position. Similarly set the figures of “hour” and “minute”, and also press
the SET/OK button after setting each figure.
15
Setting the Date/Time
Factory setup: ----
Order of figures
Date
Time
· When the order of the figures is changed, the order of the figures of year, month and day in the print
reservation are also changed.
· Even when the date and time are recorded with a picture, they will be altered to the processing date and
time when the picture is processed on the PC.
}This item selects the orientation of the displayed picture from
four options.
Note that this item is not available in the middle of recording.
Erect display
180° inverted display
Left/right inverted display
Up/down inverted
display
}This item selects whether or not the beep tone for warning
and other purposes is output when necessary.
ON.
14
Setting the Beep Tone
Factory setup: OFF
16
Setting the Picture Display Orientation
Factory setup: Erect display


