background image

16

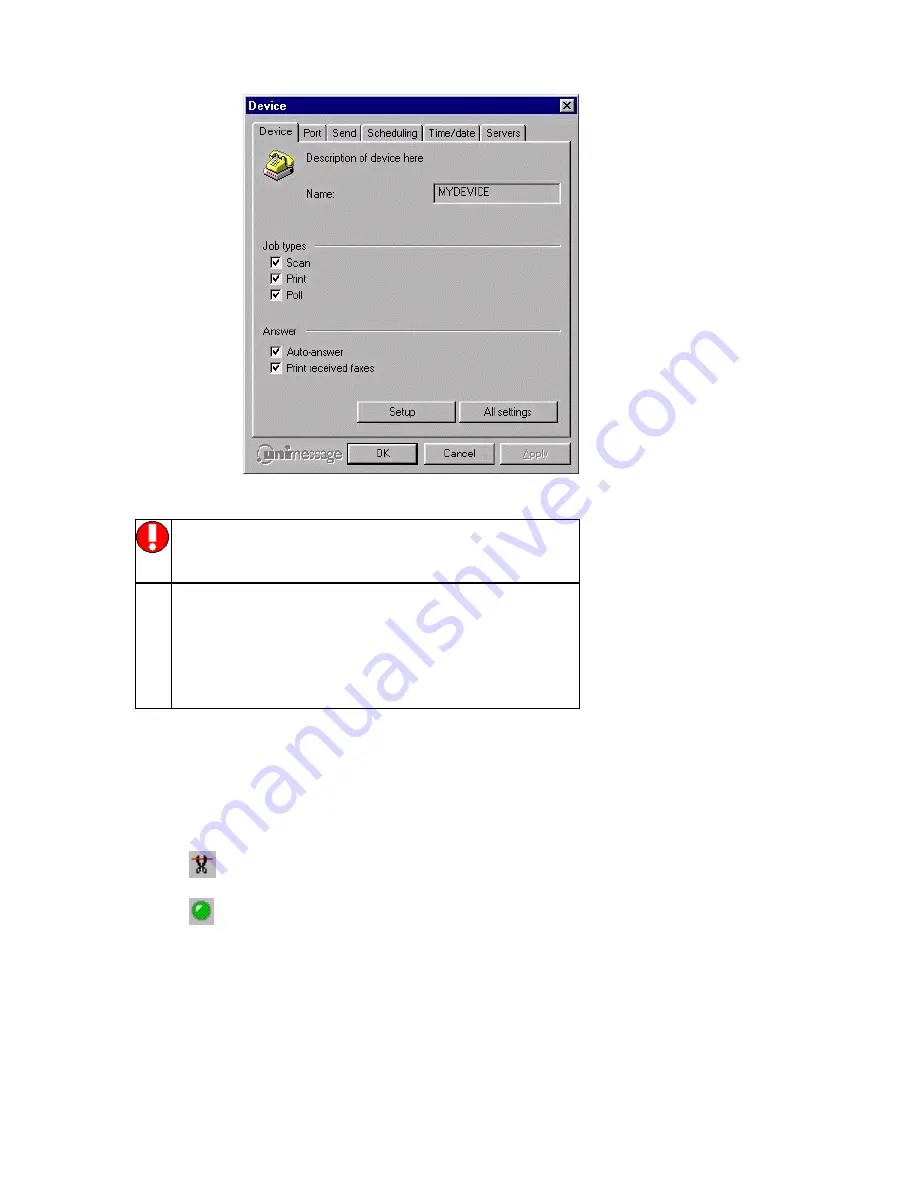
Change the settings on the Device Properties dialog and then click 

OK

 to save

the new settings.


All changes made to controls on any tab of
the above dialog take effect from when
Unimessage Pro, or the device, is restarted.


The 

All settings

 button allows you to

review and change all of the detailed
settings that are available for the type of
device you are using. Only make changes if
you are sure improper settings can cause
unpredictable behavior.

Restarting a device, to activate changed settings

Changes made to a device’s properties only take effect from the next time you
start Unimessage Pro, or close and then restart the device after editing its
settings, as described below:


Select the device in the 

Devices

 list.


Click the 

Log off 

toolbar button:


Click the 

Start

 toolbar button:


Содержание OF5650

Страница 1: ...1 User s Guide...

Страница 2: ...nfiguration 15 Restarting a device to activate changed settings 16 Email Configuration not included with Xlite version 17 Associating email Servers with email Devices 17 Selecting an email Account to...

Страница 3: ...evice 40 Device Wizard Detect Device Introduction 41 Device Wizard Select 42 Start Up Wizard Device 43 Start Up Wizard Email Device 44 Device Wizard Detected Devices 45 Device Wizard Use for Fax 46 De...

Страница 4: ...4 Congratulations 62 LEGAL INFORMATION 63 Conditions of Purchase 63 Permitted Uses 63 Uses not Permitted 63 Governing Law 64 Limited Warranty 64 Copyright 64 Trademarks 65 INDEX 66...

Страница 5: ...ing Unimessage Pro Embedded Commands Time delayed transmission to take advantage of evening or weekend telephone rates Creating folders to store your incoming and outgoing messages Creating your perso...

Страница 6: ...r is required This can run on any workstation whether or not that workstation is connected to a device or is submitting fax or email jobs but it is usually more convenient to run it on the first works...

Страница 7: ...you should make sure that you have an IBM compatible PC running Windows 95 98 NT4 or above The following minimum specification is recommended Pentium 120MHz 16 MB RAM when running Windows 95 or 98 Fi...

Страница 8: ...box type D SETUP where D is your CD drive Press Enter The Unimessage Pro Auto Installer Screen displays To select an option on the Unimessage Pro Auto Installer Screen either double click it or use cu...

Страница 9: ...g Windows DUN connection to the Internet by selecting a device that can support data connections such as a modem on the port that you have already defined a Windows DUN connection If you are using a W...

Страница 10: ...Pro Administrator to the section on Upgrading Unimessage Pro if required Additional email accounts can be defined by selecting Email account from the File New menu If you have installed Unimessage Pro...

Страница 11: ...ully During the installation of Unimessage Pro network client on each network workstation only create a device driver if the modem or MFP is connected directly to the workstation at which you are inst...

Страница 12: ...eate it during Unimessage Pro installation Unimessage Pro Welcome Menu When you start Unimessage Pro it normally displays the main Welcome menu From this menu you can access the main Unimessage Pro sy...

Страница 13: ...d allows you to make multiple hardcopies of a document in the automatic document feeder of the TWAIN scanner File Scan This takes you to the Unimessage Pro Scan setup dialog so that you can scan docum...

Страница 14: ...w menu The remainder of the screen is divided into two parts On the left is the list of available folders To open a folder in the right pane click its name in the folder tree If a folder contains any...

Страница 15: ...tally or vertically switch between open folders or close them all Most folders also have their own toolbars that you can disable from the View menu When you close the main Unimessage Pro display the W...

Страница 16: ...etailed settings that are available for the type of device you are using Only make changes if you are sure improper settings can cause unpredictable behavior Restarting a device to activate changed se...

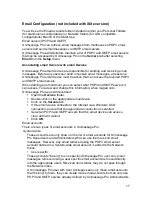
Страница 17: ...logged onto Unimessage Pro as an Administrator Open the Devices folder Double click on the appropriate email device Click on the Servers tab If this email device connects to the Internet via a Window...

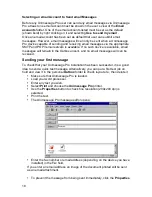
Страница 18: ...in the Outbox unsent and no email messages will can be received Sending your first message To check that your Unimessage Pro installation has been successful it is a good idea to send a quick test me...

Страница 19: ...folder showing details of the success or failure of the attempt If sent successfully moves the entry from the personal Outbox folder and places a new entry in the Sent items folder unless you have def...

Страница 20: ...device for example to enable or disable reception of fax messages to the PC via the Devices folder Open the Devices folder in the folder tree then double click on the appropriate entry in the list of...

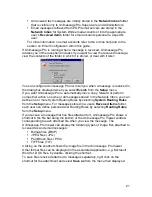
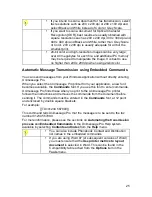
Страница 21: ...copy forward or perform some other action on some or all messages stored in the Network Inbox you can define one or more System Routing Rules by selecting System Routing Rules from the Setup menu For...

Страница 22: ...Unimessage Pro user or is an email message received by the Unimessage Pro system via a Unimessage Pro System Wide email account The received message is added to the Network Inbox folder and all availa...

Страница 23: ...inish to store the completed rule If OCR functions are included in your copy of Unimessage Pro you can define a User Routing Rule to automatically OCR received fax messages You can also define an OCR...

Страница 24: ...resolutions instead e g 200 x 200 dpi 300 x 300 dpi etc Asymmetric resolutions will also usually yield poor OCR results Into Unimessage Pro from TWAIN Scanners Unimessage Pro also provides a function...

Страница 25: ...you select the Unimessage Pro printer from your application a new font becomes available the Commands font If you use this font to enter commands Unimessage Pro finds these when you print to the Unim...

Страница 26: ...e time delay settings for jobs in the Outbox by right clicking on the job selecting Properties from the menu displayed and then reviewing the settings on the Transmission tab Sending files including c...

Страница 27: ...Editor toolbar then browse to find the file you want to send Drag the file you want to attach from Windows Explorer or from a Unimessage Pro file list into the Unimessage Pro message editor Use the e...

Страница 28: ...e the View Toolbar Cover sheet tools to display the toolbar for creating and editing cover sheets There are several buttons on this toolbar In order these are used to Select object s Hold SHIFT while...

Страница 29: ...n starting by right clicking on the folder in the folder tree and selecting Properties Advanced Items in the Deleted items folder can be individually restored to their original location using the righ...

Страница 30: ...to all people using Unimessage Pro on your LAN right click on Network folders instead of Personal folders Finding Items Stored in Unimessage Pro Folders Once files are stored in Unimessage Pro folders...

Страница 31: ...n Wizard After the first stage of installation and re booting your computer you will be presented with Unimessage Pro Installation Wizard that guides you step by step through the installation and conf...

Страница 32: ...32 Start Up Wizard User Enter the details of the user of this copy of Unimessage Pro These details will be used when preparing messages for transmission...

Страница 33: ...tures users or devices The disk should be inserted into the computer s floppy disk drive and the appropriate driver selected or Unimessage Pro may not operate correctly If a floppy disk is provided wi...

Страница 34: ...34 Start Up Wizard User Accounts The following users are already setup Select Yes to add a new one or No to continue then click Next...

Страница 35: ...which Unimessage Pro features the user can access Calls allowed controls which telephone calls the user is permitted to make Use Advanced to set maximum priorities for the user s jobs Select the Can...

Страница 36: ...User Advanced Screen Maximum priority This sets a limit on the priority that any user may assign to a transmission Maximum poll priority This sets a limit on the priority that any user may assign to...

Страница 37: ...evice from the front end later If you wish to setup an email capable device Unimessage Pro now needs to know what email servers may be used If you do not wish to setup an email device now or wish to u...

Страница 38: ...email servers Add the name of the email server you would like to access from Unimessage Pro e g mail domain com or 111 222 333 444 Indicate what type of server it is Unimessage Pro administrators main...

Страница 39: ...ve messages If you want the front end running on this PC you should select the Unimessage Pro user name and language to be used If the front end is running it will use one of your user licenses You ma...

Страница 40: ...option if you are not sure to which port your device is connected Not all devices can be detected The Yes select a device from the list of supported devices option displays a list of devices that thi...

Страница 41: ...41 Device Wizard Detect Device Introduction...

Страница 42: ...l In case your device is not shown in the list select General drivers and then the appropriate Class 1 fax Class 2 fax or fax data modem option depending on your device s capabilities If your device i...

Страница 43: ...43 Start Up Wizard Device Choose a fax device from the list Any earlier devices will be updated if necessary...

Страница 44: ...44 Start Up Wizard Email Device Choose an email device from the list...

Страница 45: ...45 Device Wizard Detected Devices Unimessage Pro has checked the ports and may have found one or more devices Click on the device you wish to setup...

Страница 46: ...46 Device Wizard Use for Fax Select Yes if you want to send faxes with this device...

Страница 47: ...age Pro must have a unique name of up to 8 characters You can add a more detailed description if you wish To accept the standard recommended settings select the Typical option To review all settings a...

Страница 48: ...lected Select which type of jobs you would allow Unimessage Pro to carry out using this device These are jobs that can be carried out using Unimessage Pro s capability Some jobs for example printing o...

Страница 49: ...49 Device Wizard Dial Mode Select tone or pulse dialing Tone is fast so should be the preferred method unless it is not supported by your telephone system...

Страница 50: ...ond If you are using Unimessage Pro at home and need to dial a code number to charge the cost of your fax messages to a different account you could enter the code number here Remember that you can use...

Страница 51: ...o PC If you want to receive faxes into your computer you must allow Unimessage Pro to answer incoming calls Note It must be possible to dial in to your devices for it to answer calls This may not be t...

Страница 52: ...e used for dial up connection to the Internet but you may not want to use it for email for example you may collect your email via a permanent connection on your network Select Yes only if you really d...

Страница 53: ...device just click Next User Name Your dial up user name This is the same user name you entered in Windows Dialup Networking or DUN it is not always the same as the user name you need to access your em...

Страница 54: ...and the appropriate user from the list presented Email received using a System wide account will be routed to the Network Inbox which is visible only to Unimessage Pro Supervisors and Administrators...

Страница 55: ...r but you may wish to select a preferred one to be used by this device Any will allow the program to choose freely You will need to enter your POP3 account name and password in order to receive email...

Страница 56: ...opy of your incoming mail on the POP server You might wish to do this if you are working from home and you want to see your mail but you want to leave it on the server so that you can retrieve it late...

Страница 57: ...attachment column for the email message If you want to retrieve the entire message after reviewing the lines that were downloaded for the message right click on the message and select Download all of...

Страница 58: ...58 Check mail You can select what times or which days you wish to check your email account Click the day buttons to select the day the hour buttons to select the hour the top left button to select all...

Страница 59: ...59 How to Define More Email Accounts...

Страница 60: ...ocates them to devices When jobs are done it updates various logs and journals so that the front end can keep you informed The scheduler is in overall charge of the system and is required on a stand a...

Страница 61: ...ect where it should be displayed on the desktop your screen in the start menu available immediately when you click the Windows Start button or in a particular program group select a program group from...

Страница 62: ...62 Congratulations...

Страница 63: ...of users and devices added by obtaining a valid licensed upgrade from Wordcraft International Limited or an authorized agent of Wordcraft International Limited Uses not Permitted 1 Downloading of the...

Страница 64: ...the contents of this package and specifically disclaim any express or implied warranty of merchantability or fitness for any particular purpose Wordcraft International Limited s liability shall be lim...

Страница 65: ...aft International Limited All other trademarks are acknowledged Following installation the package will be automatically registered This is a legally binding agreement with Wordcraft International Lim...

Страница 66: ...r 29 Client 7 Select 7 Color images 26 Compatibility 25 Configure Unimessage Pro 7 Connects Internet 12 Define 26 Phonebook 26 Routing Rule 20 Delete toolbar button 18 Detect User Routing Rules 22 Dev...

Страница 67: ...D 20 License 63 Limited Warranty 63 Log 12 18 Map 7 Message 12 18 20 Receiving 20 Message Editor 28 Message Editor toolbar 26 Messages Received 22 Messages Sent 22 MFP 7 12 20 23 Microsoft Internet Ex...

Страница 68: ...Rules dialog 22 Save 20 Scan 12 Select 25 Contents 25 Unimessage Pro 25 Select File 26 Send 18 Send button 18 Sent 18 22 Servers 12 Setup 12 SMTP 7 12 Status 18 Supervisors 7 12 22 System 12 System R...

Страница 69: ...ser Advanced Screen 31 User Name 31 User Routing Rules 20 22 define 22 UUENCODE 26 View menu 12 Viewer 26 28 29 WBF 26 Width Height 28 Window menu 12 Windows 18 Windows application 25 Windows Explorer...

Отзывы: