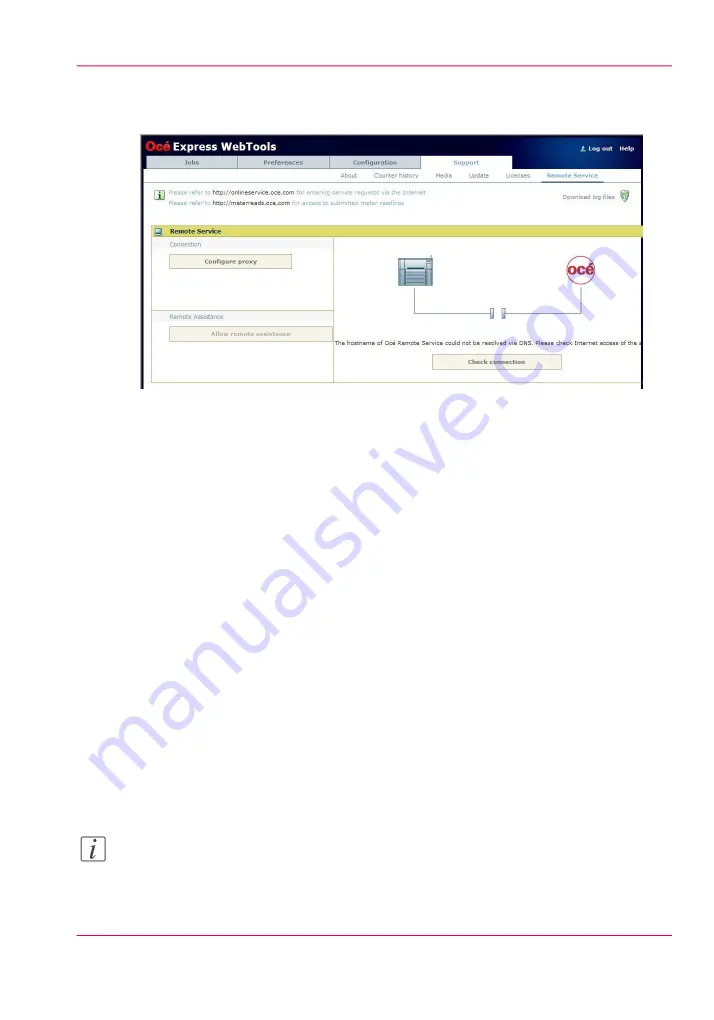
Illustration
'Configure proxy' (applicable if proxy settings are required)
1.
Set up the proxy server:
'Proxy enabled'
•
• 'Proxy hostname' please enter the fully qualified hostname of the proxy server
• 'Proxy port'
2.
Authentication setup (if needed):
• 'Proxy requires authentication'
• 'Proxy authentication: user'
• 'Proxy authentication: password'
• 'Proxy authentication: domain'
3.
Click 'Ok' to finalize proxy configuration.
'Check connection'
1.
After 'Configure proxy' setup (if applicable), it is possible to test the connection.
Click on 'Check connection' to test the connection between the Océ ColorWave 650
Poster Printer and Océ.
The result is given (within 30 seconds): 'The system is connected to Océ Remote Service'.
Note:
Now the system is able to send data to Océ. Examples: Océ Meter Manager information
or Océ 'Remote Service'.
Chapter 4 - Configure the printing system
113
Remote Service
Содержание ColorWave 650
Страница 1: ...o Oc ColorWave 650 Poster Printer Instant Poster Power User manual Operating information...
Страница 9: ...Chapter 1 Preface...
Страница 13: ...Chapter 2 Get to know the printing system...
Страница 54: ...Chapter 2 Get to know the printing system 54 Correct use of the Oc delivery tray...
Страница 55: ...Chapter 3 Prepare the printing sys tem for use and get start ed...
Страница 91: ...Chapter 4 Configure the printing system...
Страница 146: ...Chapter 4 Configure the printing system 146 Set the Color management settings...
Страница 147: ...Chapter 5 Use the printing system...
Страница 239: ...Chapter 6 Account Management...
Страница 247: ...Chapter 7 Manage media on the Oc ColorWave 650 Poster Printer printing system...
Страница 265: ...Chapter 8 Print quality and Print productivity...
Страница 313: ...Chapter 9 License management...
Страница 322: ...Chapter 9 License management 322 Install a new license...
Страница 323: ...Appendix A Contact...
Страница 335: ...1...


