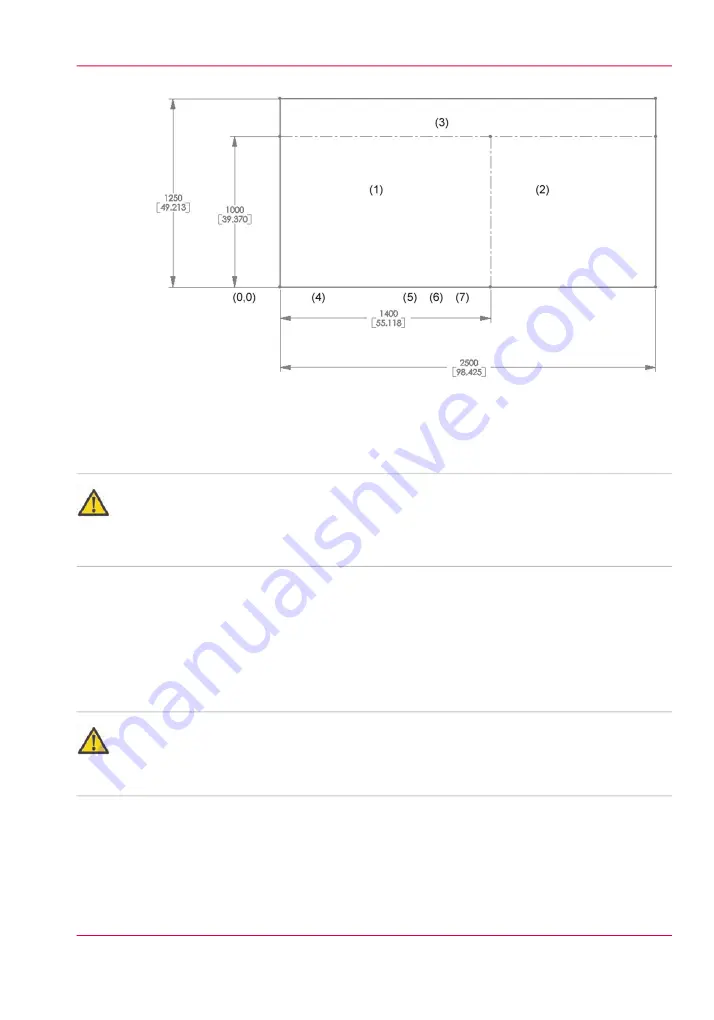
[64] Metric Vacuum Zones
How to Set Up Custom Zones
Attention:
When you remove the aluminum overlay to create custom zones, be careful that you
don’t bend or warp it. Always have a second person to assist you when you handle the
overlay. Wear clean gloves to avoid the deposit of oil and dirt on the overlay surface.
The aluminum overlay sheet lays on the printer table surface and is positioned using two
registration pins that are bonded to the table. The circular hole and the oval slot in the
overlay sheet fit over the registration pins and hold the overlay from moving on the table
surface. This section explains how to handle the overlay when you remove it from the
table to create custom vacuum zones.
Attention:
Be careful that you don’t hit the registration pins when you remove or replace the overlay.
If these pins are dislodged, there is a replacement kit available or you can re-glue them
with epoxy.
Chapter 5 - How to Operate the Océ Arizona 550 GT
91
How to Create Custom Vacuum Zones
Содержание Arizona 550 GT
Страница 1: ...Océ Arizona 550 GT User Manual Version 1 0 Revision B Océ User Manual ...
Страница 6: ...6 Contents ...
Страница 7: ...Chapter 1 Introduction ...
Страница 15: ...Chapter 2 Product Overview ...
Страница 19: ...Chapter 3 Safety Information ...
Страница 43: ...Chapter 4 How to Navigate the User Interface ...
Страница 71: ...Chapter 5 How to Operate the Océ Arizona 550 GT ...
Страница 101: ...Chapter 6 How to Operate the Roll Media Option ...
Страница 135: ...Chapter 7 How to Use the Static Suppression Upgrade Kit ...
Страница 139: ...Chapter 8 How to Work With White Ink ...
Страница 179: ... 145 Parameters Chapter 8 How to Work With White Ink 179 How to Use Media Models ...
Страница 196: ...Chapter 8 How to Work With White Ink 196 How to Create and Use Quick Sets ...
Страница 197: ...Chapter 9 Ink System Management ...
Страница 205: ...Chapter 10 Error Handling and Trou bleshooting ...
Страница 209: ...Chapter 11 Printer Maintenance ...
Страница 257: ...Appendix A Application Information ...


