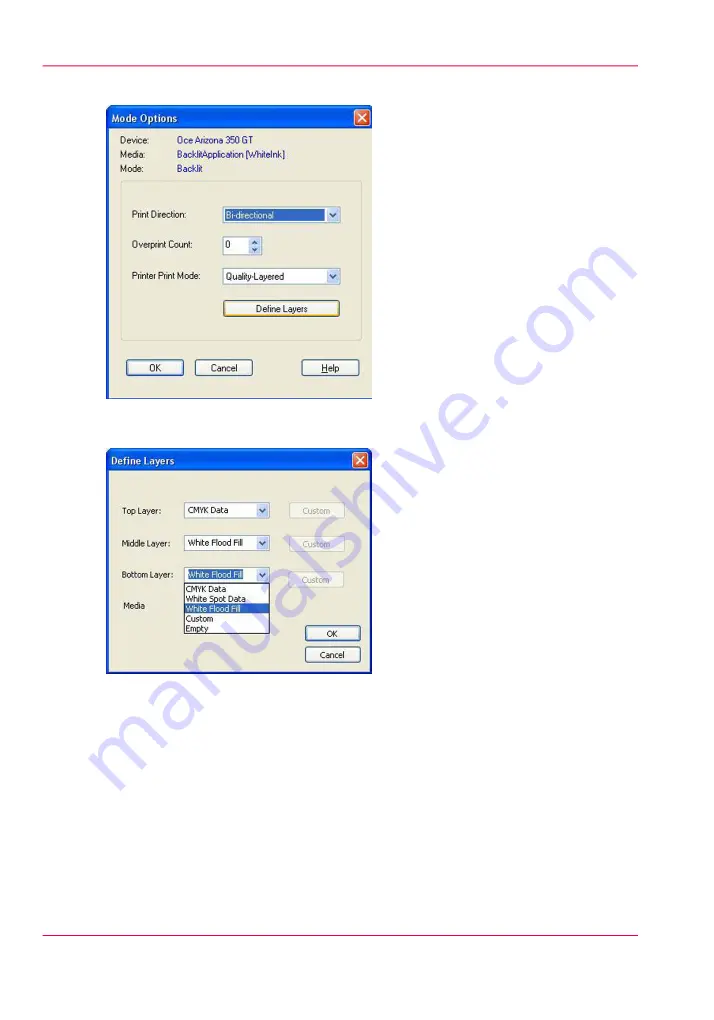
3.
Once you select a mode the Define Layers button appears under the Printer Print Mode.
[152] Define Layers
4.
Click on Define Layers to open this dialog and the following window should appear.
[153] Define Layers
5.
This is where you can set up how you want the ink to behave in each layer. It is not nec-
essary to use all 3 available layers; it is also possible to build a media using only one or
two layers. The ink usage options for CMYK, White Spot and White Flood Fill data are
set to default values. If you want to edit these layer options, choose Custom from the
Chapter 8 - How to Work With White Ink
186
How to Create a Media for White Ink Print Jobs
Содержание Arizona 550 GT
Страница 1: ...Océ Arizona 550 GT User Manual Version 1 0 Revision B Océ User Manual ...
Страница 6: ...6 Contents ...
Страница 7: ...Chapter 1 Introduction ...
Страница 15: ...Chapter 2 Product Overview ...
Страница 19: ...Chapter 3 Safety Information ...
Страница 43: ...Chapter 4 How to Navigate the User Interface ...
Страница 71: ...Chapter 5 How to Operate the Océ Arizona 550 GT ...
Страница 101: ...Chapter 6 How to Operate the Roll Media Option ...
Страница 135: ...Chapter 7 How to Use the Static Suppression Upgrade Kit ...
Страница 139: ...Chapter 8 How to Work With White Ink ...
Страница 179: ... 145 Parameters Chapter 8 How to Work With White Ink 179 How to Use Media Models ...
Страница 196: ...Chapter 8 How to Work With White Ink 196 How to Create and Use Quick Sets ...
Страница 197: ...Chapter 9 Ink System Management ...
Страница 205: ...Chapter 10 Error Handling and Trou bleshooting ...
Страница 209: ...Chapter 11 Printer Maintenance ...
Страница 257: ...Appendix A Application Information ...


