


TriCaster Mini
Go Make Your Show Guide
36
These next-level steps will introduce you to a section of the Live Desktop we haven’t talked about yet – the
Mix Effects panel.
When you click on the divider bar, a second panel appears above the video switcher that looks very similar to
the switcher itself. This is a Mix Effects panel, also known as an M/E, and it has two modes—MIX and
EFFECTS. Let’s take a moment to explore the M/E to see how the most essential controls are organized in
each mode.
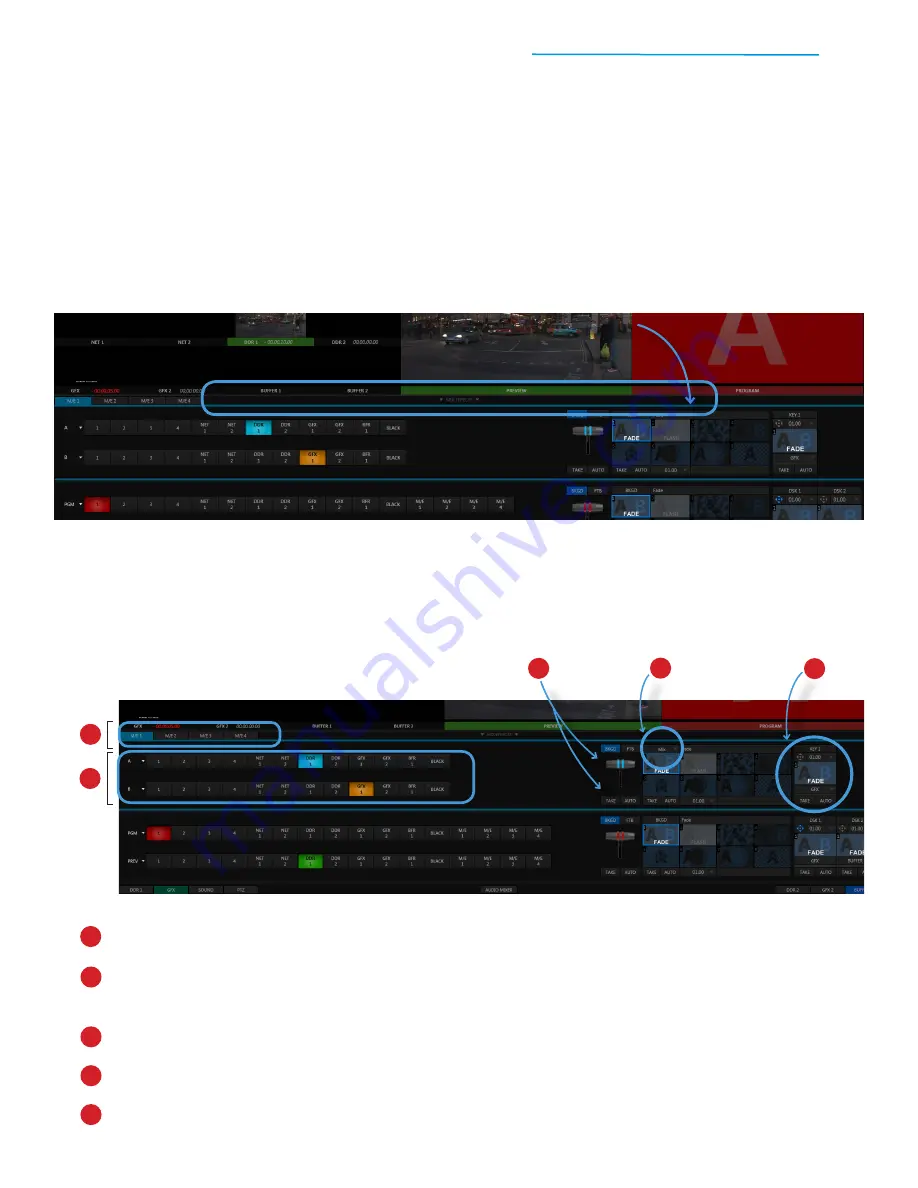
The
M/E tabs
, which you can click through to work with any of TriCaster Mini’s 4 Mix Effects panels.
The
M/E bus
, which includes two rows of buttons – row A and row B. When you click on a video
source, its button will light up
blue
on row A and
gold
on row B.
The
transition controls
, which includes the T-Bar, TAKE and AUTO buttons, and transition palette.
The
mode selector button
, which lets you alternate between MIX and EFFECT modes.
The
Key layer
toolset, which you can use to apply an overlay to the M/E.
When you first start a session, the Mix Effects panel is hidden. To open the Mix Effects panel:
1) Mix Effects
#1
Click on the divider bar located above the switcher that is labeled MIX EFFECTS
1
1
2
2
3
4
5
3
4
5
MIX EFFECTS PANEL – MIX MODE