


TriCaster Mini
Go Make Your Show Guide
14
2) Setting Up Your Camcorders
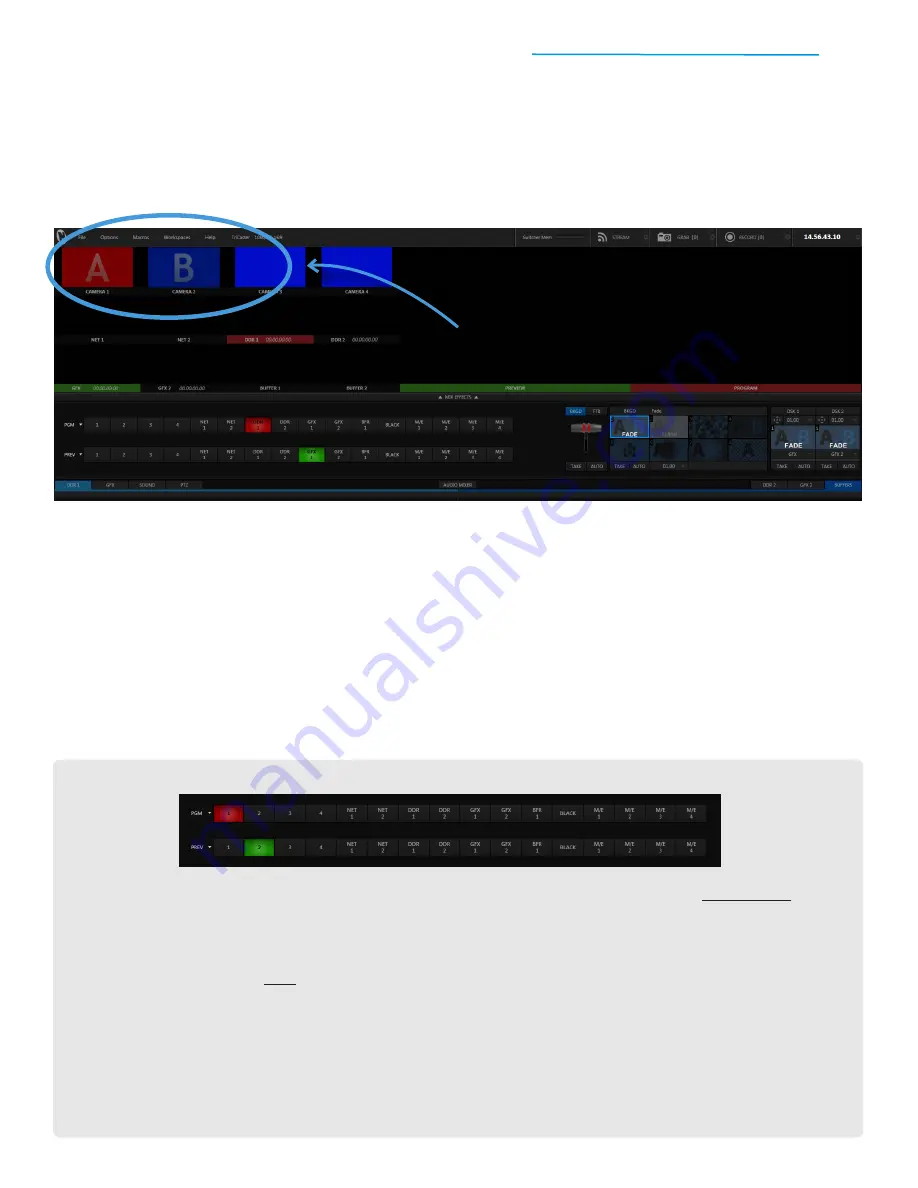
Each HDMI camcorder that is on and connected properly will be automatically detected by TriCaster Mini.
You should see the live feed(s) in the video windows in the upper left of the screen. Wasn’t that easy?
IMPORTANT: If you don’t see the live feed(s) from your camcorders in the Live Desktop, be sure that
each camcorder is on and connected properly.
3) Selecting Your Sources
The video switcher is where you switch, or select, the video sources to create your show. It includes two
identical rows of buttons that allow you to access all of the video sources you’ve gathered to create your
program—including camcorders, video clips, network sources, titles and graphics.
Even though they look the same, there is a big difference between the two rows—the most important
distinction you’ll need to make in your entire production:
PROGRAM and PREVIEW
The top row of your switcher is the Program row. Any source you click in this row will immediately show
up on-air. When a source is selected on Program, its button will turn
red
and its video will appear in the
large Program window, which has a
red
bar underneath.
The bottom row of your switcher is the Preview row, where you will choose, check and cue up the video
source you want to show next on-air. When a source is selected on Preview, its button will turn
green
and its video will appear in the large Preview window, which has a
green
bar underneath.
IMPORTANT: Professional producers always preview video sources before putting them on-air,
so that they can make sure on-camera talent is ready to be seen, camera angles are ready to be
shown, and stored sources are properly cued up. This helps minimize on-air errors (and
potentially embarrassing mistakes).
LOOK HERE TO SEE LIVE CAMERA FEEDS.
PROGRAM
PREVIEW