


TriCaster Mini
Go Make Your Show Guide
30
4) Preparing Network Video Sources
Using TriCaster Mini, you can easily display slide presentations, software interfaces, web pages,
screenshares, camera rolls, even webcams and video from streaming servers during your live show—simply
by connecting TriCaster and your supported device (such as a computer or an iOS device with Apple AirPlay)
to the same local network, and following a few easy steps.
COMPUTERS WITH HDMI OUTPUT
If you have a computer that will output video to an HDMI monitor, it’s possible to connect it to TriCaster
Mini directly by using a suitable HDMI cable and one of the VIDEO IN ports. This will allow you to share
the computer’s screen during your show without a network connection. Additional configuration may be
required. See the TriCaster Mini User Guide for more details.
IMPORTANT: Start by connecting your computer (or iOS device) to the same local network as TriCaster
Mini.
COMPUTER VIDEO SOURCE (iVGA)
To start, you’ll need to download the appropriate version of NewTek’s iVGA client app, which allows TriCaster
Mini to identify your computer as a network video source.
What You’ll Need...
1. Access to any
Web browser
—preferably on the
PC or Mac
you intend to use as a video source
2. A
USB thumb drive
(optional)
#1
Open the Web browser
and visit
new.tk/dl
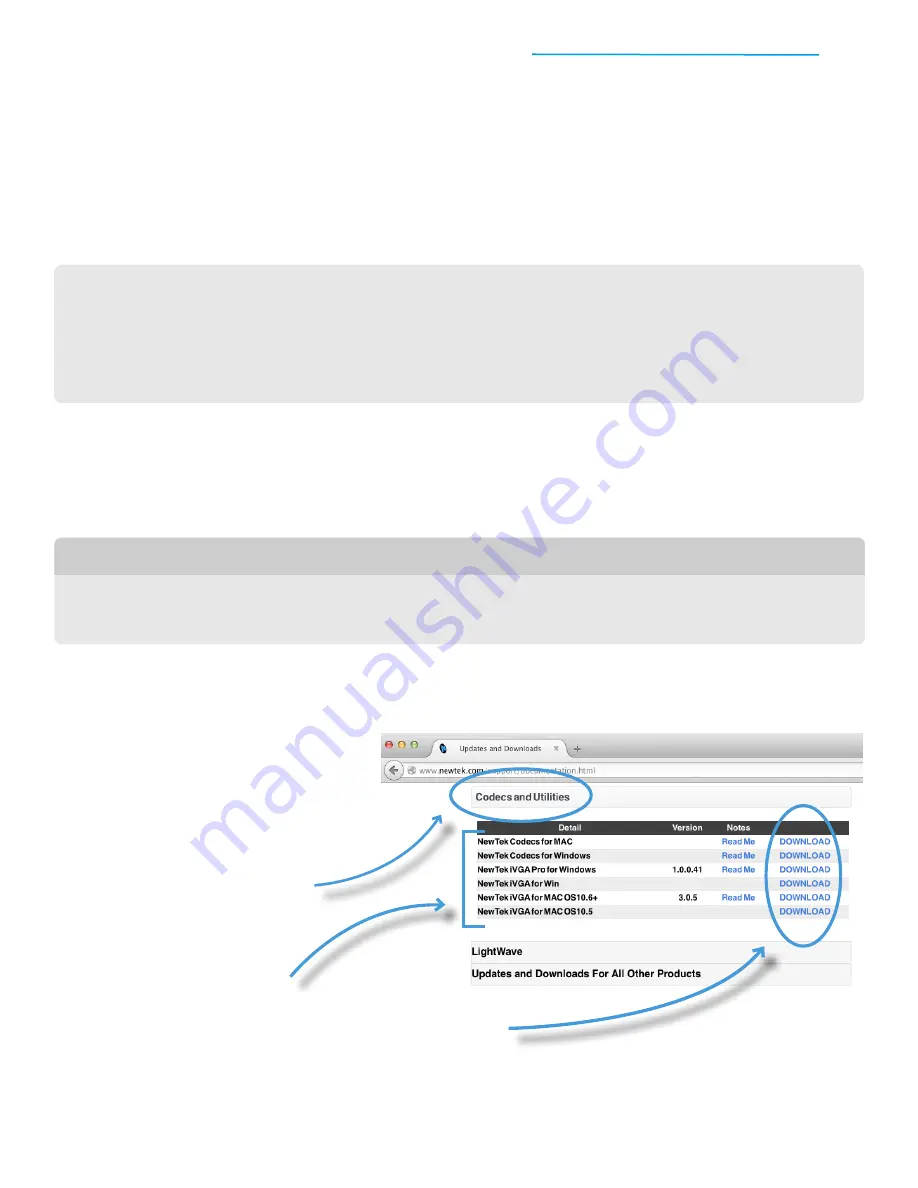
#2
Click the menu item labeled
Codecs and Utilities
to reveal the
available downloads
#3
Locate the version of NewTek iVGA
that matches your computer’s
operating system (OS)—if you are
unsure of the operating system, refer
to System Properties (PC) or About
(Mac) on your computer
#4
Click DOWNLOAD
and save the file
directly to your computer or to the
USB thumb drive
#5
To install (or run) iVGA,
double-click
the .ZIP or .EXE
file and follow the
standard PC or Mac installation steps
when prompted