


TriCaster Mini
Go Make Your Show Guide
26
#4
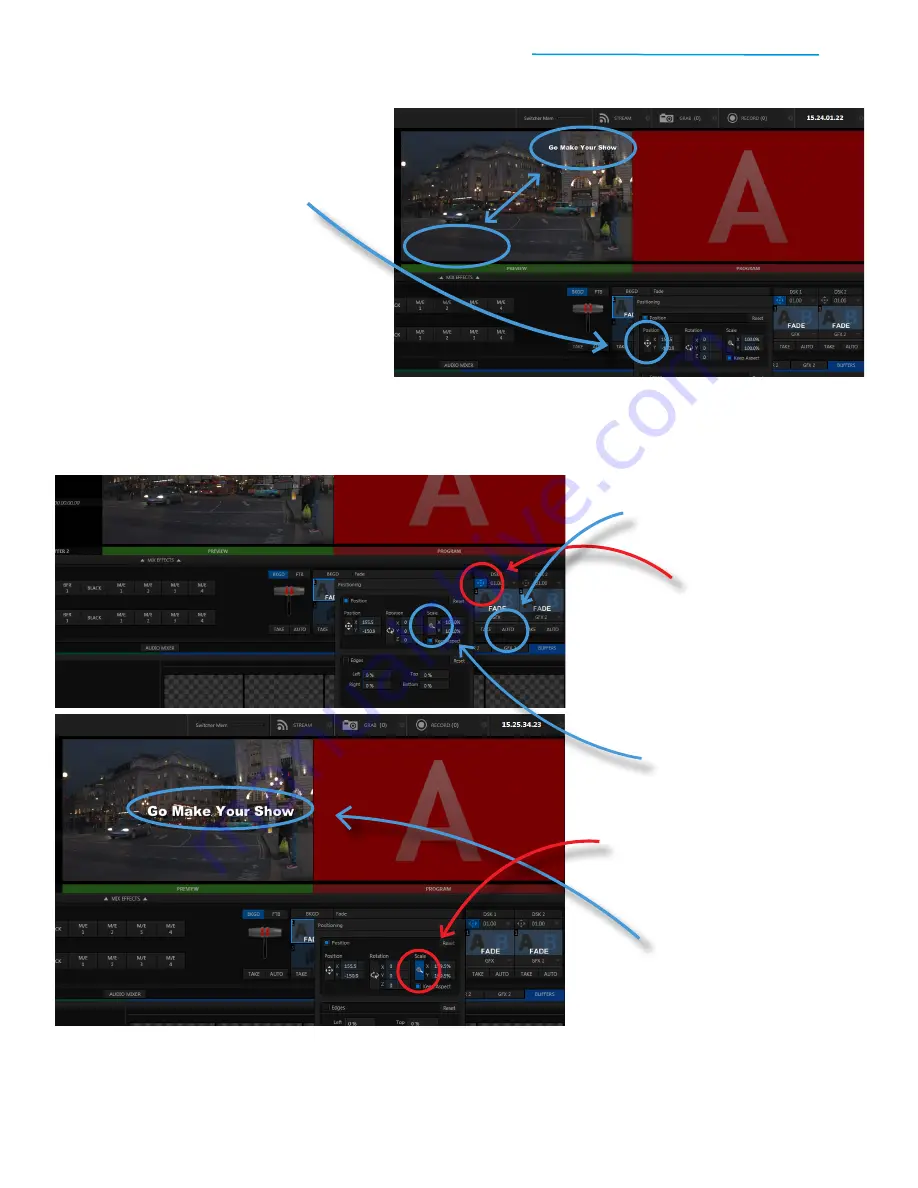
Using the large Preview window for visual
reference, click and hold the mouse button
on the Position control tool, then
drag the
overlay
to a different location
#5
When you’re finished positioning your
overlay,
release the mouse button and
click Close
to close the Positioning window
You’ve just repositioned your overlay—click the DSK 1 AUTO button to check it out!
You can follow these same steps to change the size of an overlay. But, instead of using the Position control
tool, you’ll use the Scale control tool.
#1
To start,
click the DSK 1 AUTO
button to remove the title
if it’s still applied
#2
In the top left of the DSK 1 toolset,
click on the Positioner button
to
open the Positioning window
#4
Using the large Preview window for
visual reference, click and hold the
mouse button on the Scale control
tool, then
drag the mouse
to scale the overlay
#3
With the Positioning window open,
mouse over the Scale control tool
—
notice the pointer changes
to a double arrow
#5
When you’re finished scaling your
overlay,
release the mouse button
and click Close
to close the
Positioning window
You’ve just resized your overlay—click the DSK 1 AUTO button to see it!
IMPORTANT: If you want to return an overlay back to its original position, scale and rotation settings,
simply open the Positioning window and click the Reset button.