Installation and programming manual
Options and programming methods
55
Via Keypad
1. Access the “Programming Terminals” section.
Type-in Code
(Installer PIN)
, PROGRAMMING Terminals
.
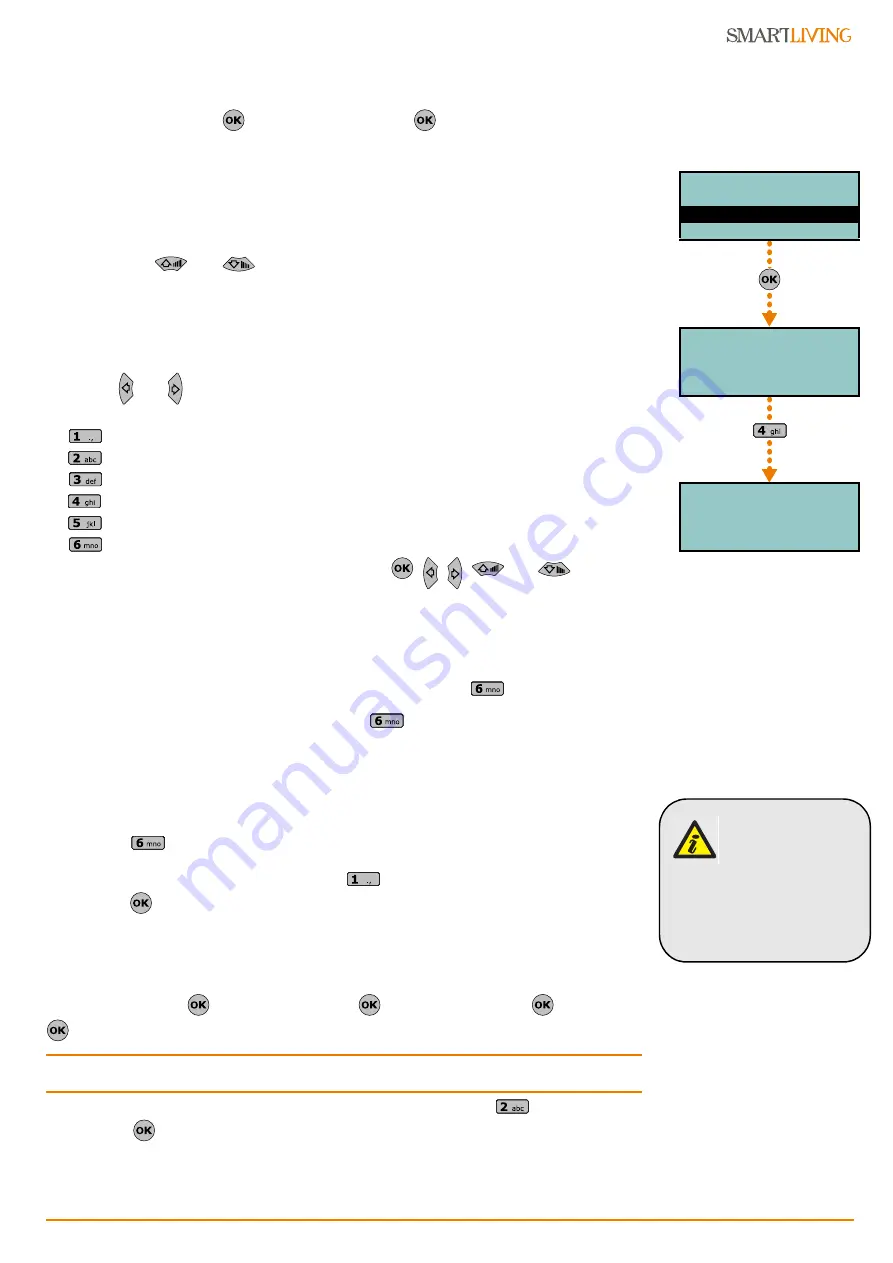
The display will show the:
1° line:
the number of terminals
2° line:
the type of terminals and the selected terminal
3° line:
the description of the selected terminal
4° line:
the description of the second zone of the selected terminal if it configured as a
DOUBLE ZONE.
2. Use keys
and
to select the device whose terminals you wish to config-
ure. The terminals are arranged as follows:
•
terminals from 1 to 5 on the control panel
•
terminals from 6 to 10 on the control panel (SmartLiving 1050 and 10100)
•
terminals on expansion boards
•
terminals on keypads
3. Use
and
to scroll across the terminals. The selected terminal will blink. Con-
figure the terminal by pressing:
•
to configure the terminal as an INPUT (“
I
”)
•
to configure the terminal as an OUTPUT (“
O
”)
•
to configure the terminal as a TWO WAY - SUPERVISED OUTPUT (“
T
”)
•
to configure the terminal as a DOUBLE ZONE (“
D
”)
•
to configure the terminal as UNUSED (“
-
”)
•
to enable/disable the terminal as “Wireless”
4. Once you have configured the terminal, press
,
,
,
and
to config-
ure its type.
If an UNUSED terminal is configured as
I
,
O
,
T
or
D
and the keypad emits an error
“beep”, it means that you have exceeded the maximum number of terminals available
on the control panel. If you wish to employ the terminal concerned, you must first
configure another terminal as UNUSED.
If you are working on a Flex5 expansion terminal, press key
to configure it, and
consequently the entire expansion, as wireless. The “Wireless” string will be shown on
the bottom line of the display. If you press key
again, the operation will undo.
To enable the terminal for a wireless device, it must be configured as:
•
INPUT- for Air2-IR100 and Air2-MC100 devices
•
DOUBLE ZONE - for Air2-MC200 devices
To configure a terminal as a wireless output, proceed as follows:
1. Position the cursor on the terminal concerned.
2. Press
to configure the terminal, and consequently the entire expansion, as
wireless.
3. Configure the terminal as an “input” (
).
4. Press
to access the zone parameters programming section.
5. Go to the “Wireless” section.
6. Enroll the terminal as “Terminal T1 CM” or “Terminal T2 CM”.
7. Press the “ENROLL” button on the Air2-MC100 device.
8. Enable the “Broadcast RF” option as follows:
Type in Code
(Installer)
, PROGRAMMING Zones
,
select the zone
, Options
, BroadcastRF.
Note
The “Broadcast RF” option must be enabled for each terminal of the Air2-MC100 device
concerned.
9. Go back to step 1 and configure the terminal as an output (
).
10. Press
to access the output parameters programming section (description,
options, etc.).
Terminals 12345
Panel 1-5 D----
Panel T01
Panel T01D
PROGRAMMING
Panel options
Terminals
Zones
Terminals 12345
Panel 1-5 I----
Panel T01
To configure a
wireless terminal
as an “output”, you
must first enroll it
as an “input”, and then
programme it as an
“output”, as described in
the instructions (see
opposite).


