SL2100 GETTING STARTED GUIDE
52
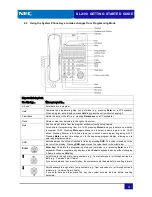
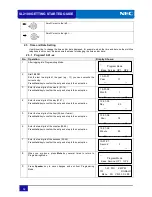
Scroll Cursor to the left…….
Scroll Cursor to the right…….
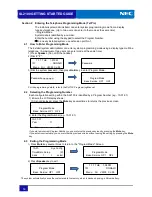
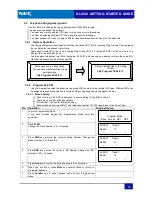
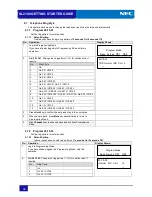
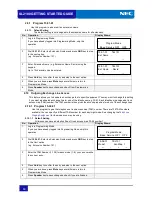
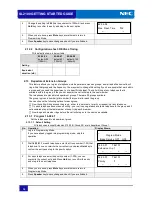
2.5 Time and Date Setting
Use this setting to change the time and/or date displayed, for example, when the time and date on the multiline
telephone is not correct. Below shows the steps for changing the time and/or date.
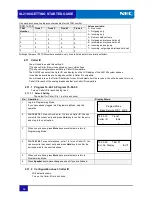
2.5.1
Program10-01-xx
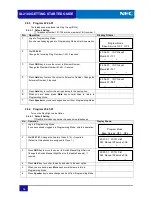
No. Operation
Display Shows;
1
After logging into Programming Mode.
2
Dial
10 01 01
.
Edit the last two digits of the year (e.g., 17) you can overwrite the
current entry.
Press
Hold
key to confirm the entry and step to the next option.
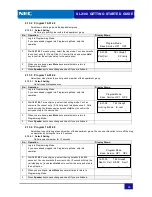
3
Enter the two digits of the month (01-12).
Press
Hold
key to confirm the entry and step to the next option.
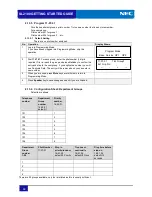
4
Enter the two digits of the day (01-31).
Press
Hold
key to confirm the entry and step to the next option.
5
Enter the two digits of the hour (24-hour format).
Press
Hold
key to confirm the entry and step to the next option.
6
Enter the two digits of the minutes (00-59).
Press
Hold
key to confirm the entry and step to the next option.
7
Enter the two digits of the seconds (00-59).
Press
Hold
key to confirm the entry and step to the next option.
8
When you are done, press
Mute
key several times to return to
Programming Mode.
9
Press
Speaker
key to save changes and exit from Programming
Mode.
←
→
10-01-01
_________________
Year
__________
17
________
___
←
_______________
→
___
10-01-02
_________________
Month
__________
1
________
___
←
_______________
→
___
10-01-03
_________________
Day
__________
20
________
___
←
_______________
→
___
10-01-05
_________________
Hour
_________
18
________
___
←
_______________
→
___
10-01-06
_________________
Minute
_________
50
________
___
←
_______________
→
___
10-01-07
_________________
Second
________
3
________
___
←
_______________
→
___
_
________________________
______
Program Mode
_______
_
Base
_
Service
_
OP1
__
OP2
__
____
1-20
_
FRI
__
6:51PM
____
101
______________
DONALD
_
Menu
__
Dir
__
VM:00
_
CL:00
_
_
________________________
______
Program Mode
_______
_
Base
_
Service
_
OP1
__
OP2
__
Содержание UNIVERGE SL2100
Страница 18: ...SL2100 GETTING STARTED GUIDE 14 MEMO...
Страница 23: ...SL2100 GETTING STARTED GUIDE 19 1 7 System Connection Diagram Figure 1 1 shows a system connection diagram...
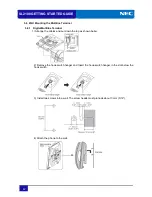
Страница 48: ...SL2100 GETTING STARTED GUIDE 44 5 Attach the phone to the wall...
Страница 77: ...SL2100 GETTING STARTED GUIDE 73 MEMO...
Страница 78: ...Getting Started Guide NEC Corporation Issue 1 0...

