SL2100 GETTING STARTED GUIDE
54
2.6.3
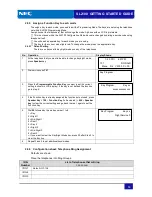
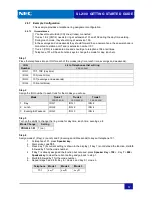
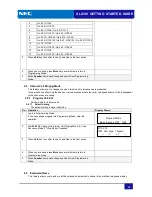
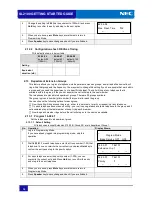
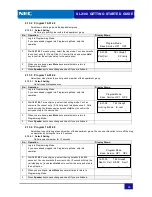
Program 22-04-01
The telephones are placed into Ring Group(IRG’s).
2.6.3.1
Default Setting
Telephone Number 101-108 are the member of IRG number 1.
No. Operation
Display Shows;
1
Log into Programming Mode.
If you have already logged into Programming Mode, skip this operation.
2
Dial
22 04 01
.
Change the Incoming Ring Number (1-50), if required.
3
Press
DND
key to move the cursor to Member Number.
Change the Member Number (01-48), if requred.
4
Press
Hold
key to move the cursor to Extension Number. Change the
Extension Number, if required.
5
Press
Hold
key to confirm the entry and step to the next option.
6
When you are done, press
Mute
key several times to return to
Programming Mode.
7
Press
Speaker
key to save changes and exit from Programming Mode.
2.6.4
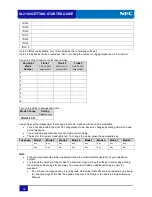
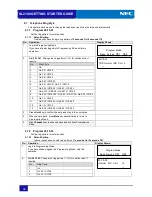
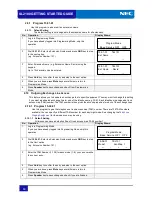
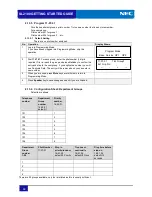
Program 20-07-01
Turn on the Day/Night mode Option.
2.6.4.1
Default Setting
Day/Night modes can not be changed using telephones.
No. Operation
Display Shows;
1
Log into Programming Mode.
If you have already logged into Programming Mode, skip this operation.
2
Dial
20 07 01
. Change the Feature Class (1-15), if required.
(Default: all telephones are assigned to Class 1.)
3
Press
DND
key to move the cursor to Switch Manual Night Service.
Change the Switch Manual Night Service (0:disable/1:enable), if
requred.
4
Press
Hold
key to confirm the entry and step to the next option.
5
When you are done, press
Mute
key several times to return to
Programming Mode.
6
Press
Speaker
key to save changes and exit from Programming Mode.
_
________________________
______
Program Mode
_______
_
Base
_
Service
_
OP1
__
OP2
__
22-04-01 INC Group
1
Memb.01=101
←
- +
→
22-04-01 INC Group1
Memb.
01
=101
←
- +
→
22-04-01 INC Group1
Memb.01=
101
←
- +
→
_
________________________
______
Program Mode
_______
_
Base
_
Service
_
OP1
__
OP2
__
20-07-01 FCTN Cls
1
SW Manual NTservice1:On
←
- +
→
20-07-01 FCTN Cls1
SW Manual NTservice
1
:On
←
- +
→
Содержание UNIVERGE SL2100
Страница 18: ...SL2100 GETTING STARTED GUIDE 14 MEMO...
Страница 23: ...SL2100 GETTING STARTED GUIDE 19 1 7 System Connection Diagram Figure 1 1 shows a system connection diagram...
Страница 48: ...SL2100 GETTING STARTED GUIDE 44 5 Attach the phone to the wall...
Страница 77: ...SL2100 GETTING STARTED GUIDE 73 MEMO...
Страница 78: ...Getting Started Guide NEC Corporation Issue 1 0...

