


Upgrading Your System 4-47
A
B
C
D
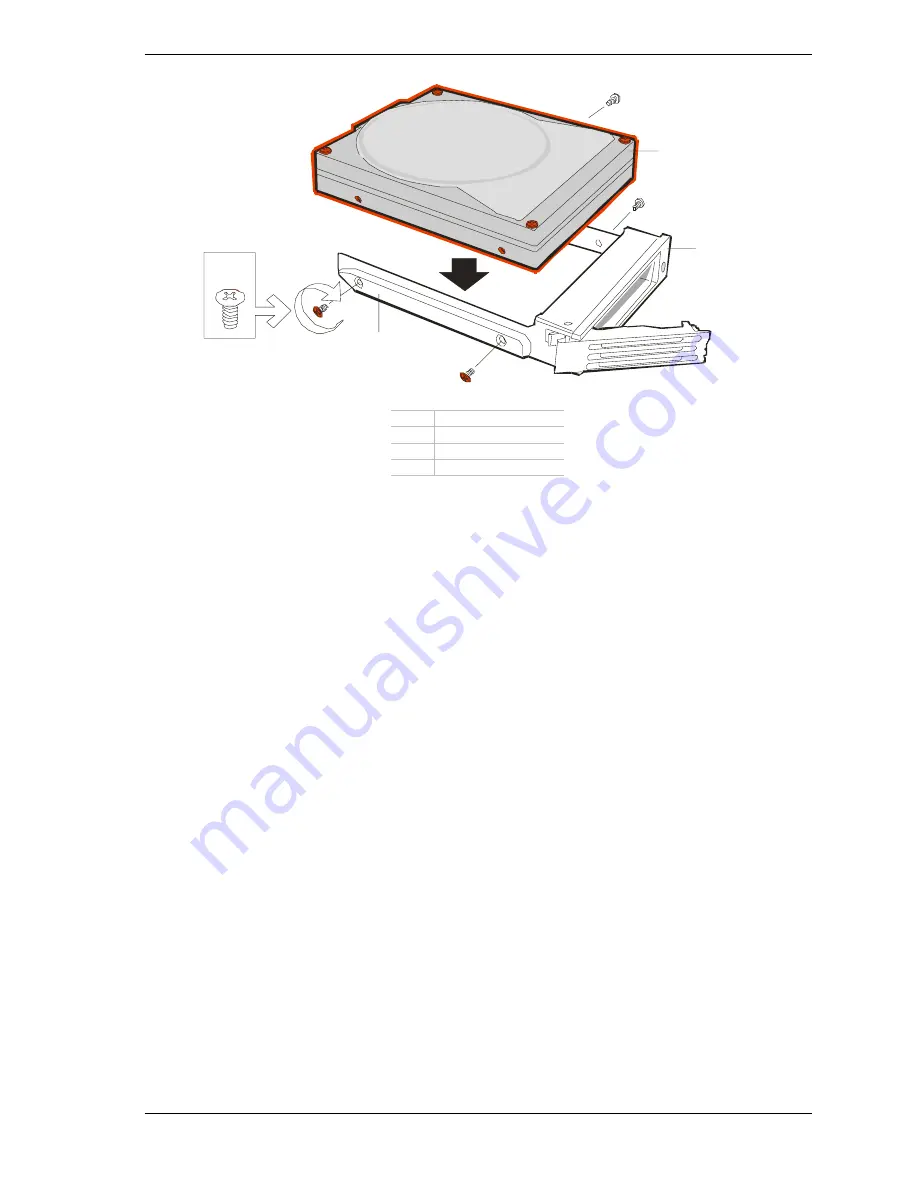
A
Hard disk drive
B
Drive carrier
C
Positioning rail
D
Screws (4)
Figure 4-45. Installing a Hard Disk Drive into the Carrier
9.
While holding the drive carrier align it so that it engages the guide rails in
the drive bay. See Figure 4-46.
10.
Push the drive carrier into the bay until the locking tab on the bottom of its
handle engages in the bottom frame slot.
11.
Push the carrier handle up until the handle clicks and locks in place.
Содержание EXPRESS5800/120Lf
Страница 1: ... U s e r s G u i d e EXPRESS5800 120Lf ...
Страница 2: ...NEC ...
Страница 3: ... U s e r s G u i d e EXPRESS5800 120Lf ...
Страница 9: ...Contents vii ...
Страница 10: ...viii Contents ...
Страница 36: ...1 20 System Overview ...
Страница 99: ...Upgrading Your System 4 13 Figure 4 9 Replacing the Real Time Clock Battery ...
Страница 146: ...4 60 Upgrading Your System Figure 4 60 Installing a Power Supply ...
Страница 170: ...5 24 Problem Solving ...
Страница 171: ...A Technical Specifications Server Unit ...
Страница 174: ...A 4 Technical Specifications ...
Страница 175: ...B Connectors Overview External Device Connector Pin Information ...
Страница 190: ...10 Glossary ...
Страница 196: ...Index 4 ...
Страница 197: ...xx ...
Страница 198: ... 456 01575 N00 ...


