Mountain Models Tantrum
24
matching pieces from Figure H. There should still be pieces on the Figure H balsa
sheet.
!
Putting together the fuselage sides
1.
Remove the pieces shown in black from the balsa sheet.
2.
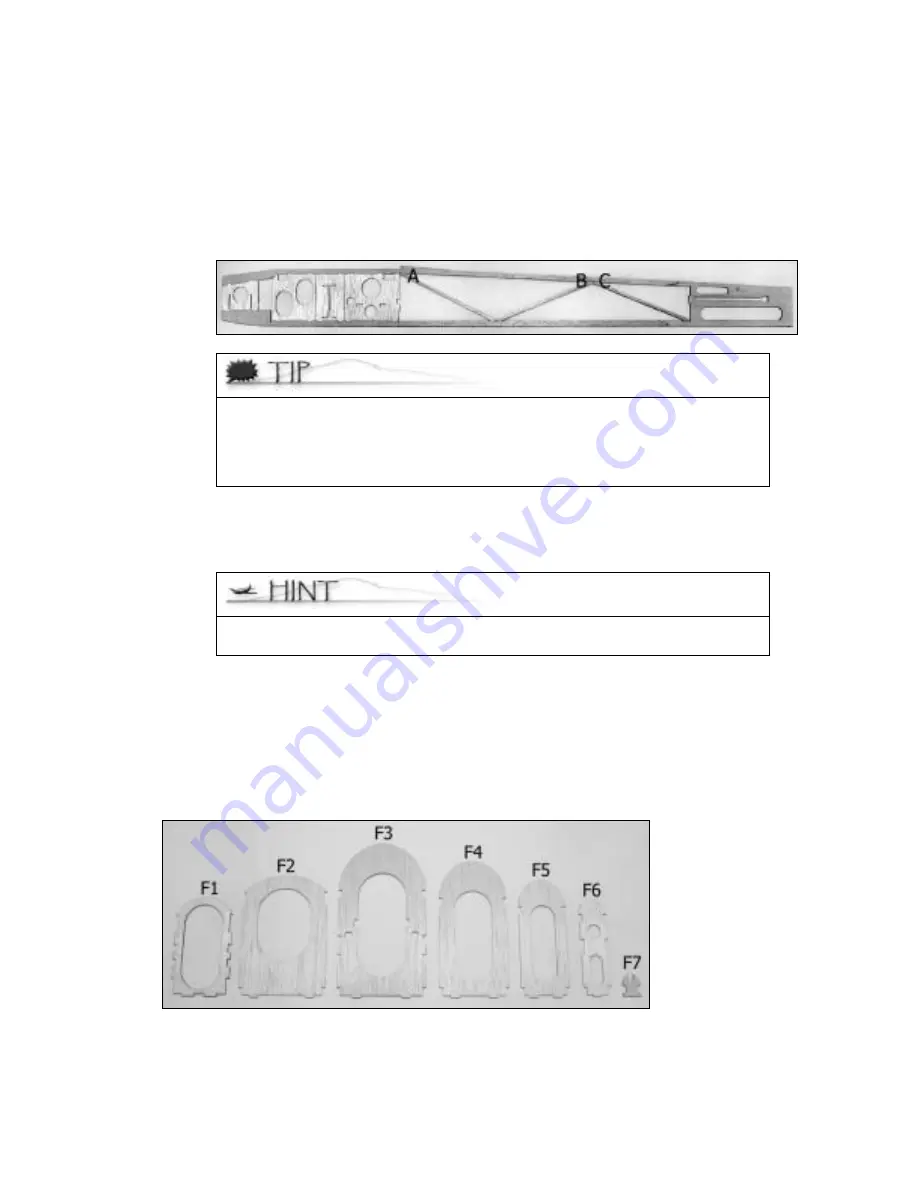
Position and connect the pieces as shown in the following picture, using the
interlocking tabs and grooves to form one of the fuselage sides.
The center pieces, labeled A, B, and C should be used in alphabetical
order from front to back on each fuselage side. The lettered portion of
the piece should connect to the upper portion of the fuselage side.
Additionally, the piece labeled “C” should actually connect at the bottom
of the back piece.
3.
Using the matching pieces on Figure H, repeat Step 2 to create the other fuselage
side.
4.
Glue all of the joints on both fuselage sides.
For additional strength, you may want to flow CA into where the wings
connect with the fuselage
Assembling the Fuselage Bottom
You will need all of the bulkhead pieces shown in the next picture, but these pieces are
also shown again in each step, highlighted so you know which pieces are being used at
each step.
The following image shows the bulkheads with codes that will be referred to on both the
plans and in this section.
Attaching the Fuselage Tail
The fuselage tail attaches at the rear of the fuselage bottom.


