Switch Management
7-23
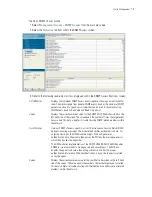
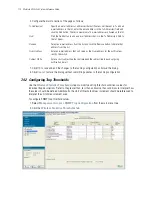
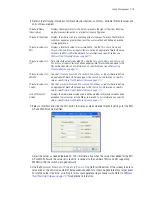
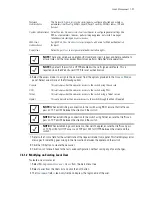
6. Select the access modes to assign to the new user from the options provided in the
Access Modes
panel. Select one or more of the following options:
7. Refer to the
Status
field for the current state of the requests made from applet. This field displays error
messages if something goes wrong in the transaction between the applet and the switch.
8. Click the
OK
button to create the new user.
9. Click
Cancel
to revert back to the last saved configuration without saving any of your changes.
7.6.1.2 Modifying an Existing Local User
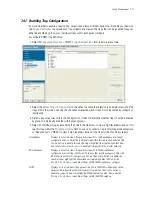
To create a new local user:
1. Select
Management Access
>
Users
from the main menu tree.
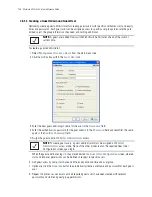
2. Select a user from the Users list and click the
Edit
button.
3. The
Username
field is read-only field and displays the login name of the user.
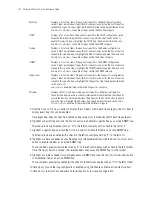
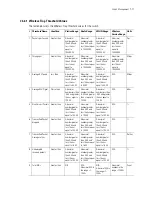
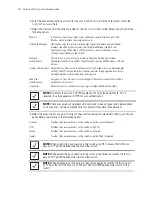
Network
Administrator
The
Network Administrator
has privileges to configure all wired and wireless
parameters like IP config, VLANs, Layer 2/Layer 3 security, WLANs, radios, IDS and
hotspot.
System Administrator
Select
System Administrator
to allow the user to configure general settings like
NTP, boot parameters, licenses, perform image upgrade, auto install, manager
redundancy/clustering and control access.
Web User
Administrator
Assign
Web User Administrator
privileges to add users for Web authentication
(hotspot).
Super User
Select
Super User
to assign complete administrative rights.
NOTE:
There are some basic operations/CLI commands (exit, logout and help) available to
all user roles. All the roles except Monitor can perform Help Desk role operations.
NOTE:
By default, the switch is HTTPS enabled with a self signed certificate. This is
required since the Web UI uses HTTPS for user authentication.
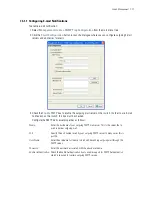
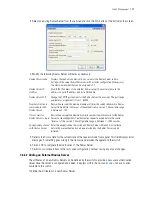
Console
This option provides the new user access to the switch using the console.
SSH
This option provides the new user access to the switch using SSH.
Telnet
This option provides the new user access to the switch using a Telnet session.
Applet
This option provides the new user access to the switch through the Web UI (applet).
NOTE:
When establishing a connection to the switch using SSH, ensure that traffic can
pass on TCP port 22 between the client and the switch.
NOTE:
When establishing a connection to the switch using Telnet, ensure that traffic can
pass on TCP port 23 between the client and the switch.
NOTE:
When establishing a connection to the switch’s applet, ensure that traffic can pass
on TCP port 80 for HTTP access and TCP port 443 for HTTPS between the client and the
switch.
Содержание RFS Series
Страница 1: ...M Motorola RFS Series Wireless LAN Switches WiNG System Reference Guide ...
Страница 10: ...TOC 8 Motorola RF Switch System Reference Guide ...
Страница 56: ...2 8 Motorola RF Switch System Reference ...
Страница 334: ...5 52 Motorola RF Switch System Reference 2 Select the MU Status tab ...
Страница 510: ...7 32 Motorola RF Switch System Reference Guide ...
Страница 534: ...8 24 Motorola RF Switch System Reference Guide ...
Страница 570: ...C 14 Motorola RF Switch System Reference Guide ...
Страница 589: ......
Страница 590: ...MOTOROLA INC 1303 E ALGONQUIN ROAD SCHAUMBURG IL 60196 http www motorola com 72E 132942 01 Revision C December 2010 ...

