


Chapter 7
97
Flexi Link
7.4.3
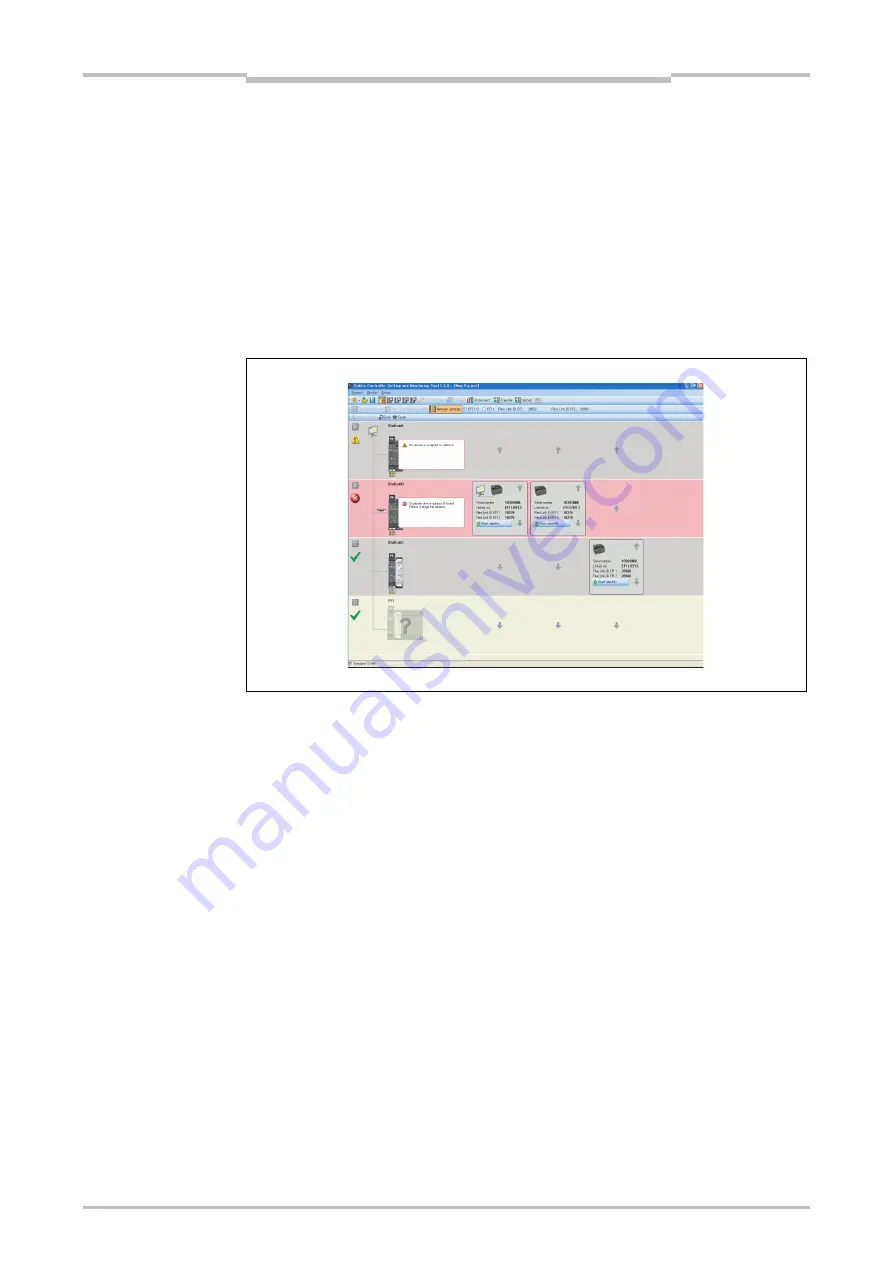
Flexi Link system: Network settings
The
Network settings
view is where you can assign the Flexi Link address (A, B, C or
D) to the individual stations in the Flexi Link network. This is a prerequisite for the
configuration because it enables the Flexi Link Designer to address each station and
to identify the bits in the Flexi Link process image, e.g. Station A, EFI1, Byte 0, Bit 0.
The
Network settings
view is opened automatically if you connect to a Flexi Link
system and the Setting and Monitoring Tool detects an erroneous address assignment,
e.g. if two or more connected stations have the same Flexi Link address. This will be
the case if you have created a Flexi Link system with new CPU modules or if you have
replaced one or more CPU modules in an existing system.
If at least one station of a Flexi Link system is online, all connected stations are shown
with their current address assignment (address A to D). Additionally the memory plug
serial number and the current Flexi Link IDs for EFI1 and EFI2 of each station are
displayed here. You can update this information using the
Scan
button at the top left
of the window. Error messages and warnings regarding the current system status are
displayed as a pop-up message for each station.
You have two possibilities to identify a station:
– Click on the
Start identify
button of one of the displayed stations. The
corresponding station’s MS and EFI1 LEDs will start flashing alternating with the
EFI2 LED (2 Hz). You will need the password for Administrator. The default
password is “MELSECWS”. To stop the LED blinking, click the button again (it
is now labeled
Stop identify
).
– Check the serial number on the memory plug and compare it with the serial
number shown in the Setting and Monitoring Tool. The serial number displayed
in the
Network settings
view is the serial number of the memory plug, not the
serial number of the CPU module.
Figure 72:
Flexi Link Network settings
view
Note
Содержание SW1DNN-WS0ADR-B
Страница 2: ......
Страница 287: ...Chapter 15 284 Annex 15 Annex 15 1 Example application reports 15 1 1 Example application Newspaper palletizer ...
Страница 288: ...Chapter 15 285 Annex ...
Страница 289: ...Chapter 15 286 Annex ...
Страница 290: ...Chapter 15 287 Annex ...
Страница 291: ...Chapter 15 288 Annex ...
Страница 292: ...Chapter 15 289 Annex ...
Страница 293: ...Chapter 15 290 Annex ...
Страница 294: ...Chapter 15 291 Annex ...
Страница 295: ...Chapter 15 292 Annex ...
Страница 296: ...Chapter 15 293 Annex ...
Страница 297: ...Chapter 15 294 Annex ...
Страница 298: ...Chapter 15 295 Annex 15 1 2 Example application Wood scanner ...
Страница 299: ...Chapter 15 296 Annex ...
Страница 300: ...Chapter 15 297 Annex ...
Страница 301: ...Chapter 15 298 Annex ...
Страница 302: ...Chapter 15 299 Annex ...
Страница 303: ...Chapter 15 300 Annex ...
Страница 304: ...Chapter 15 301 Annex ...
Страница 305: ...Chapter 15 302 Annex ...
Страница 306: ...Chapter 15 303 Annex ...
Страница 307: ...Chapter 15 304 Annex 15 1 3 Example application Ramp down detection ...
Страница 308: ...Chapter 15 305 Annex ...
Страница 309: ...Chapter 15 306 Annex ...
Страница 310: ...Chapter 15 307 Annex ...
Страница 311: ...Chapter 15 308 Annex ...
Страница 312: ...Chapter 15 309 Annex ...
Страница 313: ...Chapter 15 310 Annex ...
Страница 314: ...Chapter 15 311 Annex ...
Страница 316: ...Chapter 15 313 Annex 15 3 Precautions 1 Edit a CSV file exported from Setting and Monitoring tool in a text editor ...
Страница 321: ......


