SkyRaider DS10CTEC User Manual
March 17, 2019
SkyRaider DS10CTEC User Manual
Page 58
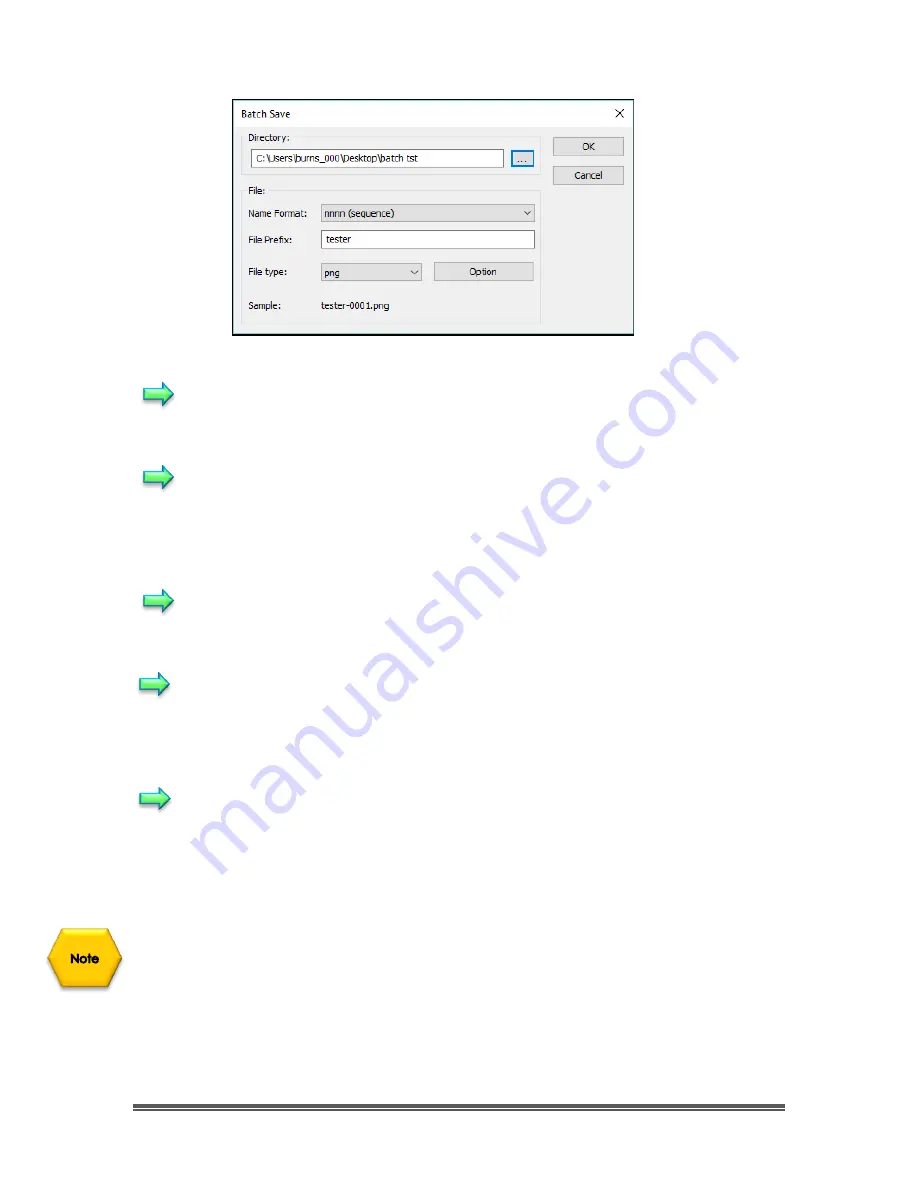
Directory:
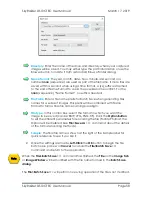
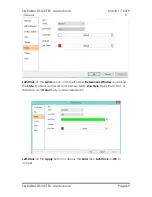
Enter the name of the drive and directory where your captured
images will be saved. You may either type the path information or use the
Browse button to locate it from a standard Browse Folder dialog.
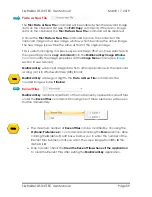
Name Format:
The year, month, date, hour, minute and second or a
number
nnnn
(sequence) are used as part of the filename. If more files are
saved within a second when using a time format, a (xx) suffix is attached
to the end of Name Format to avoid the possible name conflict. For the
nnnn
(sequence)
“Name Format”,
no suffix is needed.
File Prefix:
Enter a file name prefix for Batch Save when generating files
names for a series of images. This prefix will be combined with Name
Format to form a final file name naming paradigm.
File Type:
In this combo box, select the format in which you want the
image to be saved (can be BMP, JPG, PNG, TIF). Click the
Option Button
to set the different parameters for encoding the file (For BMP format, the
Option will be disabled. See
File>Save As
•••
command about the details
of the format encoding methods).
Sample:
The final file name is shown at the right of the Sample label for
quick reference to see if you like it.
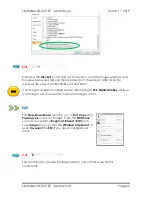
2. Once the settings are made,
Left-Click
the
OK
button to begin the file
batch save process or
Cancel
to cancel the
File>Batch Save
•••
command and return to the application.
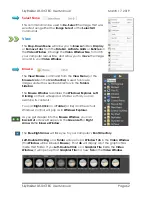
When the
File>Batch Save•••
command has finished, the
Title
on the
Image Tab
or
Image Window
will be modified with the file name formed in the
Batch Save
dialog
.
The
File>Batch Save•••
will perform no saving operation if the file is not modified.


