SkyRaider DS10CTEC User Manual
March 17, 2019
SkyRaider DS10CTEC User Manual
Page 48
Obtaining an Image of our First Deep Sky Object is enough for most to start the
celebration process (again most of us will call for our spouse to have a look at
the amazing image we have just produced, again trying to justify the money
used in buying those extra pieces of hardware).
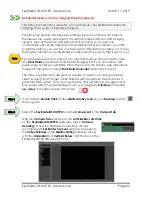
Next, we want to fine tune our image to perfection (at least that is what you will
tell yourself), but this is a great time to get familiar with some of the adjustment
options available in MallincamSky.
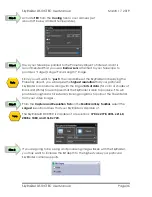
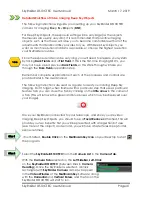
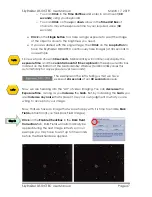
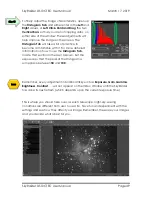
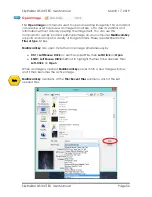
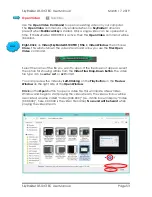
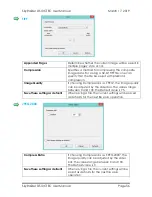
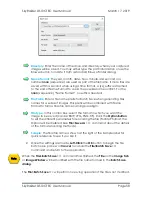
Click
on the
White Balance
Tab and the
Color Adjustment
Tab to open them up
and have access to the
White Balance
and
Color Adjustment
(Contrast,
Gamma, …)
settings to tweak your image.
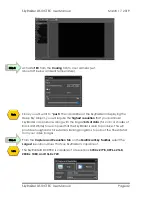
Read the appropriate section in the
User Manual
(it is great reading, if I do say so
myself) to obtain more information what each particular setting does in the
White Balance
and
Color Adjustment
Tabs in MallincamSky. There is no precise
value for every user, as we all use different equipment. This is a great time to
‘
play
’ with the se
ttings to see what value work best for you. Just have fun. The
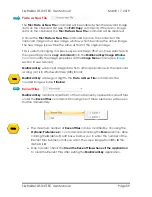
best part is if the mess up, there is always the
Defaults Button
to bring your image
back.
Step 14
Hint
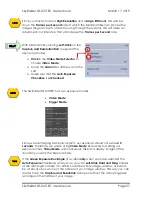
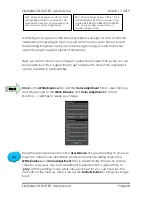
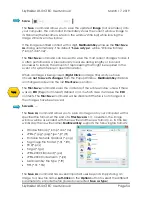
M57, 20 Seconds exposure, VRC 6", F/4.5
with MallinCam 0.5X focal reducer, NO
Dark Field Correction. No processing, as
seen live on monitor. Single frame.
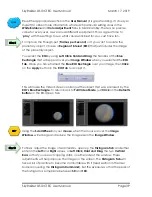
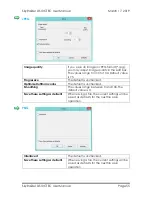
M57, 20 Seconds exposure, VRC 6", F/4.5
with MallinCam 0.5X focal reducer, One
Single DARK FIELD CORRECTION APPLIED
LIVE, no processing, as seen live on
monitor, Single frame.


