SkyRaider DS10CTEC User Manual
March 17, 2019
SkyRaider DS10CTEC User Manual
Page 131
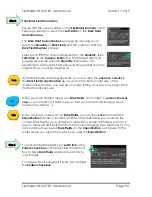
Take Dark Field Correction
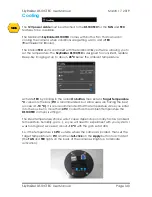
Ensure that the cover is either on the
SkyRaider Camera
or the
Telescope itself is covered, then
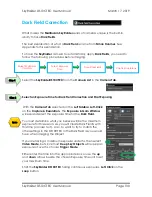
Left-Click
on the
Dark Field
Correction
Line
.
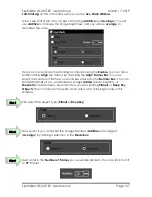
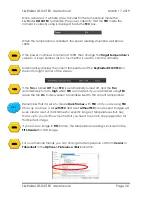
The
Dark Field Correction box
will open up allowing you to
select the
Quantity
of
Dark Fields
and the option to start the
Dark Field Capture
process.
Select up to
99
(5 to 10 recommended) for the
Quantity,
then
Left-Click
on the
Capture Button
. The Software will display its
progress above the selected
Quantity
. Remember, it is
beneficial to set the Dark Field exposure time greater than the
longest time you will be imaging at.
As the Dark Fields are being exposed, you can watch the
exposure counter
in
the
Dark Field Correction Tab
go up, and on the bottom right side of the
MallincamSky window, you will see a counter letting you know how long is left in
that particular exposure.
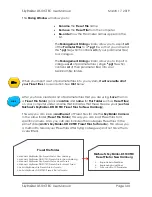
Once you have finished taking your
Dark Fields
, don’t forget to
remove the lens
cap
on your camera (or Telescope), so that you can actually im
age (I won’t
mention any names…).
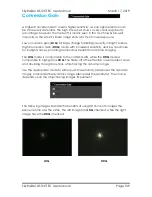
Once you have collected your
Dark Fields
, you can then
save
them with the
Export Button
(choose a location and File name that allows you to locate the
correct Dark Fields if you would like to reuse them. Name the folders so that it is
easy to retrieve Dark Fields that match for current imaging plan (60s times 5). You
can load previously saved
Dark Fields
via the
Import Button
. Just browse to the
folder where you saved them when you used the
Export Button
.
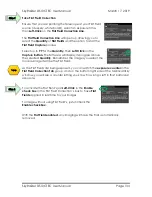
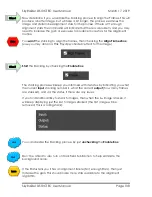
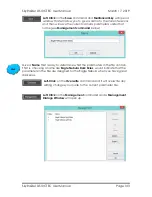
To activate the Dark
Field’s just
Left-Click
in the
Enable check box
in the Dark Field Correction’s
box to have
Dark Fields
applied in real time to
your images.
To image without using Dark Field’s, just uncheck
the
Enable checkbox
.
Step 3
Hint
Step 4
√


