Setup Guide for the RadioRA Chronos System Bridge
74
Section 6 - CCI Programming
From
CCI Setup
, select
Set Levels
.
Note:
To use the Copy Button Feature, refer
to pages 49-51.
Set Zone Levels
Set light levels for
devices assigned to
Done
Copy Button
CCI 1.
Step 5
Set light levels and GRAFIK
Eye/GRAFIK RA Scenes
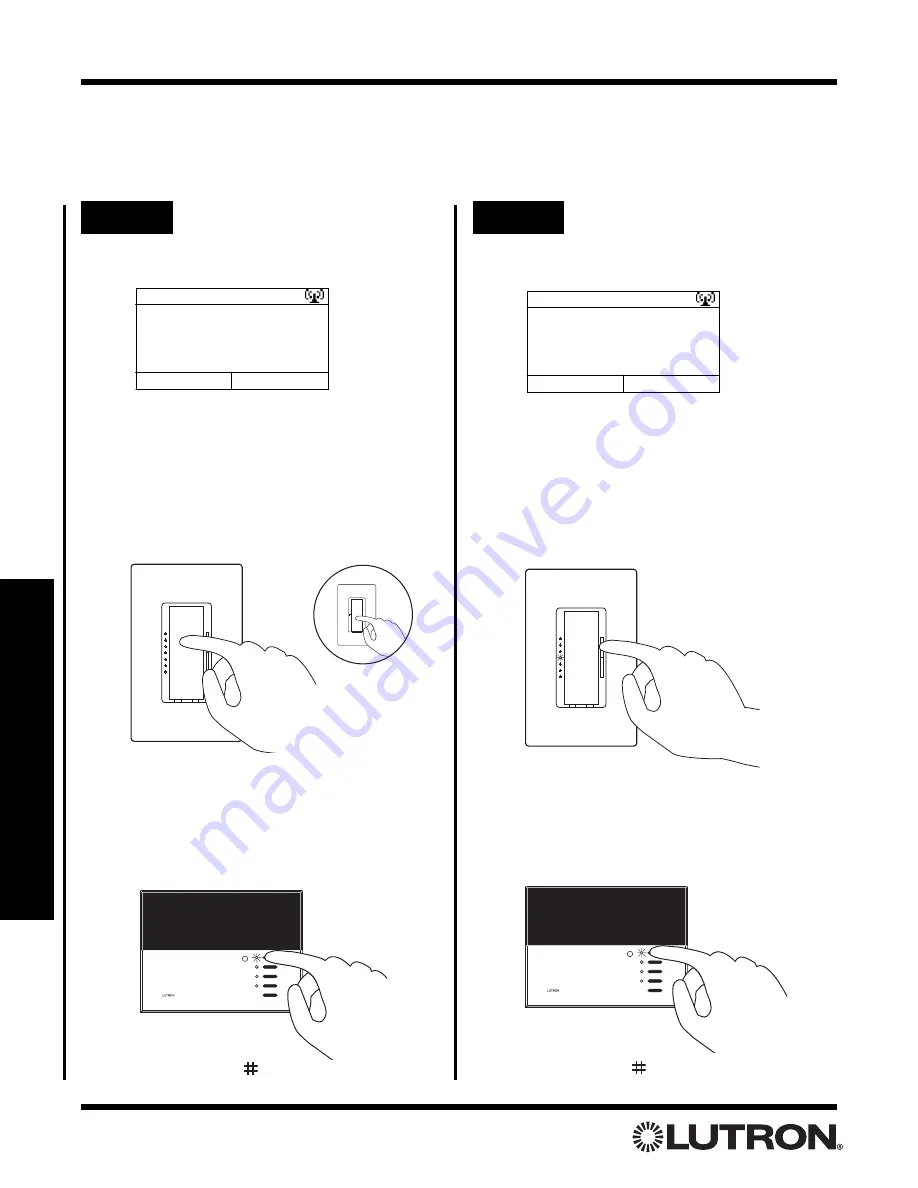
Select one of the preprogrammed scenes on a
GRAFIK Eye/GRAFIK RA
Control Unit by turn-
ing that scene ON OR select the Off Scene on
the
GRAFIK Eye/GRAFIK RA
Control Unit if it
is to be turned OFF when the CCI is activated.
Press “Done” (
button)
to return to
CCI
Setup
.
Use the dimming rocker to adjust the light
level of any Dimmer(s) assigned to the CCI
OR use the toggle button to turn Dimmers or
Switches OFF if they are to be turned OFF
when the CCI is activated.
Contact Closure Programming
Assign Dimmers or Switches to the CCI by
turning the controls ON, including Dimmers or
Switches that are to be turned OFF when the
CCI is activated.
Switch
OR
Dimmer
Step 4
Assign Lighting Zone
Controls to the CCI
From
CCI Setup
, select
Assign Zones
.
Note:
To use the Copy Button Feature, refer
to pages 49-51.
Assign GRAFIK Eye
®
/GRAFIK RA
TM
Control
Units to the CCI by selecting a
GRAFIK
Eye/GRAFIK RA
scene. Assign all
GRAFIK
Eye/GRAFIK RA
Control Units that will be
affected by this CCI, including those Control
Units that are to be turned OFF when the CCI
is activated.
Press “Done” (
button)
to return to
CCI
Setup
.
Assign Zones
Turn on devices to be
assigned to CCI 1.
Done
Copy Button


