Setup Guide for the RadioRA Chronos System Bridge
55
Section 4 - T
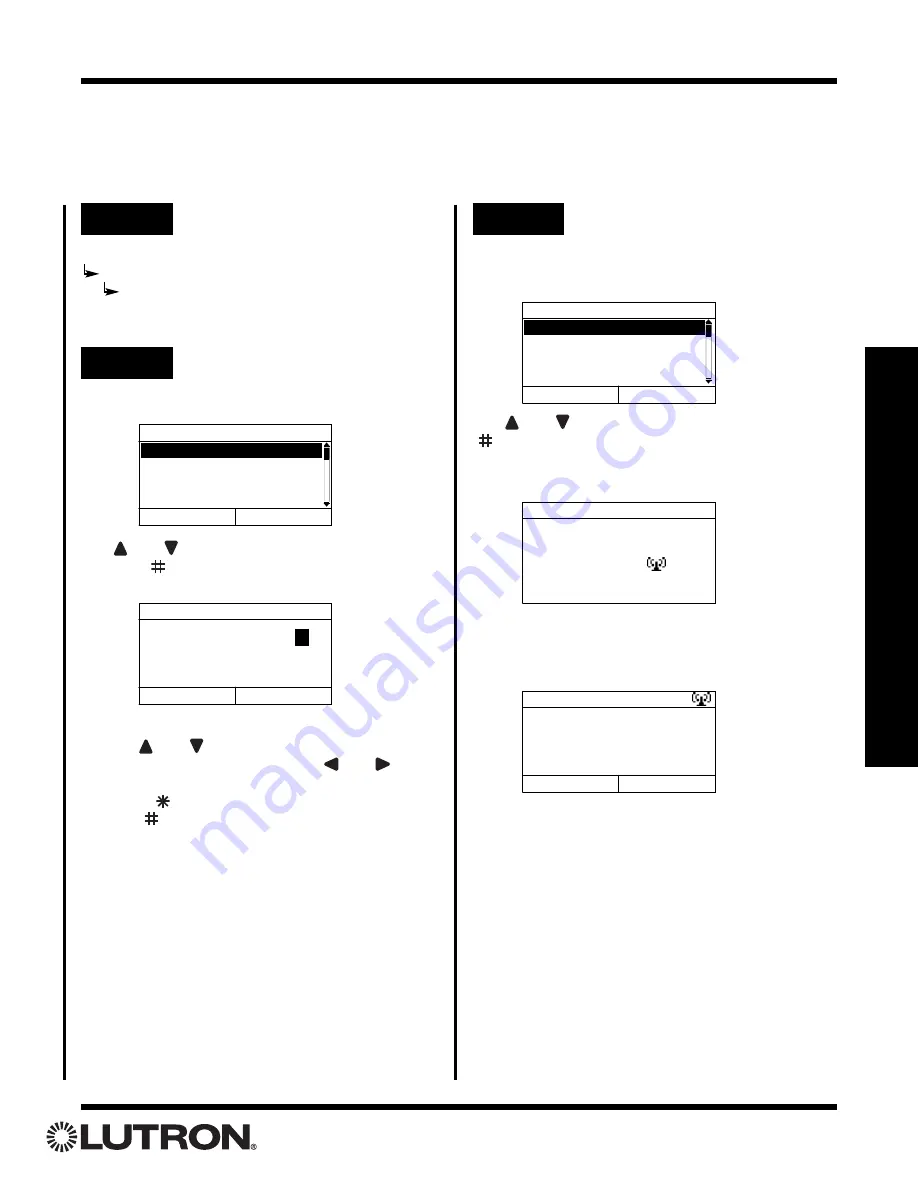
imeclock Programming
From
Manage Scenes
, select
Set Scene Names
.
Use
and
to highlight a scene to name.
Press
“Select” (
button)
to proceed to the next step.
Use the
and
keys, or a connected keyboard, to
change the selected character. Use
and
to
move to the previous / next character.
Press
“Cancel” (
button)
to cancel changes.
Press
“Done” (
button)
to accept changes.
Creating Time Clock Scenes
Up to 13 scenes can be programmed for activation by the Astronomical Time Clock.
Astronomical Time Clock Programming
Step 1
Go to Manage Scenes
Select Scene to Name
1. Scene 1
2. Scene 2
3. Scene 3
4. Scene 4
Back
Select
Step 2
Set the Scene Names
Set Name
Name: _ _ _ _ _ _ _ _
Cancel
Done
M o r n i n
g
Step 3
Assign Zones
From
Manage Scenes,
select
Assign Zones
. The list
of Time Clock scenes is displayed:
Use
and
to highlight a scene.
Press “Select”
(
button)
to enter Assignment Mode for the select-
ed scene. The following screen will be displayed when
Assignment Mode is initiated:
Once Assignment Mode has been initiated, the follow-
ing screen will be displayed:
Note:
To use the Copy Button Feature, refer to pages
49-51.
Select Scene to Assign
1. Morning
2. Scene 2
3. Scene 3
4. Scene 4
Back
Select
Assign Zones
Entering Assignment
Mode...
Assign Zones
Turn on devices to be
assigned to Morning.
Continue
Copy Button
Main Menu
Time Clock Setup
Manage Scenes


