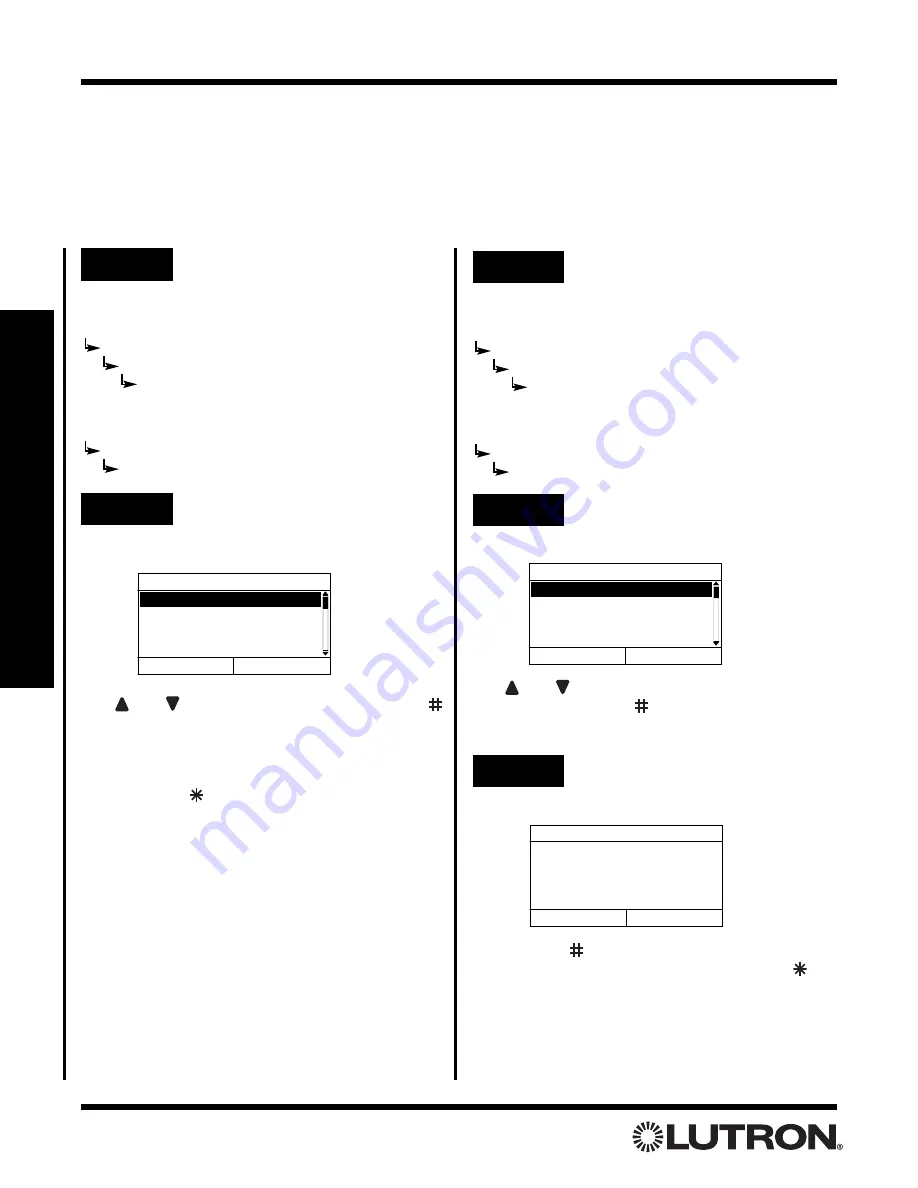
Setup Guide for the RadioRA Chronos System Bridge
48
Section 3 - Button Programming
Step 2
Select the Phantom Button to
erase
Use
and
to highlight the Phantom Button to
erase.
Press “Select” (
button)
to proceed to the
next step.
Step 1
Go to Phantom Button Setup
Testing and Erasing Phantom Button Programming
Note:
If the Chronos
TM
System Bridge is not configured to bridge systems or to use RS-232, Phantom Buttons
are not available and this procedure does not apply.
Testing
Erasing
Whole-home/Phantom Button Programming
Select Button to Erase
1. RM - Home
2. RM - Btn 2
3. RM - Btn 3
4. RM - Btn 4
Back
Select
Are you sure?
Erase Home?
Yes
Cancel
Press “Yes” (
button)
to erase all programming for
the selected Phantom Button. Press
“Cancel” (
button)
to cancel the erase operation.
Note:
Erasing Button 16 (All On) or Button 17 (All Off)
will reassign ALL zones to that button.
Step 3
Erase Phantom Button
If bridging two systems:
Main Menu
Whole-home Button Setup
Phantom Button Setup
Erase a Button
If not bridging systems:
Main Menu
Phantom Button Setup
Erase a Button
If bridging two systems:
Main Menu
Whole-home Button Setup
Phantom Button Setup
Test Buttons
If not bridging systems:
Main Menu
Phantom Button Setup
Test Buttons
Step 1
Go to Test a Scene
A list of buttons and their current state is displayed.
Use
and
to select a scene.
Press “Toggle” (
button)
to toggle the button ON and OFF.
Repeat for all Phantom Buttons to be tested.
Press “Back” (
button)
to return to
Manage
Scenes
.
• Testing Phantom Buttons is now complete.
Test Buttons
1. RM - Morning - ON
2. RM - Btn 2 - OFF
3. RM - Btn 3 - - OFF
4. RM - Btn 4 - - OFF
Back
Toggle
Step 2
View and Toggle Buttons


