51
Appendix C: Changing Ports On Your System
Remote Viewing:
You should now be able to access your system from your local network. Prior to using remote
viewing, you must log in to your system and enter the DDNS information from your Lorex DDNS
confirmation email.
NOTE:
We strongly recommend registering for Lorex’s free DDNS service prior to using remote
viewing. For details, see “Setting Up DDNS Service” on page 44.
To edit DDNS settings:
1. From a PC on your
local network
, open Internet Explorer.
2. In the address bar, enter the IP address of your system immediately followed by
:85
(no
spaces). For example, http://192.168.1.89:85
3. Enter your
LAN ID
and
password
to log in to your system (by default, admin ID:
9
; password
3333
).
4. Click
(Setup)
and then click
Network
.
5. Click
DDNS
. Enter your DDNS information from the confirmation email and click
Submit
. For
complete details on entering your DDNS information, see “How do I enable DDNS on my
system?” on page 46.
6. Reset your system by disconnecting the power cable from the rear panel of the system. Let
the system power down for 15~20 seconds and then reconnect the power cable.
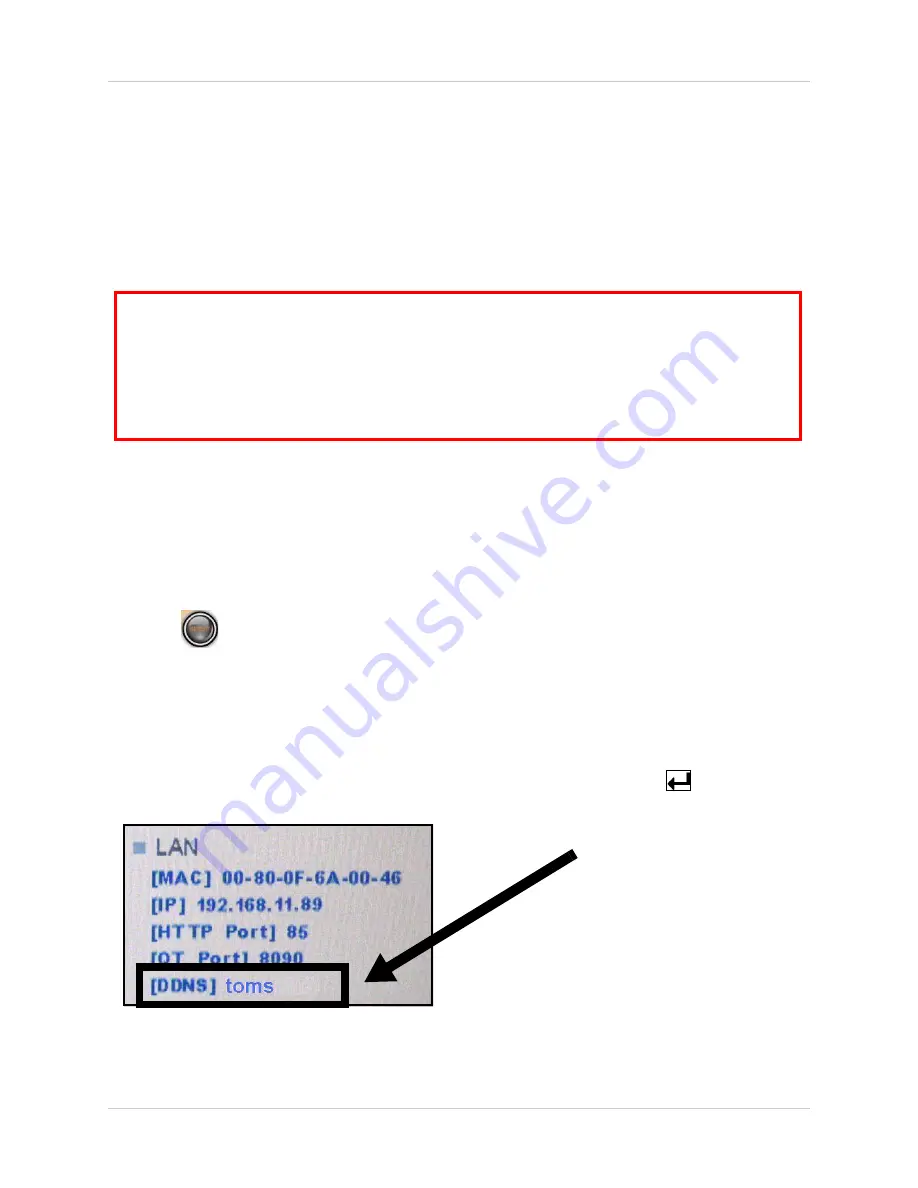
7. To confirm that the DDNS information is saved on your system, press the
button twice on
the remote control to view the System Information.
ATTENTION
: For remote viewing, the HTTP port and QuickTime port of your system
MUST
be port forwarded on your router
—in this example, port 85 and QuickTime Port 8090.
Each router is different, so port forwarding settings vary by model. Please refer to the Lorex
Port Forwarding Guide (www.lorexcctv.com/support and then click Consumer Guides) for
help on port forwarding your router. If your router is not listed, please refer to your router's
manual or contact your router's manufacturer for assistance.
Figure 26.4 Your DDNS sub-domain should appear in System Information
NOTE:
The system has a
4-character
display limit
for
the DDNS subdomain.
Please note however, that
the
complete subdomain
(i.e. tomsmith)
is saved by
the system
.


