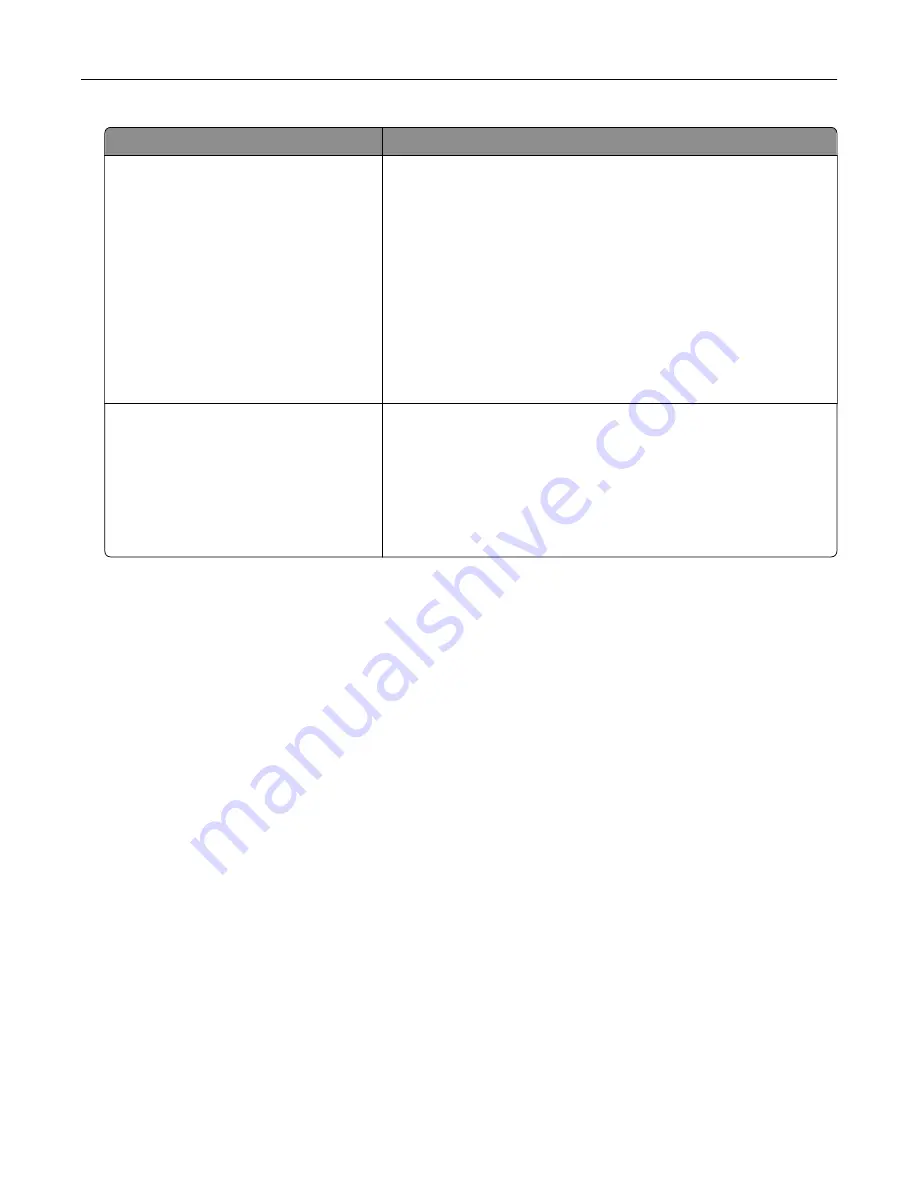
Object type
Color conversion tables
RGB Image
RGB Text
RGB Graphics
•
Vivid—Produces brighter, more saturated colors and may be
applied to all incoming color formats.
•
sRGB Display—Produces an output that approximates the colors
shown on a computer monitor. Black toner usage is optimized for
printing photographs.
•
Display
‑
True Black—Produces an output that approximates the
colors shown on a computer monitor. This setting uses only black
toner to create all levels of neutral gray.
•
sRGB Vivid—Provides an increased color saturation for the sRGB
Display color correction. Black toner usage is optimized for
printing business graphics.
•
Off
CMYK Image
CMYK Text
CMYK Graphics
•
US CMYK—Applies color correction to approximate the
Specifications for Web Offset Publishing (SWOP) color output.
•
Euro CMYK—Applies color correction to approximate Euroscale
color output.
•
Vivid CMYK—Increases the color saturation of the US CMYK color
correction setting.
•
Off
FAQ about color printing
What is RGB color?
RGB color is a method of describing colors by indicating the amount of red, green, or blue used to produce
a certain color. Red, green, and blue light can be added in various amounts to produce a large range of colors
observed in nature. Computer screens, scanners, and digital cameras use this method to display colors.
What is CMYK color?
CMYK color is a method of describing colors by indicating the amount of cyan, magenta, yellow, and black
used to reproduce a particular color. Cyan, magenta, yellow, and black inks or toners can be printed in various
amounts to produce a large range of colors observed in nature. Printing presses, inkjet printers, and color
laser printers create colors in this manner.
How is color specified in a document to be printed?
Software programs are used to specify and modify the document color using RGB or CMYK color
combinations. For more information, see the software program Help topics.
How does the printer know what color to print?
When printing a document, information describing the type and color of each object is sent to the printer and
is passed through color conversion tables. Color is translated into the appropriate amounts of cyan, magenta,
yellow, and black toner used to produce the color you want. The object information determines the application
of color conversion tables. For example, it is possible to apply one type of color conversion table to text while
applying a different color conversion table to photographic images.
Troubleshooting
183
Содержание C9235
Страница 1: ...C9235 Printer User s Guide May 2020 www lexmark com Machine type s 5059 Model s 190...
Страница 102: ...2 Remove and then empty the hole punch box 3 Insert the hole punch box 4 Close the door Maintaining the printer 102...
Страница 106: ...4 Shake the toner cartridge three times 5 Insert the new toner cartridge Maintaining the printer 106...
Страница 108: ...9 Insert the waste toner bottle and then close the door Maintaining the printer 108...
Страница 112: ...8 Insert the waste toner bottle and then close the door Maintaining the printer 112...
Страница 135: ...Below the fuser area Duplex area Clearing jams 135...
Страница 140: ...2 Open door J 3 Open door H Clearing jams 140...
Страница 145: ...Staple jam in the staple nisher 1 Slide the staple nisher 2 Remove the staple cartridge holder Clearing jams 145...
Страница 147: ...Staple jam in the staple hole punch nisher 1 Open door H 2 Remove the staple cartridge holder Clearing jams 147...
Страница 188: ...6 Remove the controller board shield Upgrading and migrating 188...
Страница 191: ...6 Remove the controller board shield 7 Unpack the printer hard disk Upgrading and migrating 191...
Страница 197: ...4 Remove the controller board shield Upgrading and migrating 197...
Страница 199: ...8 Attach the thumbscrews 9 Connect the wireless print server to the controller board Upgrading and migrating 199...
Страница 203: ...7 Connect the tray connector to the printer 8 Open trays 2 and 3 Upgrading and migrating 203...
Страница 208: ...9 Remove the stabilizing feet from the tray Upgrading and migrating 208...
Страница 212: ...17 Secure the tray cable with the clamp Upgrading and migrating 212...
Страница 213: ...18 Connect the tray cable to the printer 19 Attach the tray cable cover Upgrading and migrating 213...
Страница 214: ...20 Slide the tray until it clicks into place 21 Attach the stabilizing feet to the printer Upgrading and migrating 214...
Страница 219: ...7 Remove the paper guides 8 Attach the sensor cover Upgrading and migrating 219...
Страница 225: ...8 Attach the nisher to the printer Upgrading and migrating 225...


