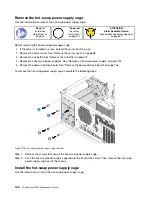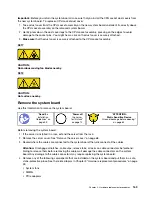
Ground package before opening”
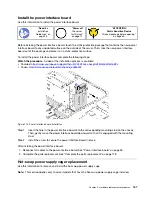
Before installing the hot-swap power supply cage, touch the static-protective package that contains the new
hot-swap power supply cage to any unpainted surface on the outside of the server. Then, take the new cage
out of the package and place them on a static-protective surface.
To install the hot-swap power supply cage, complete the following steps:
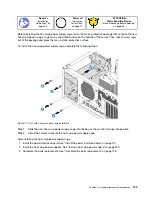
Figure 117. Hot-swap power supply cage installation
Step 1. Slide the new hot-swap power supply cage into the bay as shown until it snaps into position.
Step 2. Install the screws to secure the hot-swap power supply cage.
After installing the hot-swap power supply cage:
1. Install the power interface board. See “Install the power interface board” on page 157.
2. Install the hot-swap power supplies. See “Install a hot-swap power supply” on page 150.
3. Complete the parts replacement. See “Complete the parts replacement” on page 178.
.
Hardware replacement procedures
159
Содержание ThinkSystem ST550 7X09
Страница 1: ...ThinkSystem ST550 Maintenance Manual Machine Types 7X09 and 7X10 ...
Страница 8: ...vi ThinkSystem ST550 Maintenance Manual ...
Страница 36: ...28 ThinkSystem ST550 Maintenance Manual ...
Страница 188: ...180 ThinkSystem ST550 Maintenance Manual ...
Страница 206: ...198 ThinkSystem ST550 Maintenance Manual ...
Страница 210: ...202 ThinkSystem ST550 Maintenance Manual ...
Страница 219: ......
Страница 220: ......


