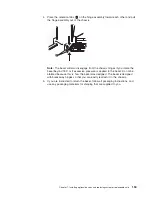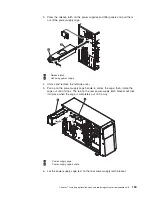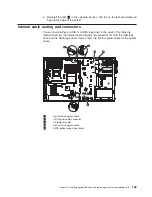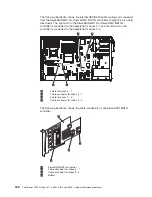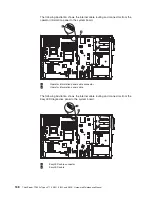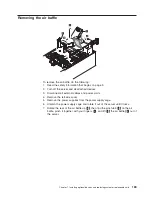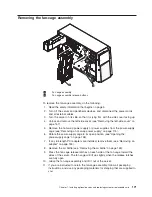
3. Press the release latch on the power supplies and filler panels and pull them
out of the power-supply cage.
1
Release latch
2
Hot-swap power supply
4. Unlock and remove the left-side cover.
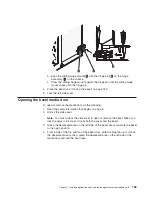
5. Pull up on the power-supply cage handle to unlock the cage; then, rotate the
cage out until it stops. The tab on the rear power-supply latch bracket will click
into place when the cage is completely out of the way.
1
Power-supply cage
2
Power-supply cage handle
6. Let the power-supply cage rest on the rear power-supply latch bracket.
Chapter 7. Installing optional devices and replacing customer replaceable units
159
Содержание THINKSERVER 3719
Страница 1: ...ThinkServer TD200x Machine Types 3719 3821 3822 and 3823 Hardware Maintenance Manual ...
Страница 2: ......
Страница 3: ...ThinkServer TD200x Types 3719 3821 3822 and 3823 Hardware Maintenance Manual ...
Страница 12: ...4 ThinkServer TD200x Types 3719 3821 3822 and 3823 Hardware Maintenance Manual ...
Страница 22: ...14 ThinkServer TD200x Types 3719 3821 3822 and 3823 Hardware Maintenance Manual ...
Страница 28: ...20 ThinkServer TD200x Types 3719 3821 3822 and 3823 Hardware Maintenance Manual ...
Страница 34: ...26 ThinkServer TD200x Types 3719 3821 3822 and 3823 Hardware Maintenance Manual ...
Страница 244: ...236 ThinkServer TD200x Types 3719 3821 3822 and 3823 Hardware Maintenance Manual ...
Страница 258: ...250 ThinkServer TD200x Types 3719 3821 3822 and 3823 Hardware Maintenance Manual ...
Страница 282: ...274 ThinkServer TD200x Types 3719 3821 3822 and 3823 Hardware Maintenance Manual ...
Страница 286: ...278 ThinkServer TD200x Types 3719 3821 3822 and 3823 Hardware Maintenance Manual ...
Страница 296: ...288 ThinkServer TD200x Types 3719 3821 3822 and 3823 Hardware Maintenance Manual ...
Страница 303: ......
Страница 304: ...Part Number XXXXXX Printed in USA 1P P N XXXXXX ...

