5: Getting started
Configure a RINEX logging session step-by-step
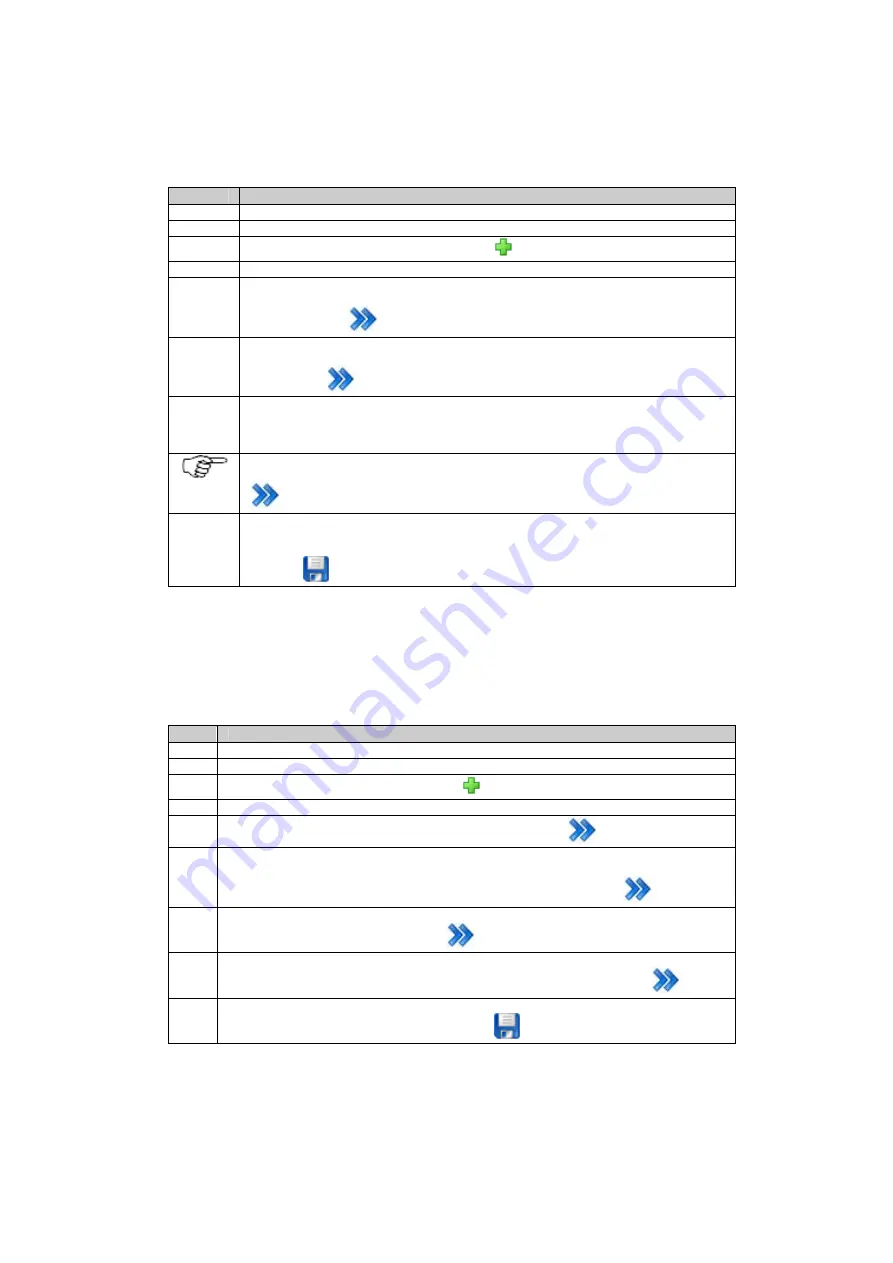
This section explains how to configure a continuous RINEX logging session.
Step
Description
1
Access the web interface.
2
Go to page
GNSS management / Logging sessions
.
3
Use the button Create a new logging session
.
4
The logging session wizard will start.
5
On the first page of the wizard enter a session name and choose
RINEX
in list box
Data
type
. Select a session priority and choose
continuous
in list box
Session type
. Then
use the
Continue
button.
6
On the next page choose a logging rate, the length of the logged file, the dynamics of the
session and activate the check box if Doppler observations should be logged. Then use
the
Continue
button.
7
On the following page you can choose if the logged files should be zipped, you can
select a directory naming convention, choose an FTP location where the files should be
sent to and set an interval after which the files should be deleted from the memory
device.
Note that you have to set up an FTP location on page
GNSS management / FTP
location
before you can choose it in the respective list box.T hen use the
Continue
button.
8
On the last page of the wizard you can activate the logging session. In this case the
logging will immediately start. If you do not activate the check box
Activate session
the
session will be saved with all its settings but it will not be started. Press the
Save
changes
button to save all settings.
Configure a data stream step-by-step
This section explains how to configure a new outgoing real time data stream using a radio.
Step
Description
1
Access the web interface.
2
Go to page
GNSS management / Data streams
.
3
Use the button
Create a new data stream
.
4
The outgoing data stream wizard will start.
5
Select
Real time
in list box
Data stream type
. Press
Continue
.
6
On the next page select a message format, version and message types (if available). Here
you can also configure a reference station ID, the end of message settings, enable time
slicing and choose the message rates. When finished press the
Continue
button.
7
On the following page you can choose the type of data transmission, e.g. TCP/IP, modem or
radio. Select
Radio
and press
Continue
.
8
The next page allows selecting a specific radio from the list of configured radio devices.
Besides this, the radio channel can defined. When finished press the
Continue
button.
9
On the last page of the wizard you can activate the stream or just save the settings without
staring the new stream. Press the
Save changes
button to save all settings.
65
Содержание GR10
Страница 1: ...Leica GR10 Operational Manual Online Help ...
Страница 23: ......
Страница 67: ......
Страница 215: ......
Страница 232: ...9 How to Related topics Slot in devices Device Management New Edit modem phone device Status Network connections 231 ...
Страница 243: ......
Страница 261: ......
Страница 289: ......
Страница 293: ......
Страница 309: ......
Страница 311: ...Printed Documentation N Ntrip O P Q R RINEX S T U V W WGS84 X Y Z 310 ...


