


4/11/03
Tools Menu
3-13
Language
Hint:
This setting is in the Tools menu. To access the Tools menu press the
TOOLS
key and then use the
u
and
d
arrow keys to navigate
through the menu items.
NOTE: To view each selection, first press
the
c
key, and then press the
r
or
l
arrow key to scroll through each selec-
tion.
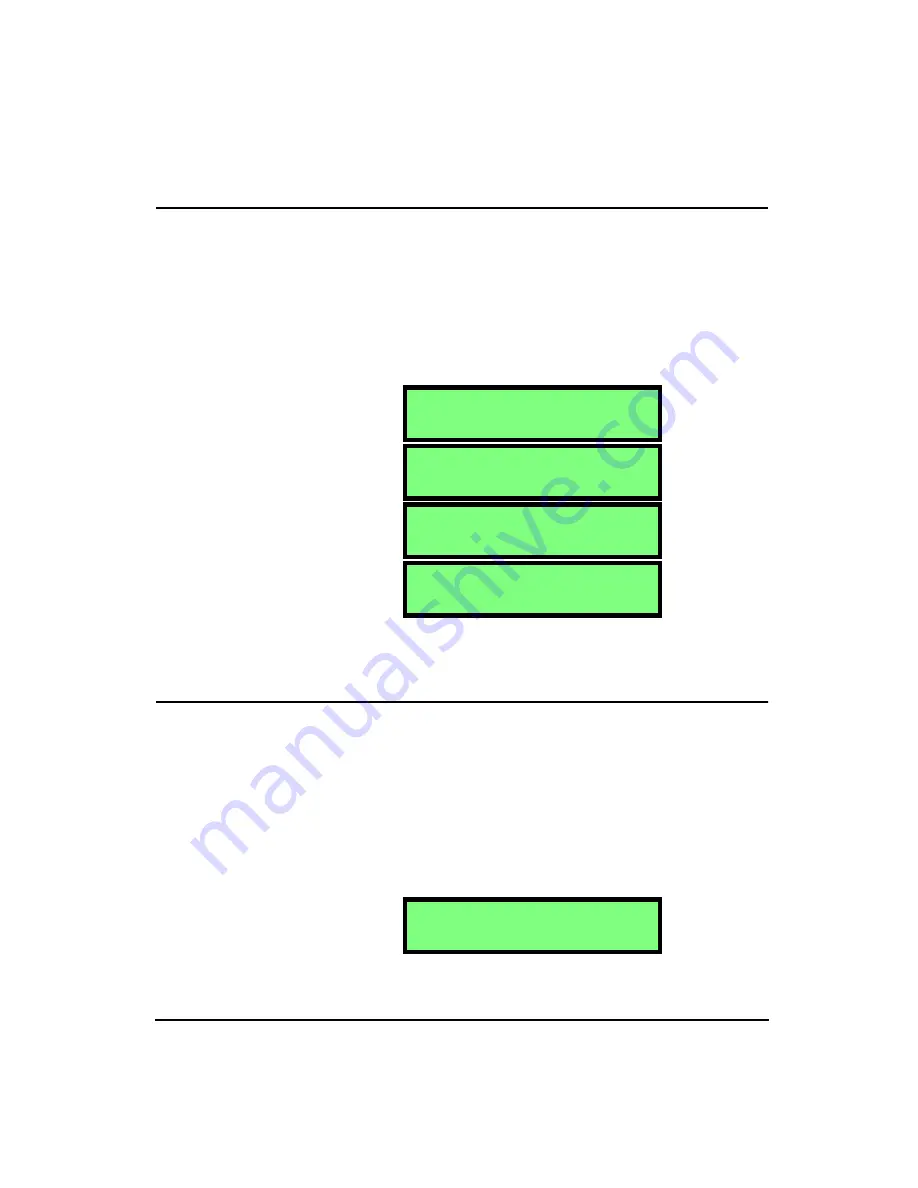
The HVM100 has the ability to display and print in several
different languages. The choices are English, Spanish, Ital-
ian, French, German, Portuguese, Czechoslavakia, and
Dutch. Below is an example of one of the language options:
Date and Time
Hint:
This setting is in the Tools menu. To access the Tools menu press the
TOOLS
key and then use the
u
and
d
arrow keys to navigate
through the menu items.
NOTE: To change the Date and Time
parameter, press the
c
key, use the
u
and
d
arrows to select the desired
value, and then use the
r
and
l
arrows to move to the next position.
Once all positions are set press the
c
key or move to any other part of the
HVM100 to accept the entry.
The date and time functions can be set in this menu. To set
the date and time, go to this menu item. Press the
c
key.
You can now make changes just like the alphanumeric menu
items in the Header screens. Once all changes have been
made, press the
c
key again to confirm the changes.
L a n g u a g e
E n g l i s h
I d i o m a
E s p a n o l
I d i o m a
I t a l i a n o
L a n g a g e
F r a n c a i s
D a t e
0 0 : 0 0 0 1 J a n 9 9
The HVM100 can only store four dif-
ferent languages at one time. Contact
Larson Davis for information on
available language packages.
Содержание HVM100
Страница 8: ...HVM100 User Manual 6...
Страница 18: ...1 10 HVM100 User Manual 4 11 03...
Страница 29: ...4 11 03 Getting Started 2 11 Weighting X Wk...
Страница 30: ...2 12 HVM100 User Manual 4 11 03...
Страница 44: ...3 14 HVM100 User Manual 4 11 03...
Страница 50: ...4 6 HVM100 User Manual 4 11 03...
Страница 55: ...4 11 03 Printing 5 5 Step 5 Select Hyperterminal from the menu A new con nection dialog box will appear...
Страница 56: ...5 6 HVM100 User Manual 4 11 03 Step 6 Enter a name and choose an icon for your Hyper terminal connection...
Страница 57: ...4 11 03 Printing 5 7 Step 7 Press the OK button...
Страница 58: ...5 8 HVM100 User Manual 4 11 03 Step 8 The Connect to dialog box will appear...
Страница 62: ...5 12 HVM100 User Manual 4 11 03 Left click the Properties button Properties Settings...
Страница 63: ...4 11 03 Printing 5 13 Left click the Settings Tab at the top of the window to open the Setting dialog box...
Страница 67: ...4 11 03 Printing 5 17...
Страница 68: ...5 18 HVM100 User Manual 4 11 03...
Страница 80: ...6 12 HVM100 User Manual 4 11 03...
Страница 93: ...4 11 03 Powering the HVM100 8 5 The connector pinout is as follows Negative Positive Positive Negative...
Страница 94: ...8 6 HVM100 User Manual 4 11 03...
Страница 102: ...9 8 HVM100 User Manual 4 11 03...
Страница 146: ...D 2 HVM100 User Manual 4 11 03...
Страница 147: ...4 11 03 D 3...
Страница 148: ...D 4 HVM100 User Manual 4 11 03...
Страница 149: ...4 11 03 D 5...
Страница 150: ...D 6 HVM100 User Manual 4 11 03...
Страница 151: ...4 11 03 D 7...
Страница 152: ...D 8 HVM100 User Manual 4 11 03...
Страница 153: ...4 11 03 D 9...
Страница 154: ...D 10 HVM100 User Manual 4 11 03...
Страница 155: ...4 11 03 D 11...
Страница 156: ...D 12 HVM100 User Manual 4 11 03...
Страница 157: ...4 11 03 D 13...
Страница 158: ...D 14 HVM100 User Manual 4 11 03...
Страница 170: ...F 4 Warranty Customer Satisfaction April 11 2003...
Страница 174: ...HVM100 User Manual 4...


