


3-12
HVM100 User Manual
4/11/03
To enter information in the Header screens, follow these
directions:
NOTE: To change the Header, press the
c
key, use the
u
and
d
arrows to
select the desired value, and then use the
r
and
l
arrows to move to the next
position. Once all positions are set press
the
c
key or move to any other part of
the HVM100 to accept the entry.
Step 1
Go to the Header that you wish to change.
Step 2
You will have either a blank screen, or a screen
that has previously entered information.
Hint:
You can use the reset key to erase all of the existing entries in an alpha-
numeric entry. Position the cursor on the Left most position you want
erased. Press the
R
key, and all positions to the right of the cursor,
including the cursor position will be erased. If the cursor position is all
the way to the left, the entire screen will be erased.
NOTE: The HVM100 will remember the
previously selected character as you
move positions. If you enter a ‘K’ in the
1st position, when you use the
r
or
l
arrow key to move the next position,
you will begin from the ‘K’.
Step 3
Use the
l
and
r
arrow keys to select the posi-
tion you want to change, and use the
u
and
d
arrow keys to change the character in that posi-
tion.
Step 4
When you have completed all the entries, press the
c
key to return to the Tools menu. You can now
move onto the next header (Header 2) by pressing
the
d
arrow key.
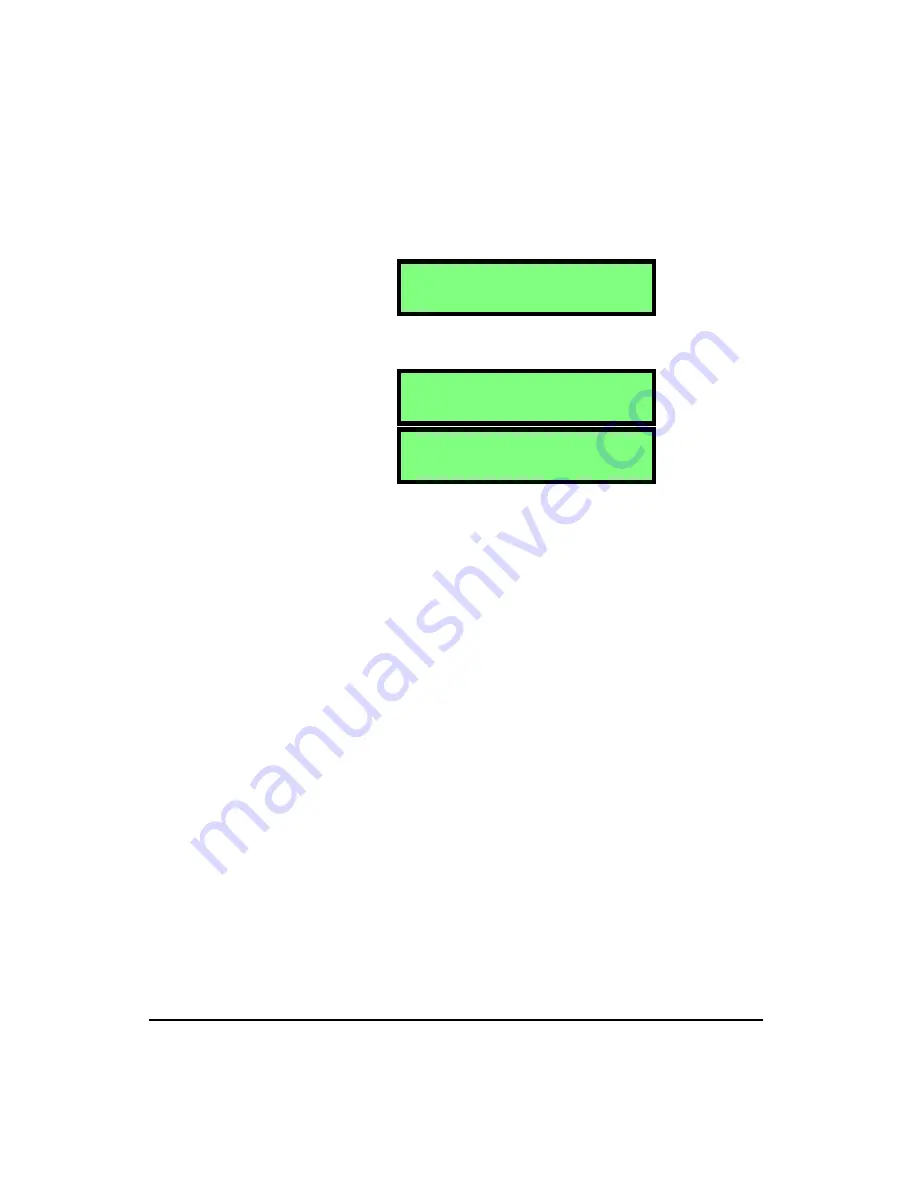
H e a d e r 1
H e a d e r 1
H e a d e r 1
W i l s o n P r o c e s s i n
Содержание HVM100
Страница 8: ...HVM100 User Manual 6...
Страница 18: ...1 10 HVM100 User Manual 4 11 03...
Страница 29: ...4 11 03 Getting Started 2 11 Weighting X Wk...
Страница 30: ...2 12 HVM100 User Manual 4 11 03...
Страница 44: ...3 14 HVM100 User Manual 4 11 03...
Страница 50: ...4 6 HVM100 User Manual 4 11 03...
Страница 55: ...4 11 03 Printing 5 5 Step 5 Select Hyperterminal from the menu A new con nection dialog box will appear...
Страница 56: ...5 6 HVM100 User Manual 4 11 03 Step 6 Enter a name and choose an icon for your Hyper terminal connection...
Страница 57: ...4 11 03 Printing 5 7 Step 7 Press the OK button...
Страница 58: ...5 8 HVM100 User Manual 4 11 03 Step 8 The Connect to dialog box will appear...
Страница 62: ...5 12 HVM100 User Manual 4 11 03 Left click the Properties button Properties Settings...
Страница 63: ...4 11 03 Printing 5 13 Left click the Settings Tab at the top of the window to open the Setting dialog box...
Страница 67: ...4 11 03 Printing 5 17...
Страница 68: ...5 18 HVM100 User Manual 4 11 03...
Страница 80: ...6 12 HVM100 User Manual 4 11 03...
Страница 93: ...4 11 03 Powering the HVM100 8 5 The connector pinout is as follows Negative Positive Positive Negative...
Страница 94: ...8 6 HVM100 User Manual 4 11 03...
Страница 102: ...9 8 HVM100 User Manual 4 11 03...
Страница 146: ...D 2 HVM100 User Manual 4 11 03...
Страница 147: ...4 11 03 D 3...
Страница 148: ...D 4 HVM100 User Manual 4 11 03...
Страница 149: ...4 11 03 D 5...
Страница 150: ...D 6 HVM100 User Manual 4 11 03...
Страница 151: ...4 11 03 D 7...
Страница 152: ...D 8 HVM100 User Manual 4 11 03...
Страница 153: ...4 11 03 D 9...
Страница 154: ...D 10 HVM100 User Manual 4 11 03...
Страница 155: ...4 11 03 D 11...
Страница 156: ...D 12 HVM100 User Manual 4 11 03...
Страница 157: ...4 11 03 D 13...
Страница 158: ...D 14 HVM100 User Manual 4 11 03...
Страница 170: ...F 4 Warranty Customer Satisfaction April 11 2003...
Страница 174: ...HVM100 User Manual 4...


