364
Multiplexing
To choose a particular module, use the up/down arrows to select it and press “OK”.
N
OTE
:
Entering “OK” can be done two ways: press either the far right button or the “OK” button.
Press “Esc” to return to the preceding page.
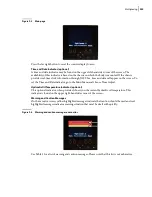
Figure 9
-
8 Module I/O Status page
Input Status
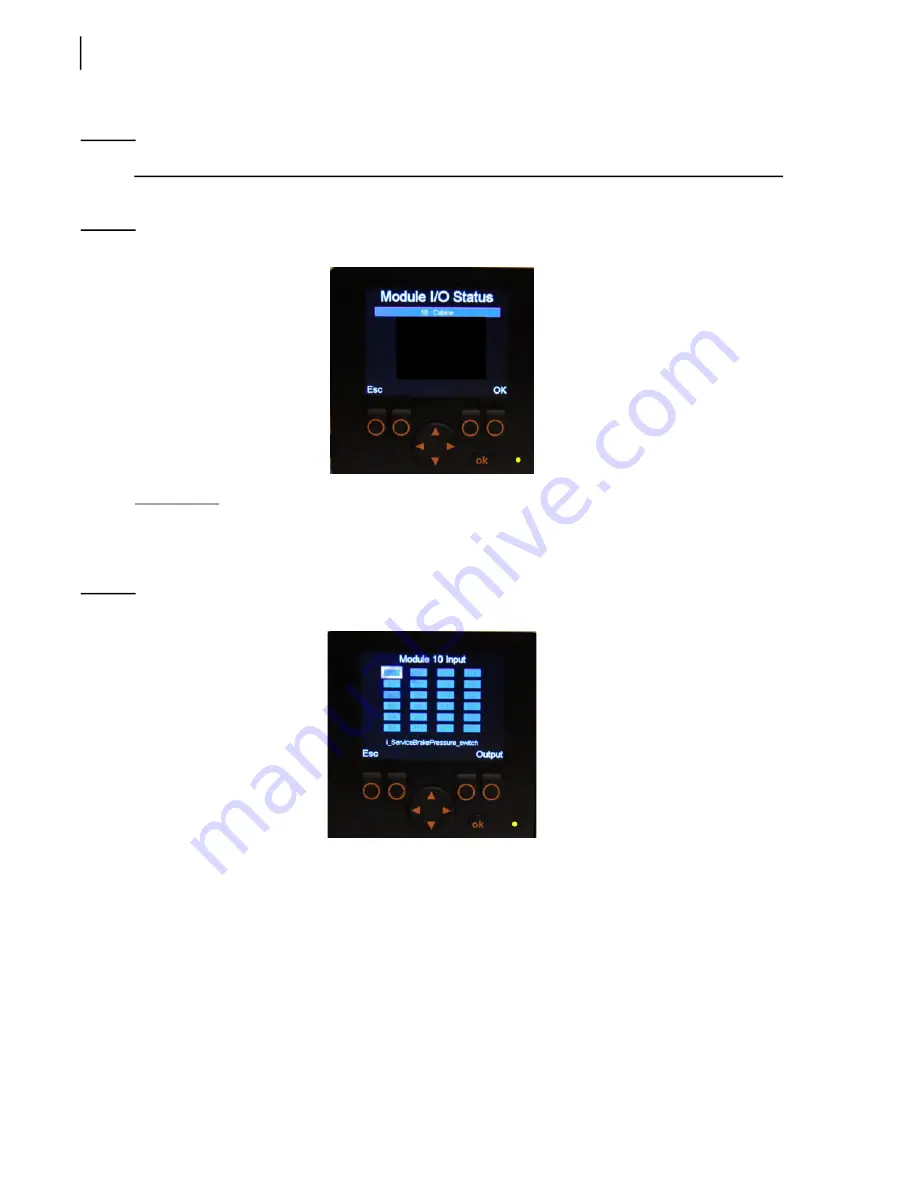
The Input Status page is accessible from the Module I/O Status page. After selecting the desired
module and pressing “OK”, the Input Status page of the selected module is displayed (see Figure
9).
Figure 9
-
9 Input Status page
The Input Status page contains a set of rectangles. Each of these rectangles represents input elements,
which in turn correspond to a particular function of the truck. For example, if you select rectangle I00,
a short description appears in the lower part of the screen, which indicates that this rectangle relates
to the input element coming from the service brake pressure switch.
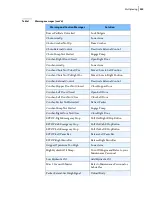
11: Display
50: Right Hopper 1
60: Right Hopper 2
127-72: Joysticks
J1939
Содержание EXPERT
Страница 1: ...EXPERT TM MAINTENANCE MANUAL...
Страница 2: ......
Страница 3: ...EXPERT MAINTENANCE MANUAL...
Страница 10: ...viii Table of Contents...
Страница 18: ...8 Introduction...
Страница 244: ...234 General Maintenance...
Страница 251: ...Lubrication 241 Figure 4 11 Glass compartment lubrication chart optional...
Страница 252: ...242 Lubrication Figure 4 12 EXPERT lubrication chart...
Страница 261: ...Lubrication 251 Figure 4 27 Packer lubrication points 2 Grease fitting LH side front cylinder pin...
Страница 263: ...Lubrication 253 Pump Drive Shaft U Joint Figure 4 30 Pump drive shaft lubrication points Grease fittings...
Страница 264: ...254 Lubrication...
Страница 320: ...310 Hydraulic System...
Страница 357: ...Troubleshooting 349...
Страница 358: ...350 Troubleshooting...
Страница 386: ...378 Multiplexing...
Страница 388: ...380 Lifting Arms Figure 10 1 Mounting bolts Figure 10 2 Wear pads Figure 10 3 Helping Hand gripper...


