Lifting Arms
403
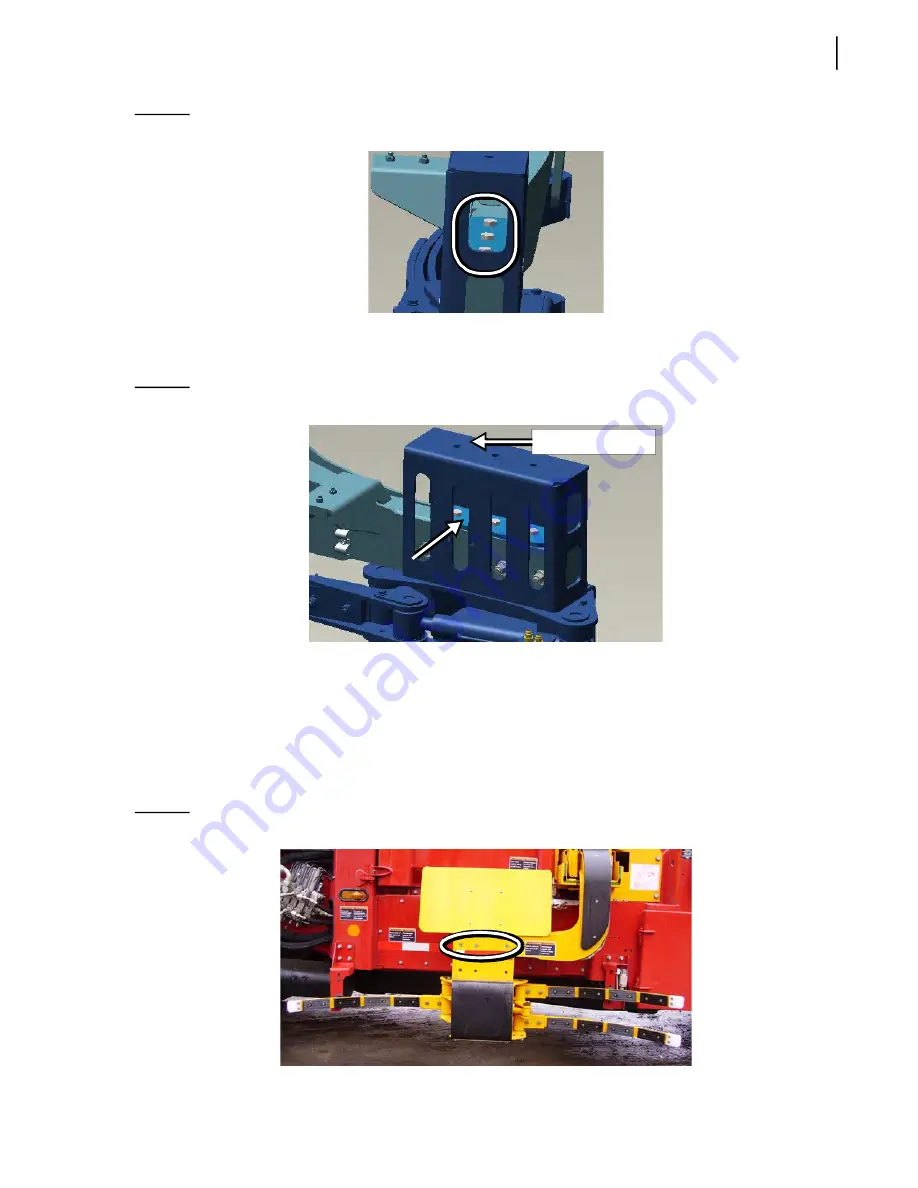
Figure 10
-
31 Vertical bolts
4.
Raise or lower the gripper (depending on the current gripper position).
5.
Reposition the plate correctly (see Figure 10
32).
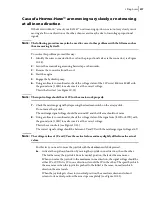
Figure 10
-
32 Plate
Position the plate on the top of the gripper head when the gripper is at its lower position or inside
the gripper head (see Figure 10
32) when the gripper is at its upper position.
6.
Secure the plate to the arm lever using all 3 vertical bolts.
7.
Reinstall all 3 horizontal bolts. Tighten them back.
Bolts in upper row if the gripper have been moved to the lower position (see Figure 10
33).
Bolts in lower row if the gripper have been moved to the upper position (see Figure 10
34).
Figure 10
-
33 Bolts in upper row
Top of gripper head
Содержание EXPERT
Страница 1: ...EXPERT TM MAINTENANCE MANUAL...
Страница 2: ......
Страница 3: ...EXPERT MAINTENANCE MANUAL...
Страница 10: ...viii Table of Contents...
Страница 18: ...8 Introduction...
Страница 244: ...234 General Maintenance...
Страница 251: ...Lubrication 241 Figure 4 11 Glass compartment lubrication chart optional...
Страница 252: ...242 Lubrication Figure 4 12 EXPERT lubrication chart...
Страница 261: ...Lubrication 251 Figure 4 27 Packer lubrication points 2 Grease fitting LH side front cylinder pin...
Страница 263: ...Lubrication 253 Pump Drive Shaft U Joint Figure 4 30 Pump drive shaft lubrication points Grease fittings...
Страница 264: ...254 Lubrication...
Страница 320: ...310 Hydraulic System...
Страница 357: ...Troubleshooting 349...
Страница 358: ...350 Troubleshooting...
Страница 386: ...378 Multiplexing...
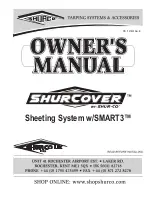
Страница 388: ...380 Lifting Arms Figure 10 1 Mounting bolts Figure 10 2 Wear pads Figure 10 3 Helping Hand gripper...


