


It
Uso e manUtenzione
en
Use and maintenance
fr
manUel d’instrUctions
poUr l’emploi
de
BedienUngs-Und wartUngs-
anleitUng
eS
manUal de Uso Y
mantenimiento
Pt
manUal de Uso e
manUtenÇÃo
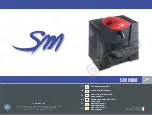
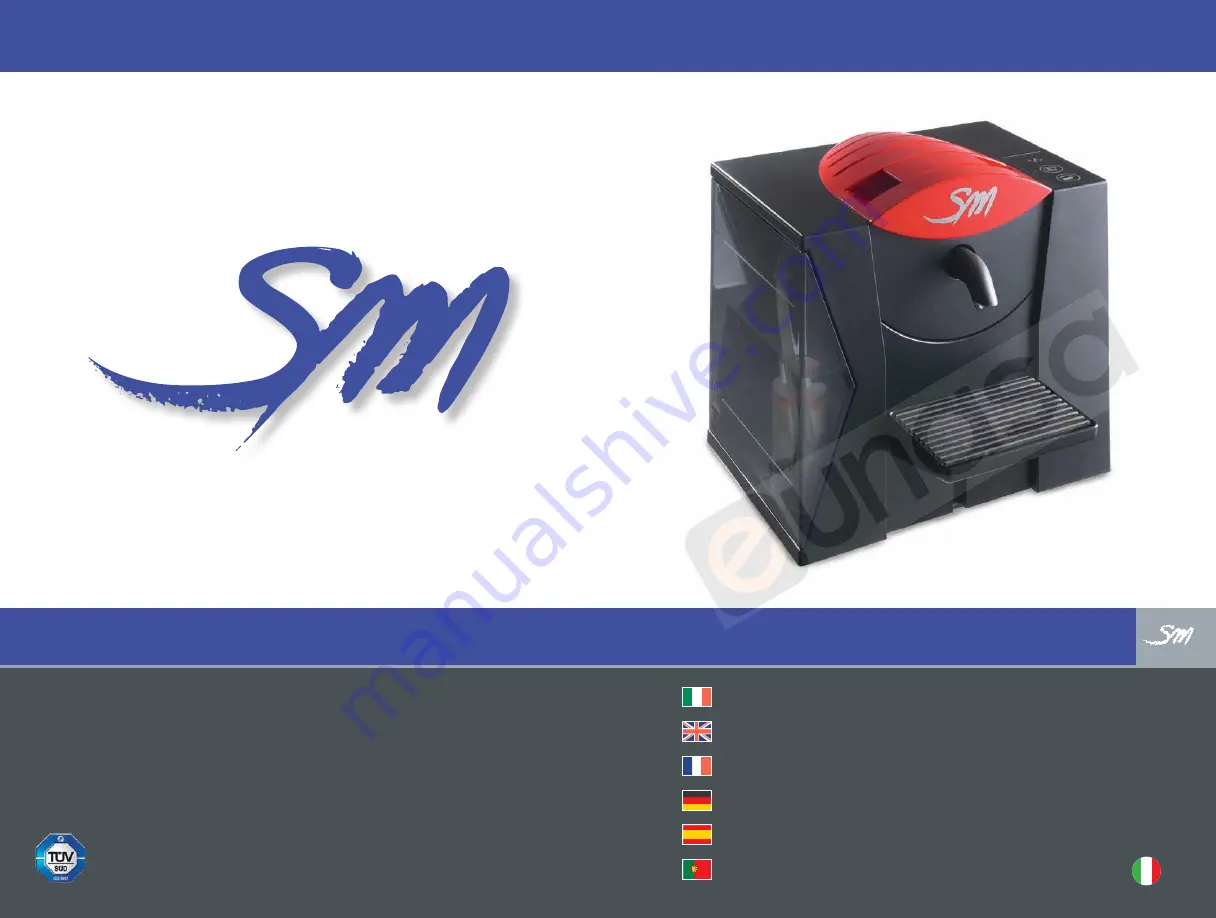
La San Marco
Made in Italy
SM MINI
La San Marco spa
Via Padre e Figlio Venuti, 10 - 34072 Gradisca D’Isonzo (GO) - ITALY
Tel. (+39) 0481 967111 - Fax (+39) 0481 960166
www. lasanmarco.com [email protected]
Содержание SM MINI
Страница 30: ...29 italiano English fran ais italiano italiano italiano description de la machine Figure 1 Figure 2 1 2 3 4 6 5...
Страница 42: ...41 italiano English fran ais Deutsch italiano italiano Beschreibung der Maschine Bild 1 Bild 2 1 2 3 4 6 5...
Страница 54: ...53 italiano English fran ais Deutsch espa ol italiano DESCRIPCI N DE LA M QUINA Figura 1 Figura 2 1 2 3 4 6 5...
Страница 66: ...65 italiano English fran ais Deutsch espa ol portugu s descri o da m quina Figura 1 Figura 2 1 2 3 4 6 5...


